Last night we fought a most enjoyable and tense game,full of colour,tactical expertise(??) and movement.
This is the simple scenario,movement was restricted in the woods,to a normal move followed by a full move to re-dress lines etc.-this proved to be a real challenge for both sides.
Graham's Irish were the first to "expose" themselves(!!) and attacked Brian's Austrians,at the same time,Graham, has moved his Bavarians in an out-flanking move,putting Brian in all kinds of trouble(but he was up to it!!)
This shows Graham's attack-Brian was quietly confident because all of his Austrians had very good morale/fighting points.
On the other side of the table,Dave's cavalry are advancing against Paul's position,and his infantry have "burst forth" from the woods-looks like this could develop into a good game(?!)
Paul's Spanish are standing still on top of the hill,his gun is doing a bit of damage,and his cavalry are poised for a charge, but Dave is advancing very cautiously and slowly.
At last a cavalry clash!!-the tumbleweed was causing a bit of bother until now!!!-still no infantry action though.
Hurrah!! at last the infantry have made contact-but with the Bavarians not the Spanish!!
Meanwhile,on the other flank...........................
Brian and Graham are going at it "hammer and tongs"-both sides are taking heavy casualties,and morale is now coming in to play!!-in the background things seem to have stopped!!!
"Just drifting along with the tumbling tumbleweed"-the next move will surely bring some action though????..................
Nope!!!
The attack on the town is reaching a crucial stage-the Irish are "wavering",and to stabilise the situation Graham put his Colonel in the front line(you know what's coming don't you?) and promptly got him shot!!!-the whole of the Irish brigade decided that Dublin is quite nice this time of year!!!!!!!!!
Relief is showing on Brian's face(or is it wind?) as the Irish take off back to the woods.
Graham now shifted his attention to the town,by taking a couple of infantry regiments from the centre,leaving Paul feeling "vulnerable" -can Dave capitalise on the situation??
Yes!!,brushing the cobwebs off his troops,he has mounted an all-out attack on Paul's position-to be fair to Paul,he held his own(no jokes please!) but it was just a matter of time before he would have to give in! However the town was still in Brian's hands,so a clear cut result was not forthcoming!!
One final shot,and the're still smiling.This was a good game and well fought by all,roll on next Sunday,probably an Ancient battle.
Monday, 12 February 2018
Saturday, 10 February 2018
New member of the Westerhope Wargames Group.
We have a new "honorary member" of our club,who weighed in at 8lbs 5oz on Thursday the 8th February,our Grandaughter, Robyn Lily Coutts.
Aaaaaaaaarh!!
Aaaaaaaaarh!!
Wednesday, 7 February 2018
Painting etc up-date.
I am not a one to let the grass grow beneath my feet,and after our try-out game of the Battle of Bairen,which we are taking to "Carronade" in May,I decided that the "Camps" of the Moors and the Spanish,left alot to be desired,so set about re-painting the tents...........
The "Moorish" tents have now been painted a sinister black,which is the same as the Ships.
Sinister,or what???
The Spanish tents are now somewhat brighter!! I have added photo-copied paper shields to the tops and sides,and now look the part-what next???
Monday, 5 February 2018
Battle of "Trou-Merde" 1750.
Because the rest of the "boys" were recovering from their trip to Vapnartak,it fell to Brian and I to fight this "cracking" game last night.
Top photo is the scenario,bottom is the table before any movement.We threw dice to determine who commanded what,and Brian turned out to be the French commander and I was the British commander.
My plan was simple-Rangers to hold on my left(artillery hill) whilst Rangers on my right were to attack the French artillery and Indian camp,and the British infantry would advance on the French line whilst protecting their flanks!-Brian's plan was similar.All reinforcements were to arrive on the table on move number 4.
The action on my right flank got off to a "brisk" start-after an initial volley,both sides got stuck in with hatchet and musket butts!!-my attempt to take out the French artillery was thwarted by cannister shot-oh dear,how sad,never mind!!
On the other flank,despite a good volley,which killed his warband leader,Brian has made contact with the flanking British regiment-this could be difficult??!!
The rest of my left flank Rangers are keeping the attacking Indians at bay-this was to prove fatal to the attack,but not before Brian's dice throwing had me worried!!
As the flanks are being hotly contested,"tumbleweed" is blowing across the central position,although with the French gun not being threatened anymore,it began to inflict casualties on my flanking regiment,who,eventually had to retire(it's good being retired!)
On my left,my gun has re-aligned,and is giving the attacking Indians a good old battering,forcing them to retire(it's good.......)-Once the flank was secure,the line could advance on the French line-hurrah!!
"So it came to pass!!" the whole line is ablaze with musket fire,neither side gaining an advantage in the early exchanges,but Brian's gun is still causing casualties!!
My reinforcements have arrived and I am moving them onto Brian's right flank,where one of his regiments has been forced to give ground-on my other flank,things are not going well!!!
My Rangers have been forced back into the woods-even the bear is retiring!! however this didn't effect the overall result,but that bloody gun is still firing!!!
In the centre,my reinforcements are making an impact,and Brian's decision to march his reinforcements over to his right has meant that they were out of the action for the most part of the game-with the right flank ,and centre, in British control it was almost game over.
One final shot,showing the British in control of the centre and about to assault the Fort-however,Brian's reinforcements would probably have given them a hard time!!
A good game,involving good tactics,banter,colour and quite a bit of "nail biting!"
Roll on next Sunday,hopefully a full turn out,and probably a Marlburian game.
Wednesday, 31 January 2018
Game preview for Sunday 4th February 2018.
Variety certainly is the spice of life in my Wargames World,and to this end I have decided that the game we are playing on Sunday will be a French/Indian War conflict(even though I haven't got all the correct figures-imagination also plays a big part in my life!!)
This is the scenario(the name of the fort is a "Trumpism!"which he used to describe certain African and Asian countries!!)
This is how the "boys" will see the table when they arrive on Sunday-British infantry and Rangers on the left,French and Indians on the right.
Indians lurking in the woods,opposite the British artillery and HQ.
The British infantry,all lined up and raring to go!!
Rangers lurking in the woods,opposite the Indian camp-can anyone spot a bear?
The Indian camp(I know,I know,they didn't have Teepees-but it looks good!!)
OH NO!-IT'S THE WIFE!!!!!!!!
Roll on Sunday.
This is the scenario(the name of the fort is a "Trumpism!"which he used to describe certain African and Asian countries!!)
This is how the "boys" will see the table when they arrive on Sunday-British infantry and Rangers on the left,French and Indians on the right.
Indians lurking in the woods,opposite the British artillery and HQ.
The British infantry,all lined up and raring to go!!
Rangers lurking in the woods,opposite the Indian camp-can anyone spot a bear?
The Indian camp(I know,I know,they didn't have Teepees-but it looks good!!)
OH NO!-IT'S THE WIFE!!!!!!!!
Roll on Sunday.
Monday, 29 January 2018
Battle of Bairen,Spain 1097AD.
It is now the end of January,and our thoughts are turning towards "Carronade" on the 11th May!! so we thought we had better do some planning and give some thought as to what kind of game we are going to put as a demonstration.
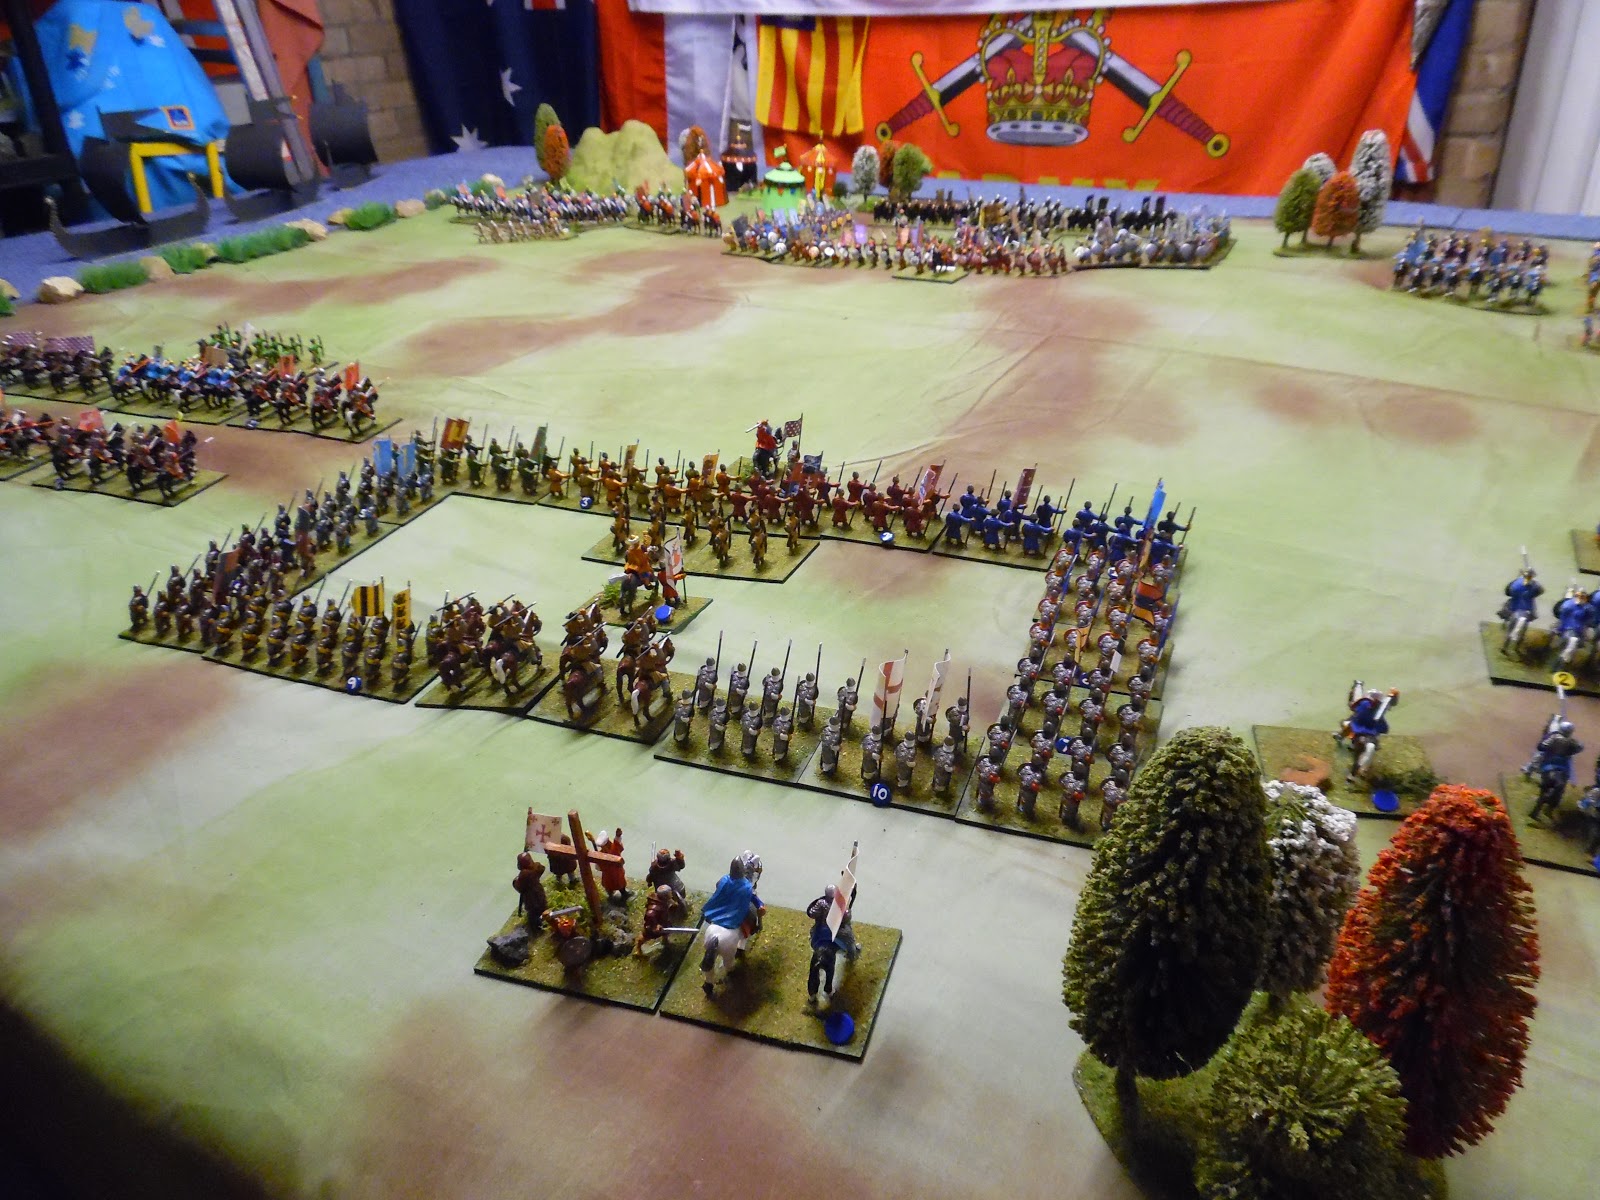
We pondered long and hard last week,and decided to give our "El Cid" figures a run out this week to try to see what a game would look like and translate onto the games table,and we came up with this lesser known battle from the period-Bairen!!
Top photo is the scenario,bottom is the table before any movement-Graham and Dave were the Spanish commanders,Brian,Paul and I were the Moors-I "assumed" that everyone had read the scenario,but Graham,who was in charge of the Spanish left flank,hadn't,and was "gobsmacked" when Paul's fleet opened a volley of arrows upon him!!!-oh how we laughed!
The "aforementioned" fleet,ready to inflict casualties on any Knight that strays into their field of fire!!
Before waiting for the result of the cavalry battles,about to take place on both flanks,the Spanish "square" moves forward,against the resolute and static Moorish square-a grand sight!
Top photo shows the cavalry clashing on the Moor's right,commanded by Paul,and the bottom one shows the cavalry clash on the Moor's left,commanded by Brian-the camels are causing a bit of confusion in the Spanish ranks-hurrah!!(not 100% historically accurate,but they look good!!)
Now it's the turn of the Infantry to get stuck in!-Graham has charged into my Square,and all hell has broken loose!!
Confusion!!-Infantry and cavalry locked in battle,units retiring(fleeing!) arrows still being shot from the ships-great stuff,and great wargaming.
The other flank looks worse!! but Paul is slowly getting the upper hand,but my square is looking "shaky" to say the least-this is going to be tight.
Brian's flank has collapsed,my square has collapsed,and even though Paul is dominating his flank and shoreline,we had to concede and call it a Spanish win!-what a game,and well done lads,I think we might just take this game to Falkirk.
Roll on next Sunday,could be a Marlburian game,but who knows??
We pondered long and hard last week,and decided to give our "El Cid" figures a run out this week to try to see what a game would look like and translate onto the games table,and we came up with this lesser known battle from the period-Bairen!!
Top photo is the scenario,bottom is the table before any movement-Graham and Dave were the Spanish commanders,Brian,Paul and I were the Moors-I "assumed" that everyone had read the scenario,but Graham,who was in charge of the Spanish left flank,hadn't,and was "gobsmacked" when Paul's fleet opened a volley of arrows upon him!!!-oh how we laughed!
The "aforementioned" fleet,ready to inflict casualties on any Knight that strays into their field of fire!!
Before waiting for the result of the cavalry battles,about to take place on both flanks,the Spanish "square" moves forward,against the resolute and static Moorish square-a grand sight!
Top photo shows the cavalry clashing on the Moor's right,commanded by Paul,and the bottom one shows the cavalry clash on the Moor's left,commanded by Brian-the camels are causing a bit of confusion in the Spanish ranks-hurrah!!(not 100% historically accurate,but they look good!!)
Now it's the turn of the Infantry to get stuck in!-Graham has charged into my Square,and all hell has broken loose!!
Confusion!!-Infantry and cavalry locked in battle,units retiring(fleeing!) arrows still being shot from the ships-great stuff,and great wargaming.
The other flank looks worse!! but Paul is slowly getting the upper hand,but my square is looking "shaky" to say the least-this is going to be tight.
Brian's flank has collapsed,my square has collapsed,and even though Paul is dominating his flank and shoreline,we had to concede and call it a Spanish win!-what a game,and well done lads,I think we might just take this game to Falkirk.
Roll on next Sunday,could be a Marlburian game,but who knows??
Monday, 22 January 2018
Battle of Leignitz 1241.
We re-fought this battle involving Mongols and an alliance of Polish/Teutonics/Lithuanians,last night,and I think it gave the "lads" something to ponder on!!!!
The scenario.Paul and I were the Mongol commanders,whilst Dave and Graham were in charge(?) of the Alliance troops.
For the first two moves the Alliance knights trundled forward,being shot at by the Vanguard archers,as well as being peppered on the flanks by light archers!!-very dis-concerting for the Alliance commanders-then!!!! the first of the Mongol "dirty tricks"-a smoke screen was raised on both flanks,preventing the Alliance second line from moving forward!-The Teutonic knights were in full melee with the Mongol second line,and were being "chewed up"-hurrah!!
Despite some minor successes,the Alliance front line is being driven back,through the smoke,into the second line,disrupting it and preventing any movement,meanwhile the Mongol horse archers are still "peppering" the flanks,and sending the allied infantry running for their lives!!-great stuff(if you're Mongol!)
This shot is taken from behind the Alliance lines,showing the chaos that the smoke and archers are causing,as well as the fleeing Teutonic knights!!
This is Dave's left flank,showing his infantry under considerable pressure,his Teutonics are about to crash through Graham's second line of knights-Graham was not a "happy bunny!"
The mongol "medium" lance armed cavalry are reforming,ready to attack the flanks of the Alliance second line,as the Mongol Heavy cavalry advance to take advantage of the chaos in front of them!-basically, correct Mongol tactics on the day!!
As the heavies clash into the second line Alliance troops,the earlier casualties caused by the horse archers are effecting their ability to fight on equal terms,and all melees were lost-hurrah again!
With the encircling tactic coming into play,the Alliance commanders held their hands up and admitted defeat-all historically correct,and a good re-fight-well done to us all.
It was clear that,if we are to embrace this new period,we must all do some research into period types and tactics,weapon capabilities etc. etc. and I'm sure we will.
Roll on next Sunday.
The scenario.Paul and I were the Mongol commanders,whilst Dave and Graham were in charge(?) of the Alliance troops.
For the first two moves the Alliance knights trundled forward,being shot at by the Vanguard archers,as well as being peppered on the flanks by light archers!!-very dis-concerting for the Alliance commanders-then!!!! the first of the Mongol "dirty tricks"-a smoke screen was raised on both flanks,preventing the Alliance second line from moving forward!-The Teutonic knights were in full melee with the Mongol second line,and were being "chewed up"-hurrah!!
Despite some minor successes,the Alliance front line is being driven back,through the smoke,into the second line,disrupting it and preventing any movement,meanwhile the Mongol horse archers are still "peppering" the flanks,and sending the allied infantry running for their lives!!-great stuff(if you're Mongol!)
This shot is taken from behind the Alliance lines,showing the chaos that the smoke and archers are causing,as well as the fleeing Teutonic knights!!
This is Dave's left flank,showing his infantry under considerable pressure,his Teutonics are about to crash through Graham's second line of knights-Graham was not a "happy bunny!"
The mongol "medium" lance armed cavalry are reforming,ready to attack the flanks of the Alliance second line,as the Mongol Heavy cavalry advance to take advantage of the chaos in front of them!-basically, correct Mongol tactics on the day!!
As the heavies clash into the second line Alliance troops,the earlier casualties caused by the horse archers are effecting their ability to fight on equal terms,and all melees were lost-hurrah again!
With the encircling tactic coming into play,the Alliance commanders held their hands up and admitted defeat-all historically correct,and a good re-fight-well done to us all.
It was clear that,if we are to embrace this new period,we must all do some research into period types and tactics,weapon capabilities etc. etc. and I'm sure we will.
Roll on next Sunday.
Subscribe to:
Posts (Atom)