Back in 2018 no doubt in a moment of boredom, and probably inspired by Roger Castle’s Great Northern War collection, I found myself considering one of British history’s greatest underdogs, the Duke of Monmouth.
“A Monmouth, a Monmouth!” I hear the voices in my head cry…!
An old print showing the Battle of Sedgemoor.
I think that it’s safe to say that I’m often drawn to historical underdogs and on the surface the Sedgemoor campaign looks very one-sided. Plus the battle of Sedgemoor was a very small battle so a little would go a long way towards scratching that itch caused by me coveting Roger’s beautiful GNW figures!
I cast around and found suitable figures were available from Warfare Miniatures, but then an eBay lot intervened - cheap, secondhand, unpainted Front Rank miniatures for both armies at Sedgemoor. I’d always considered Front Rank figures too chunky, too crude, but after a little research, I convinced myself of the merits of Front Rank for this project, and the price was right, so I bought the eBay blinkin’ lot. The figures in the eBay lot would see me right for pretty much all the figures I’d need to recreate the battle of Sedgemoor. This was my first purchase of Front Rank miniatures. First impressions of the minis in the flesh? Gorgeous!
So I’d committed to a small, compact late 17thc collection (and importantly if this collection was ever to see the tabletop, my mate Steve Shann had agreed to take the painting commission).
The end? Of course not! More of that in another post though.
I’d never really noticed the late 17thc as a wargames period. It appears to be the poor relation sitting quietly between the English Civil War and the Marlburian period. On the contrary, once you start delving, you find that it has a great deal to offer as a wargames period. I’ve already mentioned Warfare Miniatures; proprietor Barry Hilton is a great advocate of the period. His love for all things late 17thc has brought us figures, flags, rules, books and articles aplenty. The period is in fact very well supported. It’s no wargames backwater.
A selection of my books on the late 17thc. Knowledge is power, you understand.
A very potted history of the Sedgemoor campaign…
Following the death of Charles II in February 1685, his younger brother James was crowned king. James II, of England and Ireland and James VII of Scotland (pre Act of Union remember). Anyway he was a Catholic which was a big no-no to a lot of his subjects.
Monmouth was Charles’ illegitimate son, a Protestant and had ideas that he needed to remove James. Initially he didn’t declare an interest in the throne. He was a popular man and a proven military leader.
Politically speaking, Monmouth was a Whig and King James was a Tory.
Landing at Lyme Regis with a core of officers and an abundance of military provisions on 11th June 1685, Monmouth attracted an army that within the space of a month was raised and trained, then shattered and scattered on Sedgemoor.
If you’ve heard it called the “pitchfork rebellion” I can tell you that is so misleading. Monmouth’s army was far from being a mob of yokels armed only with farming tools! (Though scythes do feature)
Not only might the men who joined Monmouth have previous military experience, but within days they would have been drilled in the art of 17th century warfare, which was both formal and complicated.
A number of sizeable engagements took place over the course of the campaign in which Monmouth’s men not only performed well, but on occasion bested the King’s militia and regulars. By the first week in July the army was about 3,500 strong (less than a capacity crowd at Wimbledon No 2 Court! That’s a small army right?) and bottled up in Bridgwater…
Faced with the prospect of coming under siege, Monmouth took a gamble. In the wee small hours of 6th July, Monmouth’s army quietly quit Bridgwater and took a circuitous route towards the King’s army encampment near Westonzoyland. A surprise attack across the Sedgemoor would sweep away the enemy and open the way to London.
Things went wrong. Things that make a difference. Certain what-ifs that can make a tabletop recreation interesting. By dawn all was lost. And following his capture, Monmouth lost his head!
A review of Monmouth’s army then!
The whole of the little army. Small but perfectly formed!
The command base representing the Duke of Monmouth. A few abandoned items on the base. Clearly this is the young fella towards the end of the battle of Sedgemoor.
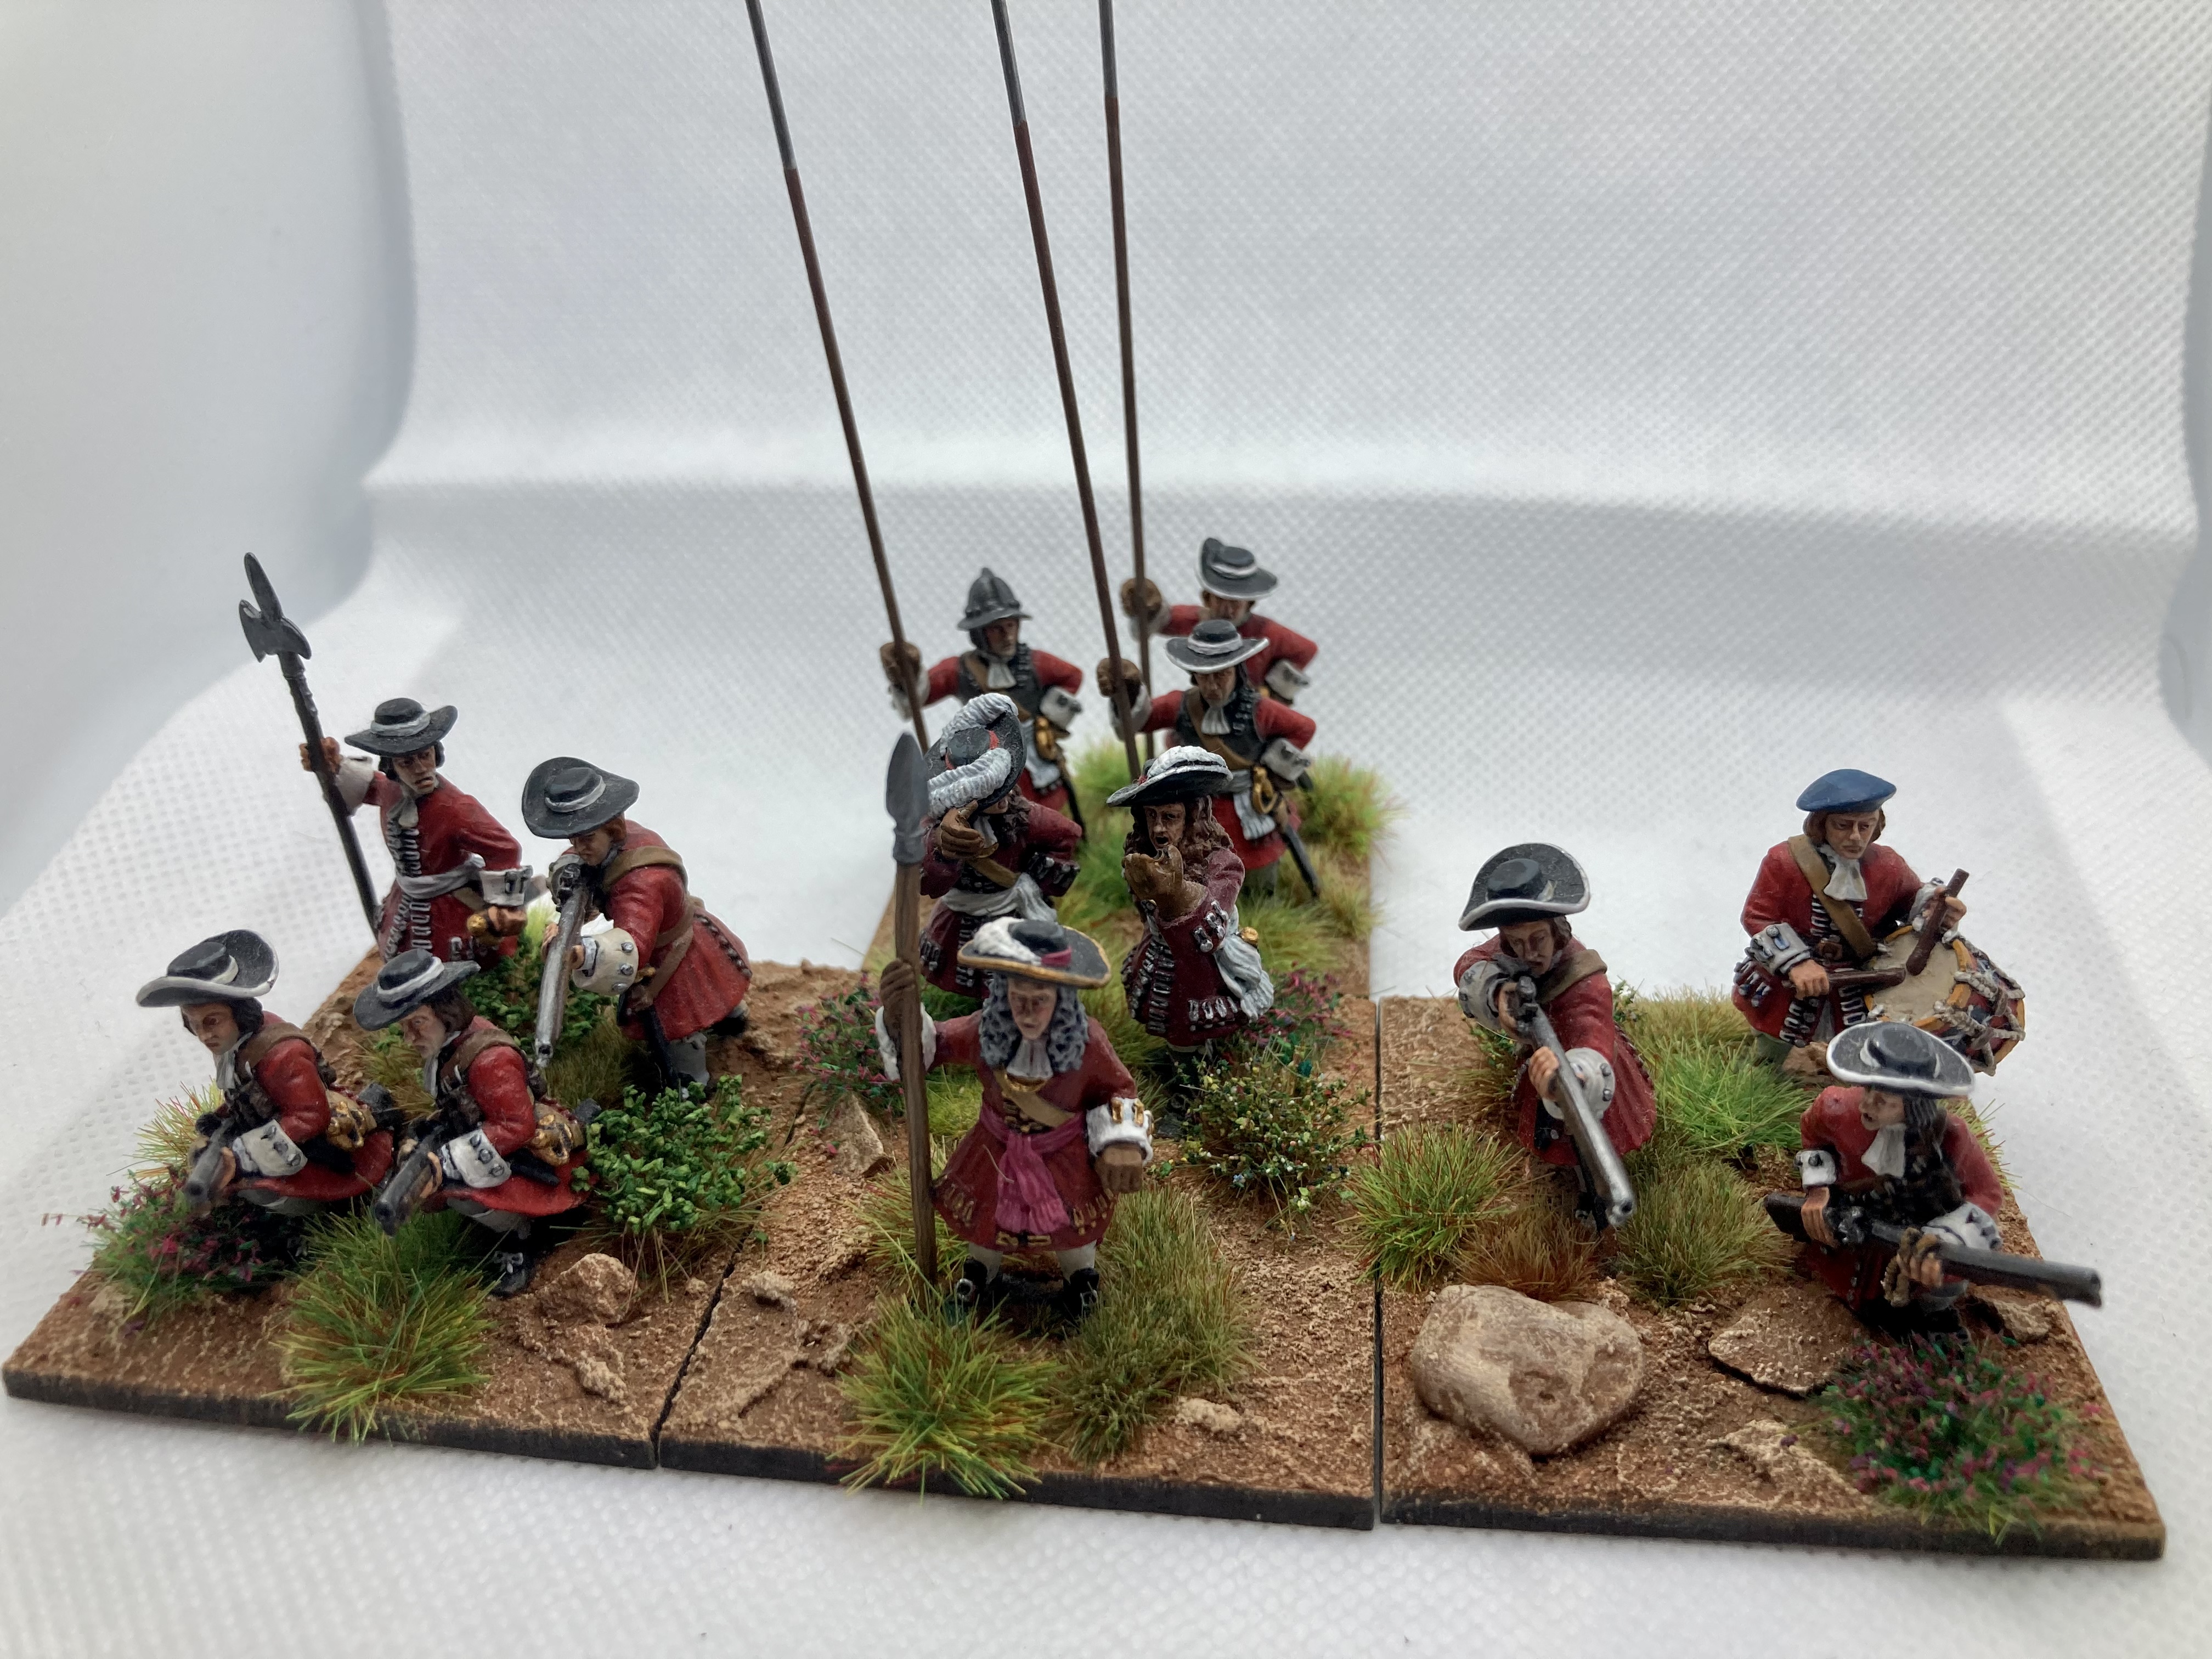
The Red Regiment. This was Monmouth’s Regiment. Sort of his Foot Guards. They were consistently about 800 strong. I’ve chosen to use Black Powder Pike & Shotte rules and this regiment will count as large. All my foot regiments are shown in battalia with the pikemen and standards from each company gathered in the centre.
A lot of my research is based on the writings of Stephen Carter and I’m with him that Monmouth brought with him a quantity of purple coats faced red. So this being Monmouth’s regiment, they’ve been issued these coats at Lyme Regis and a goodly proportion are therefore uniformed.
Reading older reference books, the description of the coats as “red faced purple” was taken to mean red coats with purple facings. Stephen Carter argues for it being the other way around. It’s not just that I like purple! Reading the reports of the English and French spies who saw the coats being made, it is most likely purple faced red, and not red faced purple coats. Semantics?! Who’d ’av’ ‘em?!
The regiment carries Monmouth’s personal standard, green with the motto “Fear Nothing but God”.
For the majority of their existence, the Red Regiment was commanded by Major Nathaniel Wade. He was not a career military man, but proved to be a competent officer. The regiment saw service at Bridport, Axminster, Keynsham, Norton St Philip and Sedgemoor. All the major engagements! At Sedgemoor, the regiment was the first of Monmouth’s infantry to engage the enemy and provided the rearguard as the army fell back/disintegrated.
Colonel Foulkes’ White Regiment. Whilst it was the second regiment formed in Lyme, by Sedgemoor it was reduced to around 400 men, the smallest of the five foot regiments. 500 men was about the norm in James’s battalions. So 400 men is still a normal sized unit for Pike & Shotte. James II describes Monmouth’s army as having “five great battalions” as for the most part the regiments were larger than the usual establishment.
As you may be able to see, my standard foot regiment is a command base in the centre with a wing of musketmen either side. And behind the command base is a base of pikemen.
The White Regiment had seen almost as much service as the Red Regiment though not always in the thick of it; it was present at Bridport, Axminster, Norton St Philip and of course Sedgemoor. Perhaps because of its reduced size, it was the last foot regiment arriving at Sedgemoor and was chopped up by Royalist cavalry.
Foulkes was an experienced, professional soldier.
Colonel Holmes’ Green Regiment was the third regiment raised at Lyme. It mustered about 600 men at Sedgemoor. It had also seen service at Axminster and was heavily engaged at Norton St Philip. At Sedgemoor engaged by artillery and dragoons to their front, they were taken in the flank by cavalry and broken. Holmes was another experienced military man.
Lieutenant Colonel Matthews’ Yellow Regiment was the last regiment raised at Lyme and mustered about 500 men at Sedgemoor. It had also been busy during the campaign being present at Axminster, Keynsham, Norton St Philip and Sedgemoor. This regiment formed line to the left of the Red Regiment at Sedgemoor and was one of the last to break and flee. Matthews was a close friend of Monmouth and another experienced, professional soldier.
The Taunton Blue Regiment was formed late in the campaign on 20th June and was the only properly regional regiment being formed exclusively of men from and around Taunton. Taunton men were drawn from the other regiments to form this one and it was probably around 600 strong at Sedgemoor. It was present at Norton St Philip and like the White Regiment behind it, the Blue Regiment was broken by cavalry at Sedgemoor.
Its commander Colonel Richard Bovett was from Taunton and an experienced officer.
You will have noted the colour coding of the regiments. Very useful from a wargames point of view! Your average man on the late 17thc street was used to such colour coding in the militia, so it was possibly intended to be comfortably familiar.
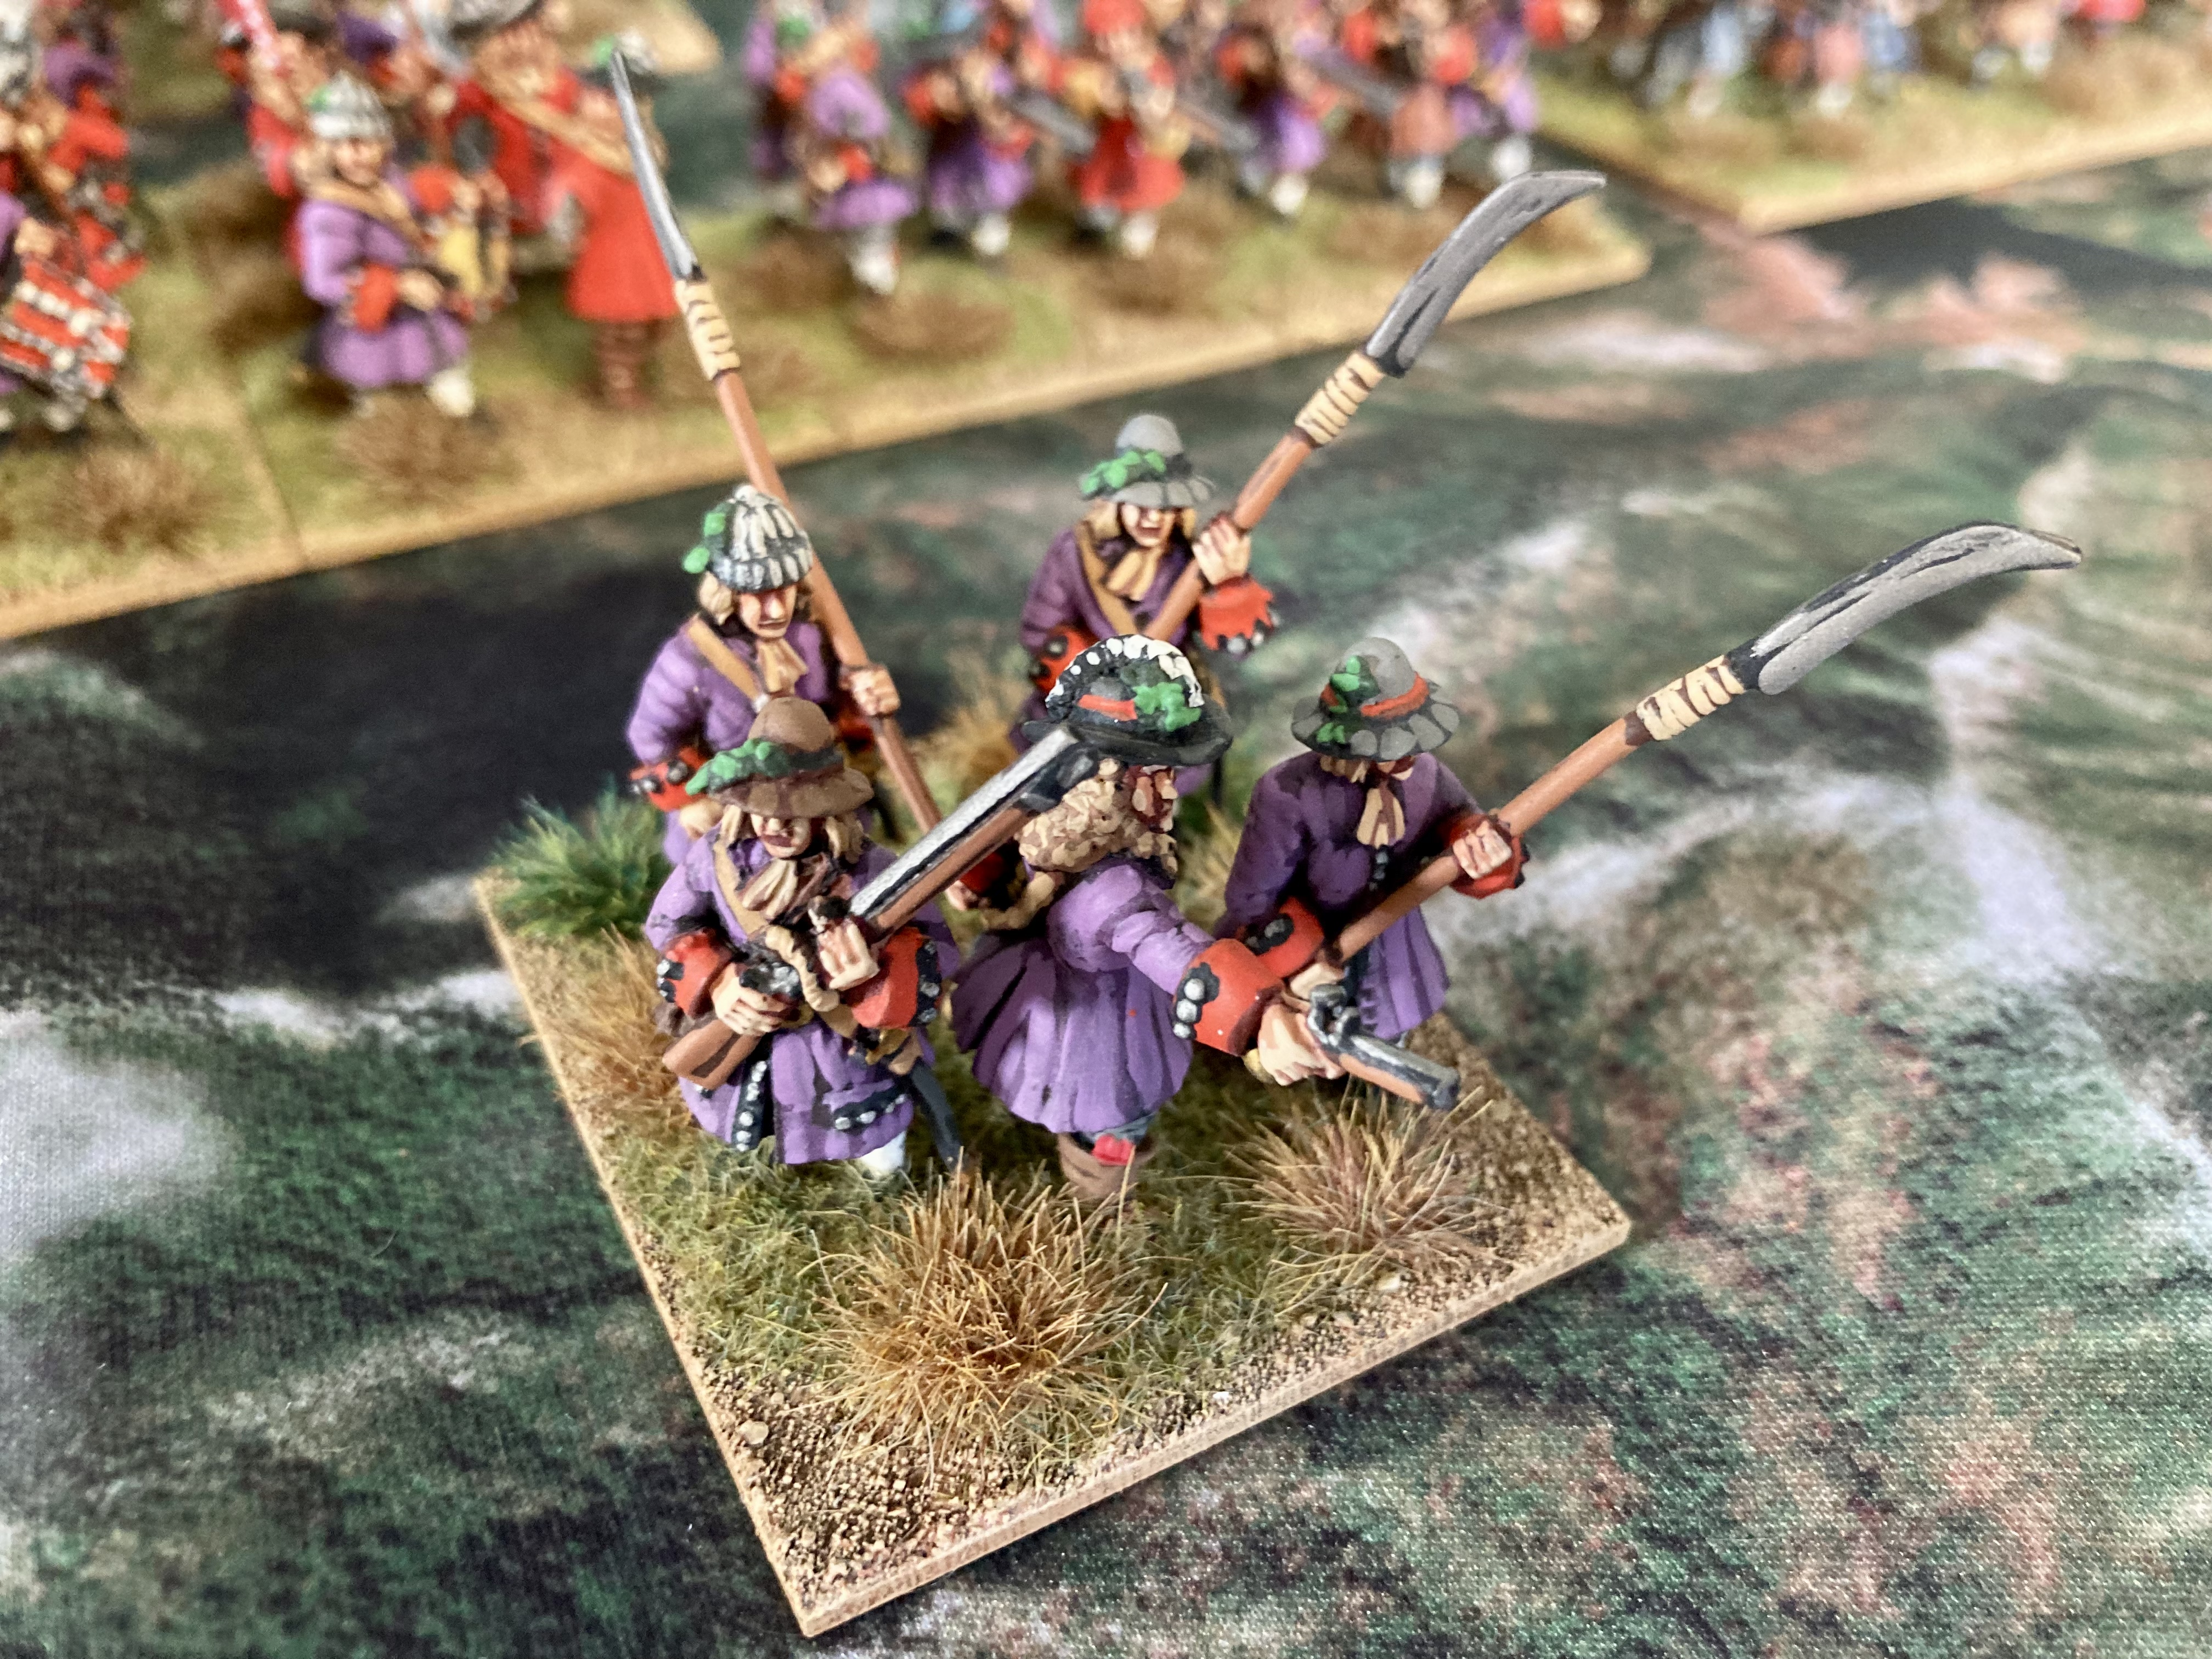
According to Stephen Carter, scythe companies were added to each foot regiment when the army was reorganised at Taunton, this little army’s equivalent of grenadier companies. At Sedgemoor he has them as a composite battalion under an experienced Dutch officer, Colonel Brandt. This unit represents this combined scythe battalion.
The combined scythe battalion was leading the Blue and White Regiments and all being well would have formed the right of the second line. Confronted by enemy cavalry before getting into position, it probably held its ground for a good while as the foot behind them were broken and the Green Regiment in front of them began to withdraw.
So yes there were farm tools. Carter suggests that scythes were a formidable terror weapon! And I can well believe that.
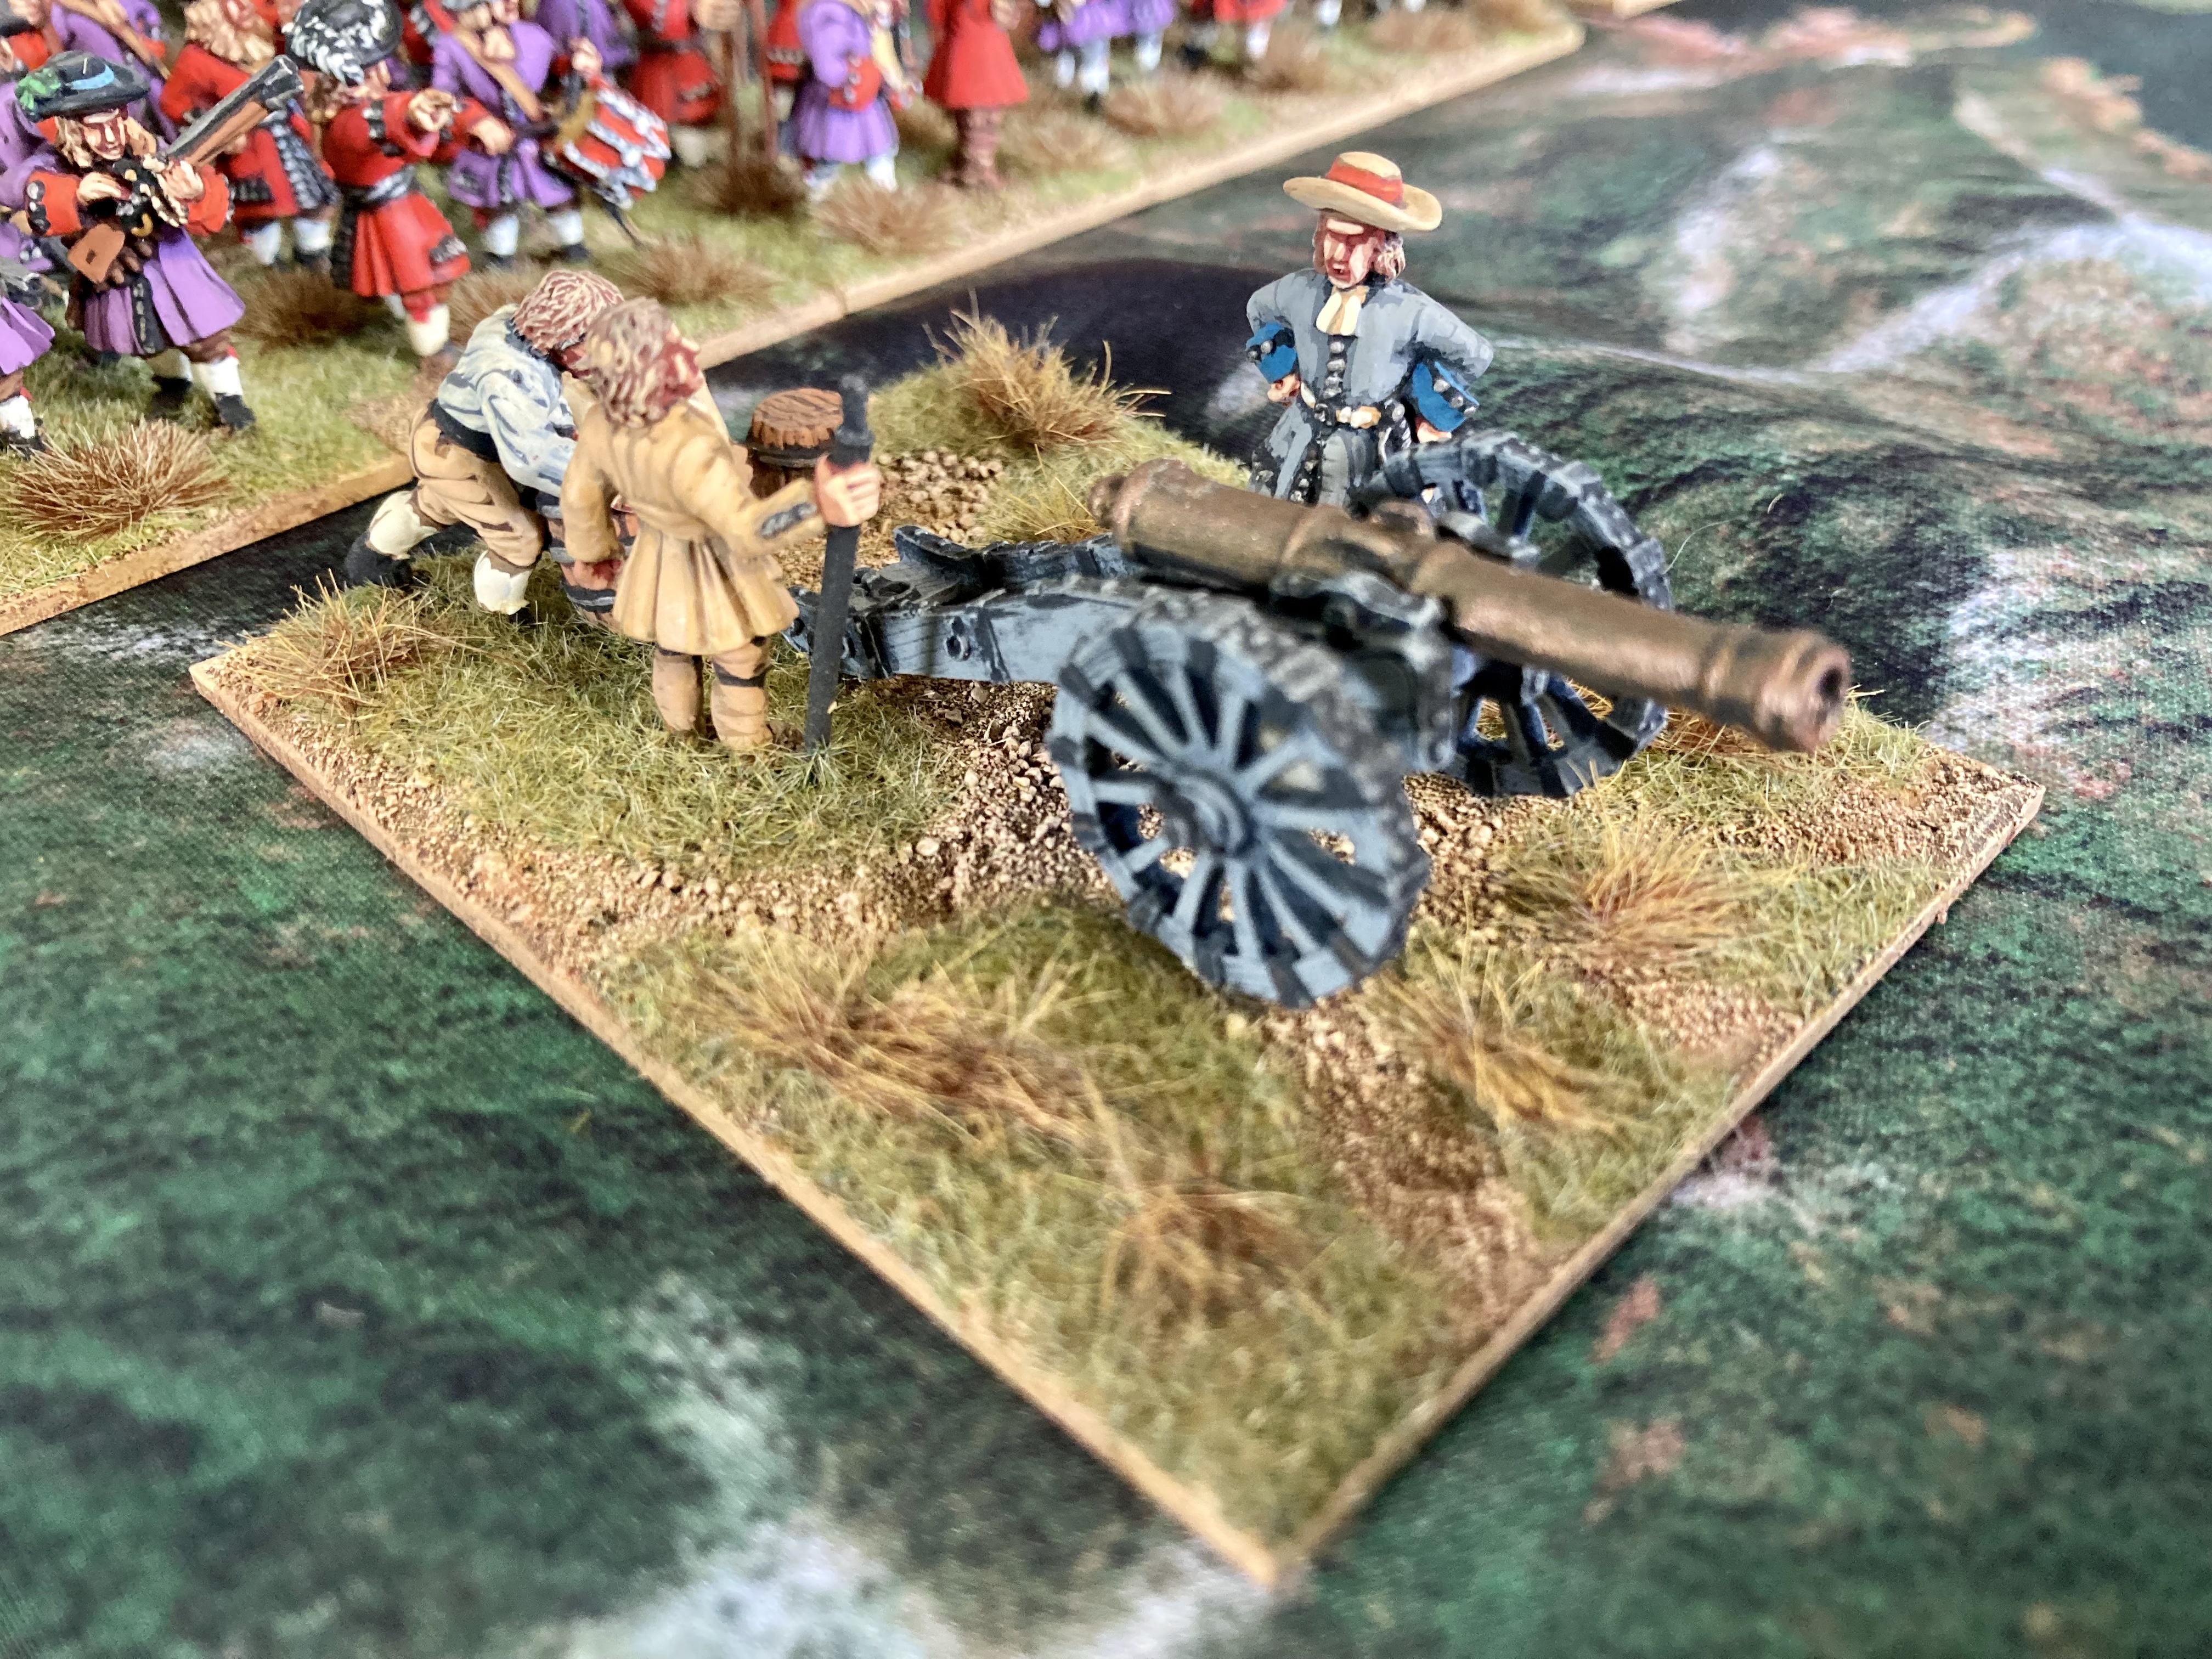
Monmouth brought a small number of light cannon with him. One base is sufficient to represent them. They exchanged fire with the Royalist artillery at Norton St Philip and played bloody murder with the enemy infantry ranged before them at Sedgemoor. They were commanded by another capable Dutch officer, Captain Buyse.
The Lyme Independent Company was formed when Monmouth first landed. It may have acted as an honour guard, perhaps looking after Monmouth’s personal standard, or it may have acted as the artillery guard. As a prestigious little group I’ve represented them by a single base wearing the purple coats faced red. And like the ‘grenadier’ companies, they are armed with scythes. This will be a “tiny” unit in Black Powder game terms.
The cavalry under Lord Grey of Warke. A man often maligned for his command ability, he was no military man, but he was a loyal Whig and not lacking in the bravery department.
Monmouth’s cavalry numbered about 600 men, but not all were present at Sedgemoor. In an army of the late 17thc that’s a low proportion of cavalry.
There were 4 squadrons of cavalry present at Sedgemoor. My figures sort of represent 3 squadrons. One base represents Monmouth’s Lifeguard troop. Like other senior soldiers in the army, the Lifeguard wear the purple uniform coat. The other cavalry wear “civvies”/buff coats. Note that late 17thc officers wore pretty much what they pleased and that their purse allowed. Red or scarlet coats were the preferred fashion for officers.
The cavalry’s part in the battle of Sedgemoor is mostly ignominious! Let’s move along swiftly!
A selection of the casualty markers for this army. There is no figure removal in Black Powder Pike & Shotte. Casualties are recorded against a unit’s Stamina. So the marker is placed next to the unit with the inbuilt dial showing the number of casualties. It’s a morale effect rather than actual dead figures.
Command bases for foot brigades (called battalia in the rules). These will be used to represent the likes of Wade and Brandt. Couple of Warfare Miniatures making up one base. Otherwise the entire army uses Front Rank minis. 99.9% of the painting by Mr Shann.
There you have it; a quick dip into late 17thc wargaming, a very brief overview of the Sedgemoor campaign and a review of the miniatures in my Monmouth ‘rebel’ army.
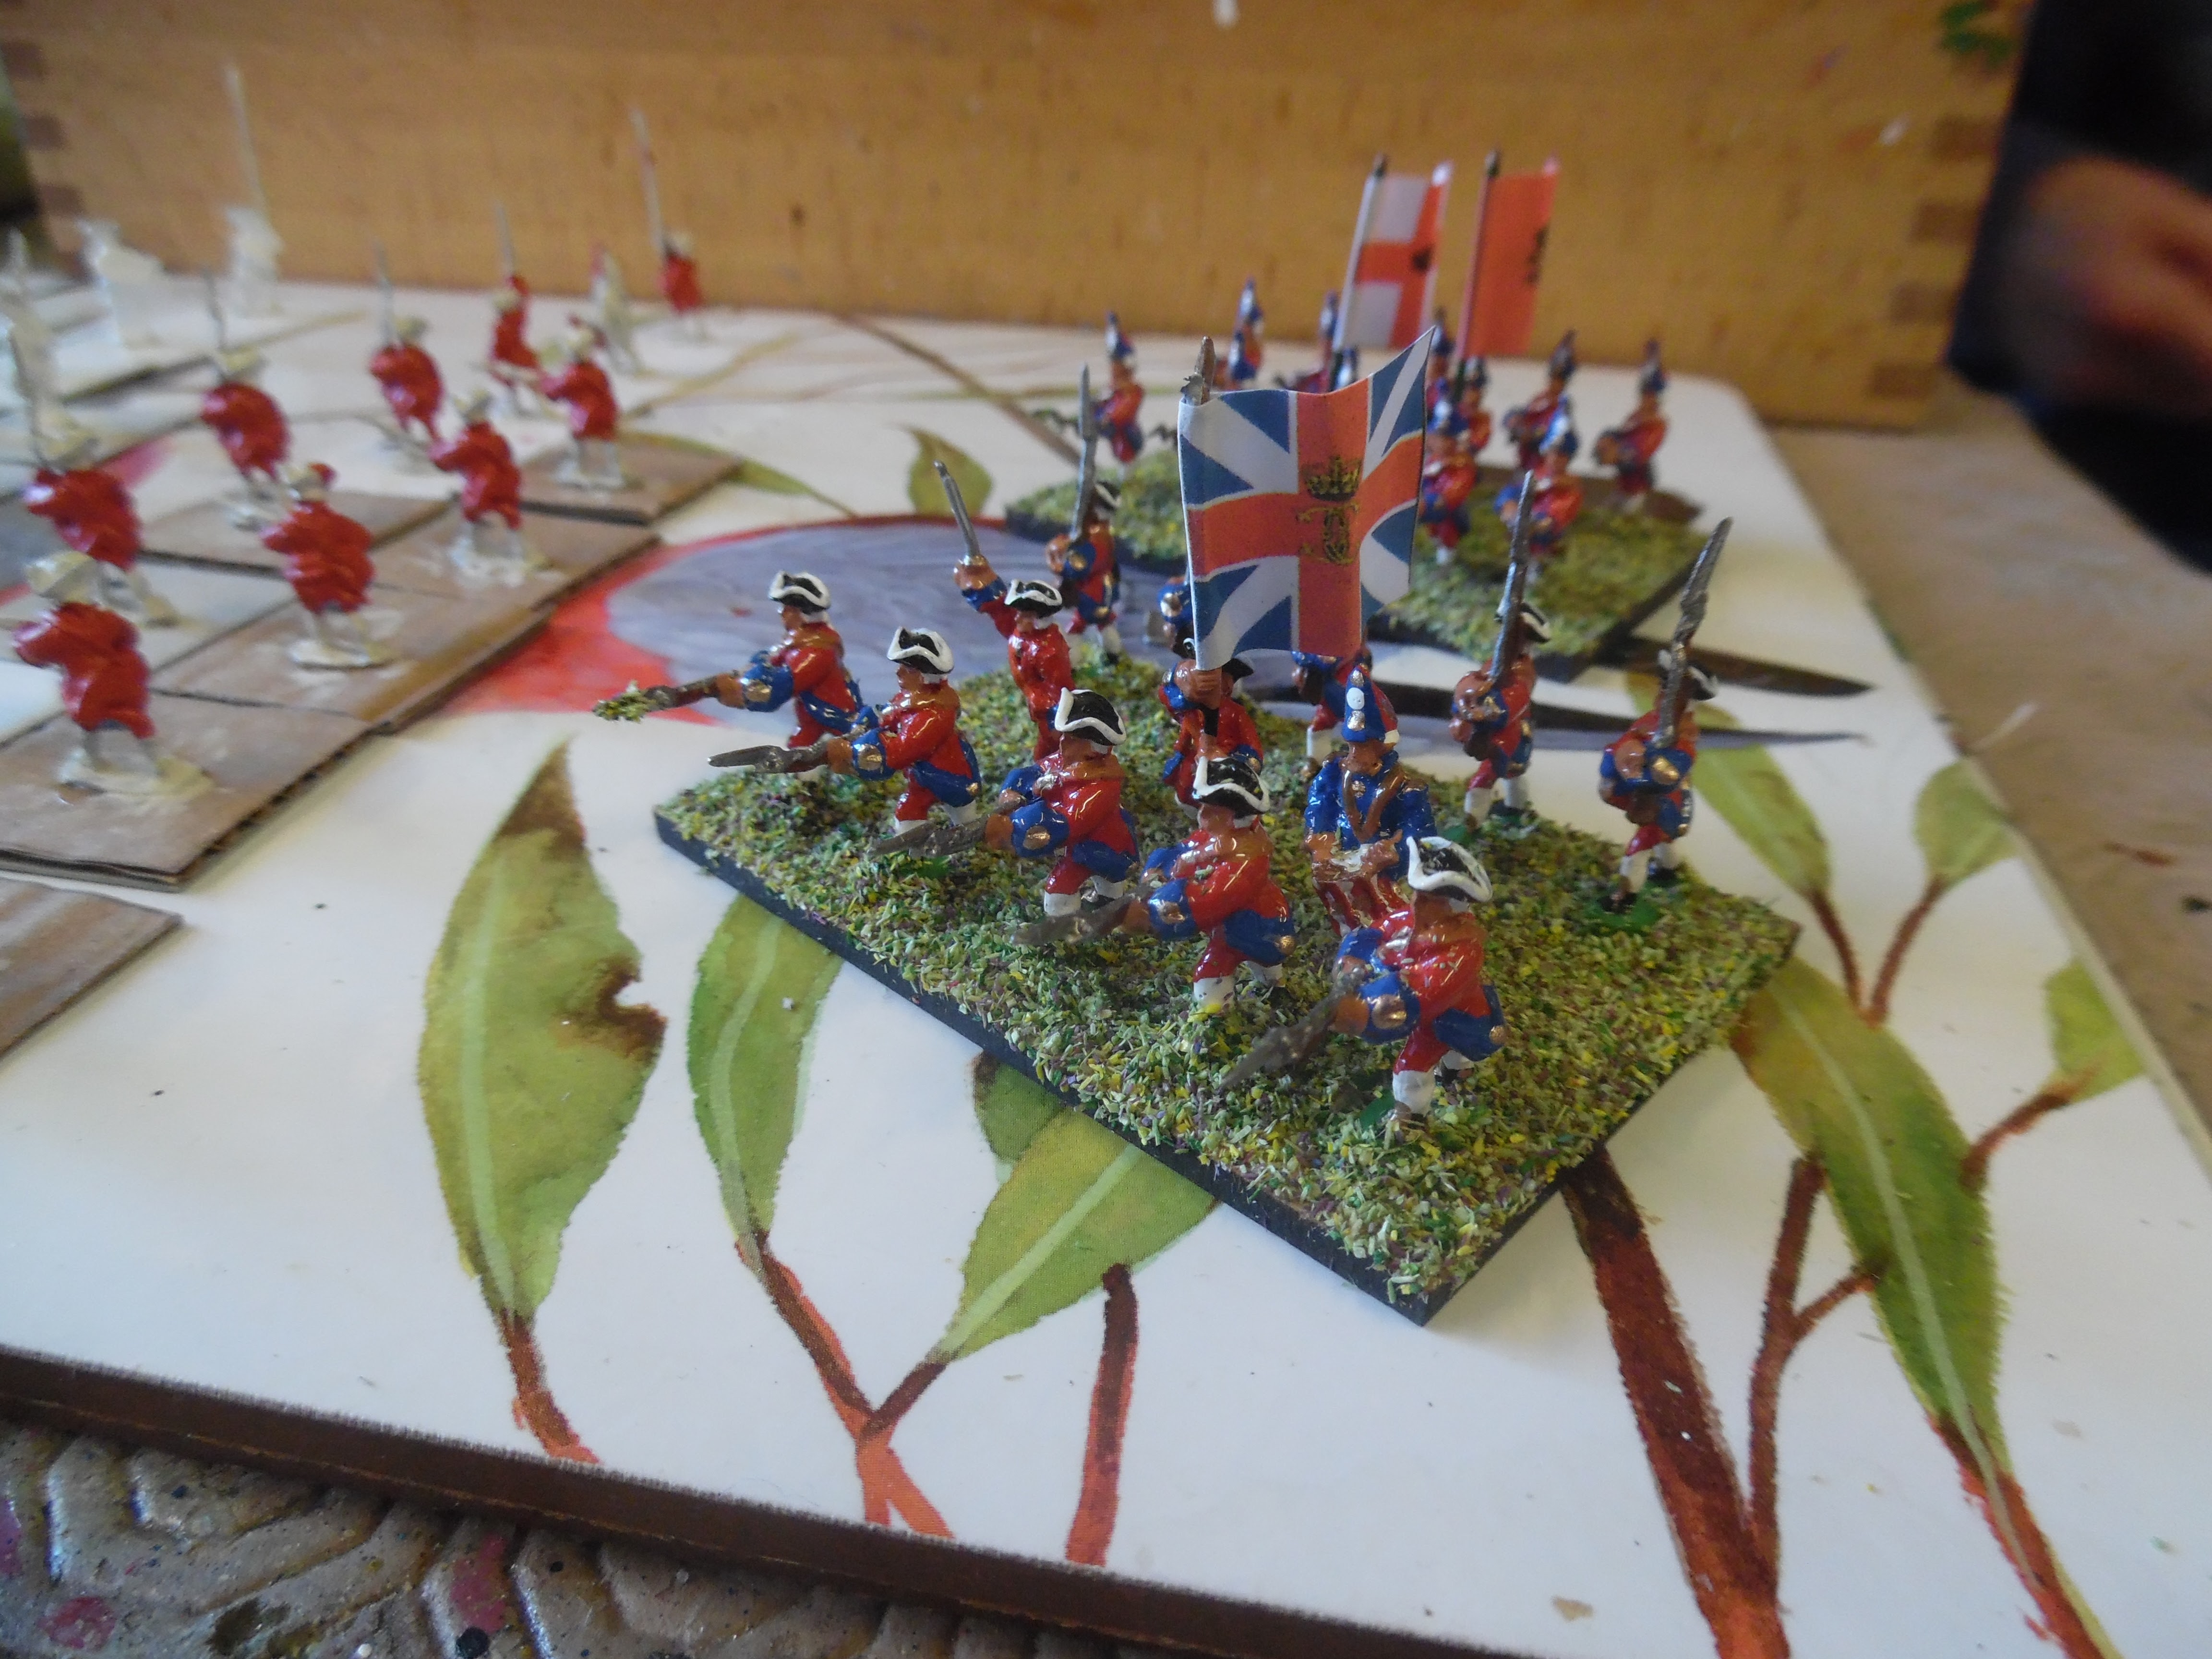
In part 2 of this occasional series of posts, I will parade the figures I have for King James’s army at Sedgemoor.
As ever, thanks for reading!
Cheers
Chris