In 1661 King Charles II married Princess Catherine of Braganza and as part of her dowry, Charles was given Tangier.
I had come across several mentions of the Tangier garrison whilst reading about the Monmouth Rebellion; most of the Royalist units at the battle of Sedgemoor in 1685 had previously been part of that garrison!
By 1685 the garrison was no more. The English were no more welcome than the previous Portuguese and for two decades the Moors had fought against the English foreigners occupying the port of Tangier. The cost in both money and lives for the English was enormous. Little wonder they eventually got the message and evacuated Tangier.
Via a magazine article and a Helion book I learnt more about the history and gaming the conflict. Amongst my friends’ collections are vast numbers of El Cid Moors… There was definitely potential for a one-off game! A big game!!
The ideal scenario seemed to be the sortie of the garrison against the besieging Moors on 27 October 1680. Charles II had reinforced the garrison and with the added strength the governor Sir Palmes Fairborne decided that attack was the best form of defence! Whilst distractions were created on the flanks, drawing the Moors away, the garrison attacked in the centre and swept the Moors from their positions! (Temporarily!) Fairborne has been mortally wounded in a reconnaissance three days earlier. He was taken onto the walls of Tangier to watch the final stages of this little victory.
On to our game…
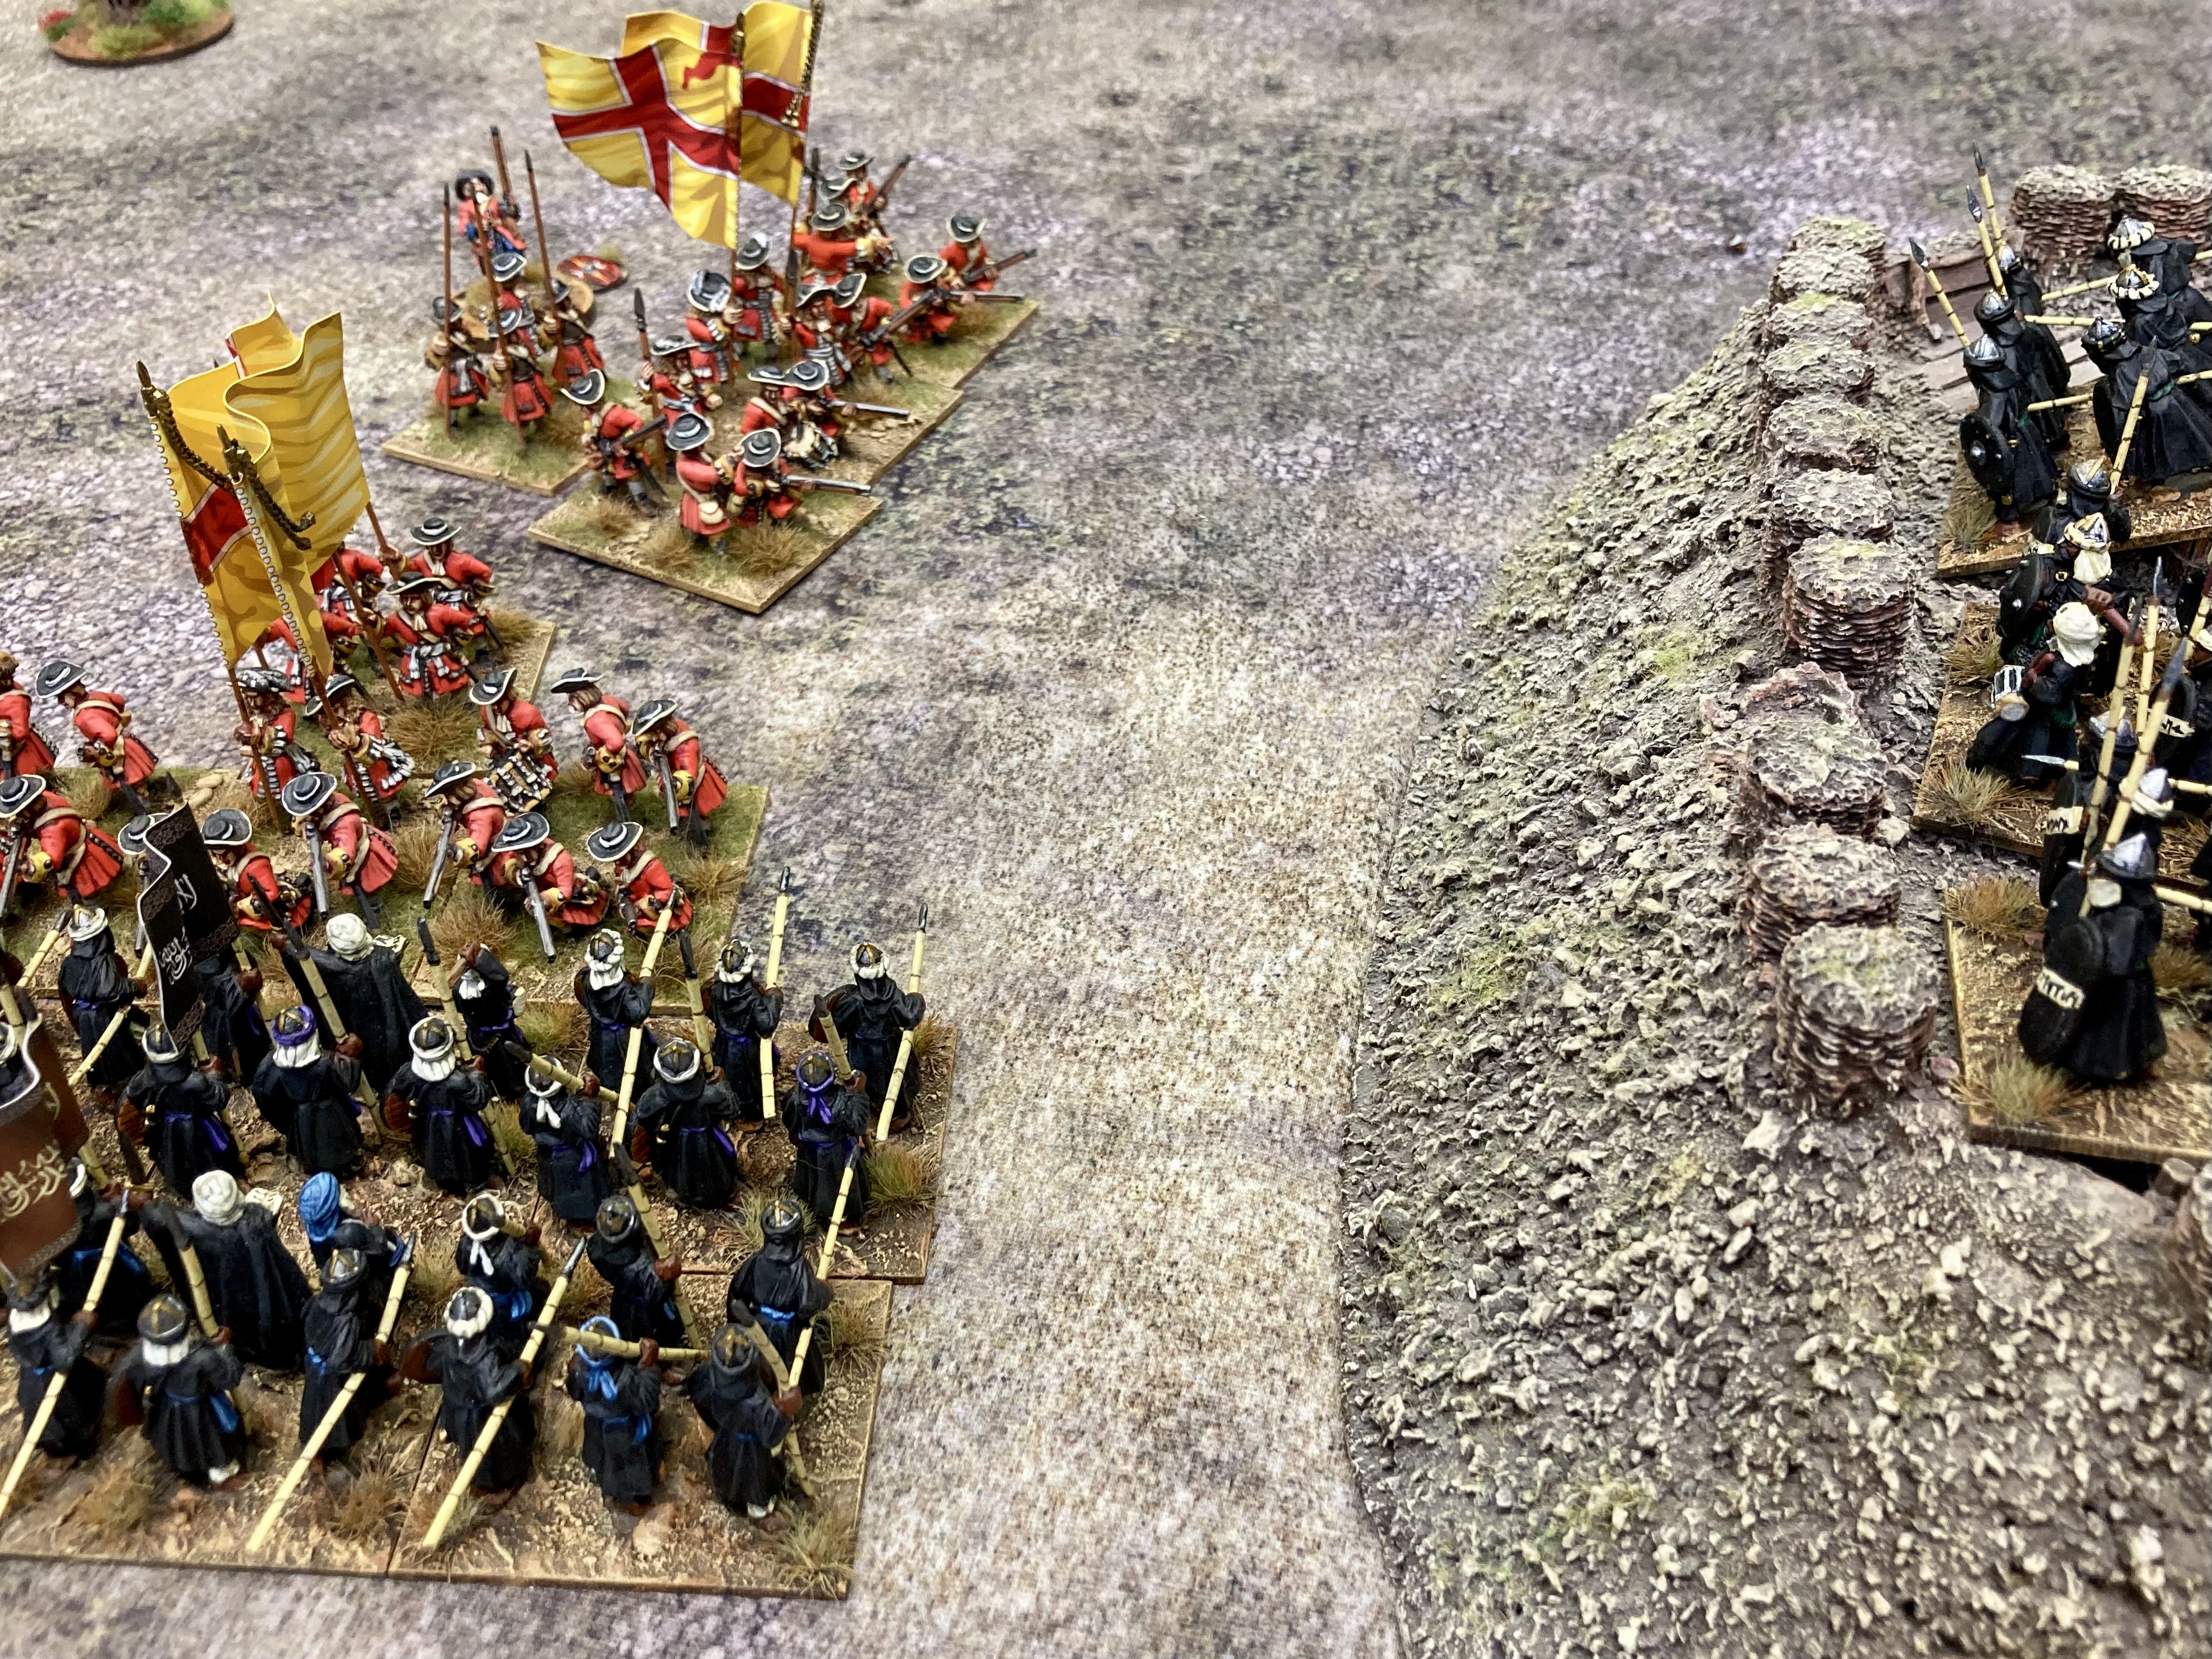
The English garrison has quietly marched out of Tangier and formed up. Left to right as you look at them are a composite company of grenadiers, the King’s Battalion (the Guards), Dumbarton’s Regiment (a Scottish unit, but on the English Establishment. So English garrison is correct…), and the Tangier Regiment. The cavalry are mostly out of shot. The Tangier Horse are on the English right flank. The Spanish Horse (ok clearly “English” garrison is a generalisation!) are on the left flank.
Each English infantry unit represents a company in this game. And each cavalry unit is a squadron. That seemed the sensible scale to replay a battle with only three foot regiments on one side.
The Moors occupy trenches and saps around Pole Fort.
The rest of the duped Moorish army returns. This photo shows their right wing. There’s masses of them!
The Moors have mined Pole Fort. One of the two mines detonates successfully reducing the defences and causing a casualty on the fort’s defenders.
The 4 companies of Dumbarton’s close on the Moors. Just visible in the background are the King’s Battalion and Tangier Regiment; bad command dice mean they’ve not budged!
The Tangier Horse clash with the masses of Moorish cavalry in the shadow of the billowing smoke above Pole Fort.
The superior quality of the English cavalry wins out in this first melee. Even with units in support, the Moors are repulsed.
The Spanish Horse are hotly engaged on the other flank beyond Belleses Fort.
The CinC Fairborne sort of commanding from the walls of Tangier. The English players can have the CinC re-roll one failed command roll during the entire game. So not a large part for the dying governor to play.
Whilst Dumbarton’s start to clear the enemy from their trenches, the Tangier Regiment (above) and the King’s Battalion are still loitering!
The Spanish Horse are struggling. Like the Tangier Horse, they have a quality advantage over the Moors, but the light Berber horsemen of the Moorish army have the advantage of quantity.
The King’s Battalion has come up. With their assistance, Dumbarton’s have just about cleared all the Moors from their trenches.
Great fun to have essentially English Civil War type figures on the tabletop with camels! Above a squadron of Tangier Horse ride down some camel guns and another squadron bounces off some camelry.
The Spanish Horse continue their struggle against the Moorish cavalry.
The English players, in line with the objectives of the actual attack, are looking good for achieving their goal of clearing the trenches and taking the siege guns. The second photo above shows the King’s Battalion in the trenches and closing on the big guns.
Meanwhile the surviving unit of Moors from the trenches has the audacity to assault Pole Fort. And over on the other flank, Belleses Fort is under attack by Black Guard. Holding the two forts is a major part of the game for both sides.
We’re using El Cid era Black Guard to represent the Black Guard in this game. These Black Guard were sub-Saharan slaves and were better quality than the other late 17th century Moorish foot.
The Moors are in Pole Fort! The garrison are beaten, but the timely arrival of the composite grenadier company means that the fort hasn’t fallen yet.
The King’s Battalion attack the siege guns. One company is thrown back! The other is successful then pours fire into the remaining gun crew.
Back over at Belleses Fort, it has fallen to the Black Guard! The Tangier Regiment counter attack, but are repulsed from the fort.
The grenadiers have thrown the Moors out of Pole Fort. The cheeky Moors have the audacity to cause casualties and disorder the grenadiers with their limited firepower. At this time, the Moors were armed with muskets, bows, spears and scimitars.
It was a great looking game and played well. In the end, the fighting on the flanks was a meat grinder for both sides. The Tangier Horse were still full of fight, but the Spanish Horse were all but broken. In the centre, the Moorish foot had been clobbered. Importantly though, the Black Guard were still a force to be reckoned with and held Belleses Fort. The grenadiers held Pole Fort…
So guess what?! That strange gaming result, a draw! All the players seemed happy with that and had enjoyed the game. A successful one-off.
Big thanks to Chris F, Dave, Si, Jerry and Roj for a fun day’s gaming.
Thanks for reading!
Chris