
When the Duke of Monmouth landed in the South West of England and started raising an army to overthrow him, King James threw everything he could against the rebels. It wasn’t actually much. In 1685 the standing army was tiny!
Stephen Carter gives the strength of the Royalist army at Sedgemoor as a maximum of 2,700 foot and 700-800 cavalry. So pretty much the same size as Monmouth’s army. This was one of the things that drew me to recreating Sedgemoor: it only requires small armies.
Let’s review the King’s army!
With regards command, the way it worked was that the most senior officer in the most senior regiment was in charge. The Lifeguards were the senior regiment. The first troop’s colonel was the Duke of Albermarle, so he’d command the army. Nope, as Lord Lieutenant of Devon, he was already busy. So the second troop’s colonel would take command, the Duke of Northumberland. Sorry, busy! Command of the army devolved to the third troop’s colonel, the Earl of Feversham.

Louis Duras, Earl of Feversham was a French nobleman who had fought alongside Monmouth in the 1670s. It was probably fortuitous that command devolved to Feversham as he knew Monmouth’s style.
His critics claim that he slept through the entire battle of Sedgemoor, but that’s unlikely right? Irrespective, he had been canny in the short campaign, successfully blocking Monmouth from Bristol and London, then pushing the rebels back and he was just about to besiege or assault them in Bridgwater.
I have the above base earmarked to represent Feversham. There are a number of command bases I can use for notables in the Royalist army…


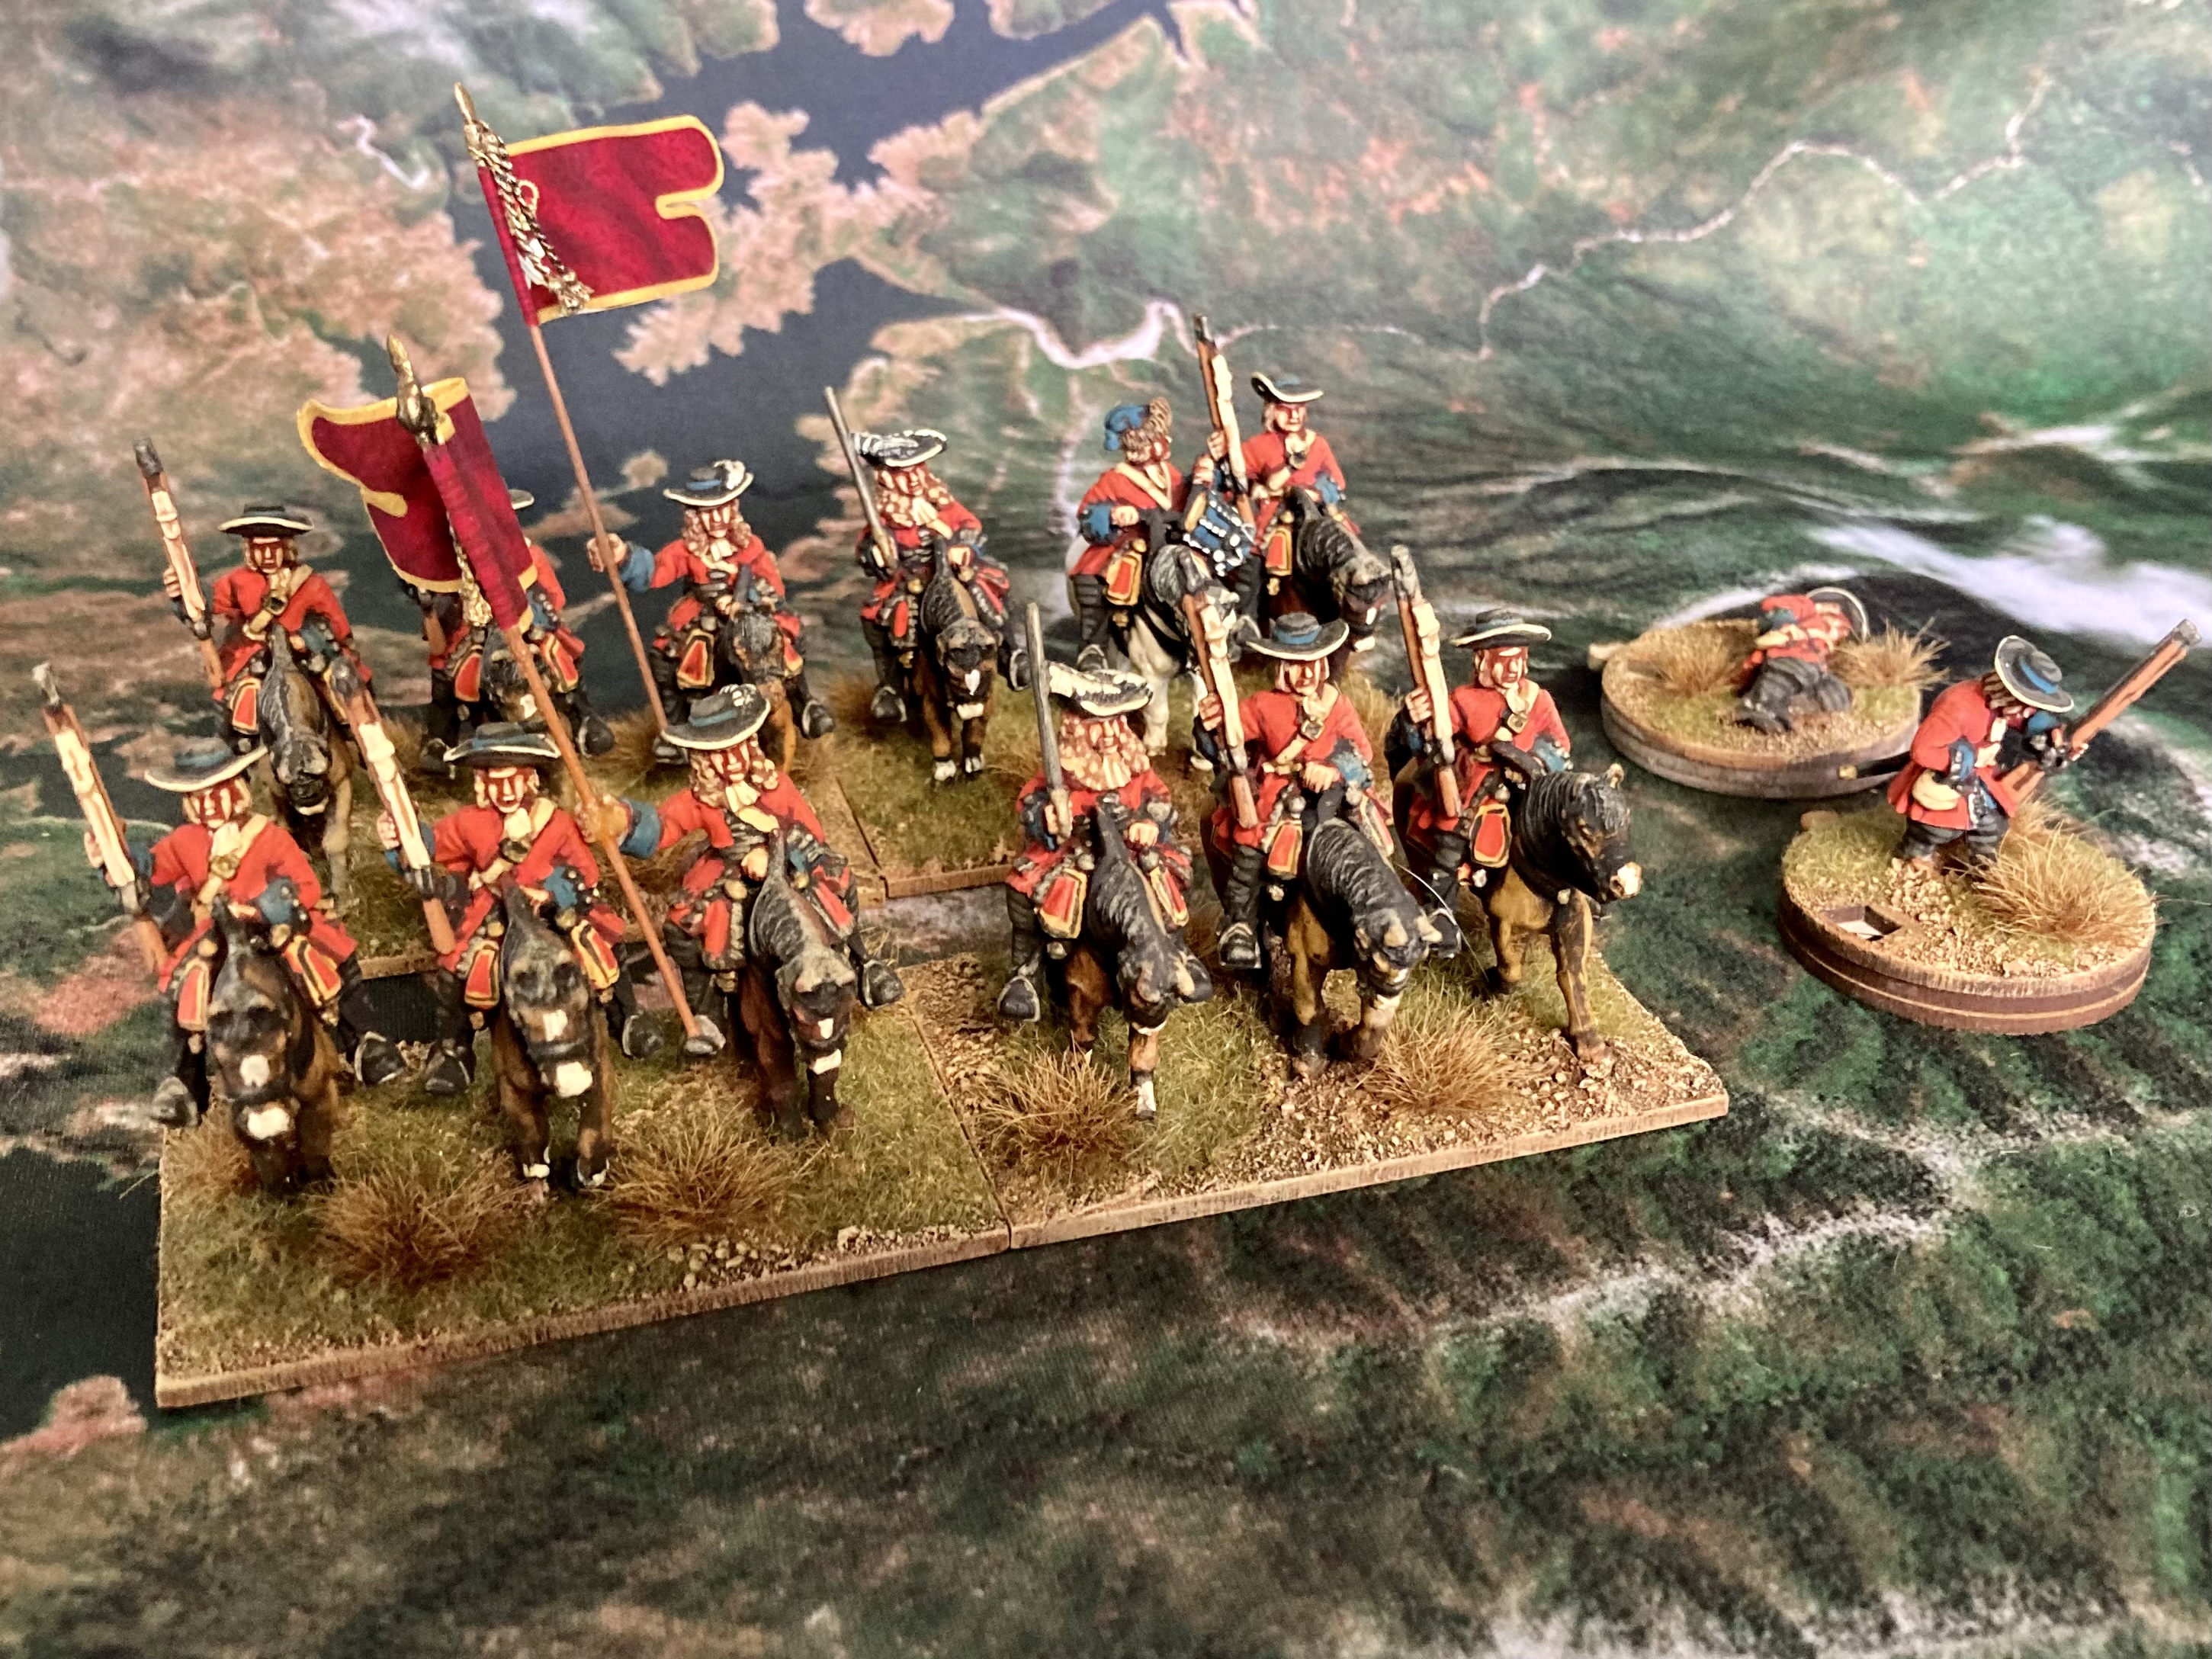
The Lifeguards. Note the combined horse grenadiers base. The horse grenadiers were sent forward at Norton St Philip to rescue the pinned vanguard. Hence I wanted them based together rather than a horse grenadier on each base (each of the three troops contained 50 gentlemen and had 20 horse grenadiers attached). Stephen Carter also has the horse grenadiers as a troop at Sedgemoor.


In addition to the Lifeguards, the Earl of Oxford’s Royal Regiment of Horse fielded 7 troops. Usually just called Oxford’s Blues, this was the only regiment of horse on the establishment! I love that they wore lobster pot helmets. And what a relief that there’s something in the army that isn’t in redcoats!
At Sedgemoor, the cavalry were mostly out on picket duty and deployed in squadrons rather than regiments. They crossed swords with some of Monmouth’s cavalry, but their main involvement was taking the rebel infantry in the flanks and the subsequent pursuit.


Lord Churchill’s Royal Regiment of Dragoons. Yes that Churchill! Later to be Marlborough. If I’ve got it right, 4 troops were deployed in the campaign and 2 of them were present at Sedgemoor. The regiment was fairly new having been formed from the Tangiers Horse after that regiment was disbanded (the evacuation of the Tangiers garrison had been completed just the year before).
As the rebel line initially overlapped the Royalist right, the dragoons dismounted and engaged the rebel Green Regiment. Lord Cornbury, the regiment’s lieutenant colonel, commanded them as Churchill was busy being second in command of the army.
Mounted again, the dragoons pursued the beaten rebels.


The First Regiment of Foot Guards fielded something like 12 companies at Sedgemoor (if Stephen Carter is correct and the 2 grenadier companies were detached), totalling around 1000 men. Unlike Monmouth’s Red Regiment, it was organised as two battalions as depicted here by the two battalia. This feels sensible.


A third battalion of foot guards was fielded from the Second Regiment of Foot Guards: the Coldstream Guards! Again this will have been around 500 strong. We have to imagine that the establishment strength was painstakingly maintained for the companies of Foot Guards.
Alongside them in the two photos above are the Royal Scots. I’m sure that you can tell which one is which. These guys had been out in Tangiers too, but had returned in November 1683.
The three Foot Guards battalions and the Royal Scots formed a brigade under Sir Edward Sackville, a skilled career officer and onetime governor of the Tangiers garrison.
In the Royalist lines, the regiments were camped (and therefore drew up for battle) from right to left: Royal Scots, First Foot Guards and Second Foot Guards.
As Monmouth’s infantry approached from the Royalist right side, it was the Royal Scots who were most heavily engaged whilst the firefight lasted. Older texts put this down to the Royal Scots being armed with matchlocks and the glow of their match, but it’s more understandable that it was due to the direction Monmouth’s army approached from. The poor old Royal Scots even stood steady under fire from Monmouth’s artillery. They were still up to the job when it came to the counterattack!


To the left of Sackville’s brigade was Kirke’s formed from Kirke’s own regiment and Trelawny's. Both regiments may have been understrength which would have made it more a composite battalion than a brigade. And like the Royal Scots both had returned from Tangiers in November 1683. Just reinforces the idea of how small the standing army was. Who knows how differently things would have gone for Monmouth had Tangiers still been held. Half of the regular troops immediately available to King James wouldn’t have been in England!
Even if there was only 5 companies between the two regiments I’ve represented them as normal sized wargames units.
Once Monmouth’s cavalry was neutralised, and with no enemy foot to their front, Kirke’s mini-brigade was shifted over to the right flank where it took part in the counterattack.

Two pieces are enough to represent the Royalist artillery at Sedgemoor. The train of artillery accompanying Feversham’s little army had 18 guns. They had been placed covering the road from Bridgwater and for the most part guns in this era weren’t designed to be moved around during a battle. However 6 light guns were moved to engage the rebel infantry. Hence two model guns is just fine.
Whilst the regular regiments gathered and converged on the rebel army, it was up to the militia to contain Monmouth. He must be kept well away from London!
I do have a few figures I can use as militia. Initially I only thought to have the Wiltshire militia represented as they were - kept well out of the way! - at Sedgemoor. To represent some of the other battles of the campaign, militia are definitely required. For example, only militia were present fighting Monmouth’s rebels at Bridport and Axminster.


These figures are the Wiltshire Militia Horse, buff coats with green facings entirely conjectural. I can use them as a lot of other things besides. As the number of cavalry at Sedgemoor is a good deal lower than the norm for this period, it doesn’t hurt to have extra cavalry in the collection.


The Wiltshire Militia Blue and Red Regiments. These are created by adding the command bases, with the flags, to other musketeers and pikemen in my collection. More about that much, much later!
Other than that, I can just press other figures into use as militia. An awful lot is unknown about this period. As there is very little information on the militia uniforms and flags, conjecture rules!
So there you have it. I’ve shown off the armies for both sides for the Sedgemoor campaign.
It has to be said that I’ve now got a bad case of the late 17thc bug. Before half the figures were painted for the Sedgemoor campaign, my gaze had moved North. I have had a long standing interest in the battle of Killiecrankie in 1689…
Thanks for reading. You won’t be surprised what late 17thc loveliness I’ll have to share with you next time!
Cheers for now
Chris
No comments:
Post a Comment