I like the Colonial games we have,and last night's game was the most "absorbing" we've had for a while!
Paul was put on the spot,by me giving him command of the Helpmakaar defences,and the British and Boers.Dave and Brian took command of the Zulu army,whilst I did a grand job of refereeing the game!
This is the scenario,Paul was given mealie bag sections and wagons,and told to put them where he wanted to defend the "town"-he had so many options,that,after about half an hour,to hoots of derision and howls of laughter,he eventually placed all of the items........................
Top photo shows the completed defences,bottom photo shows the Zulu army creeping nearer and nearer-neither sides look too stressed-yet!!!
Brian launched a tremendous attack on the Boer farm(top photo) whilst Paul pinned the Zulu centre regiments to his front(bottom photo)
On Dave's flank,Paul has charged his regiments with his lancers(I know,I know!) and dragoons-this resulted in Dave being held up,and the cavalry being wiped out!!!!-thrilling stuff.
As things were hotting up in the Boer farm(poor women and children!) the bloody gas ran out in both heaters,plunging the garage into sub-Arctic temperatures,resulting in the most "wimpish" antics from a certain member.....................................
Good God,man,pull yourself together!!!!
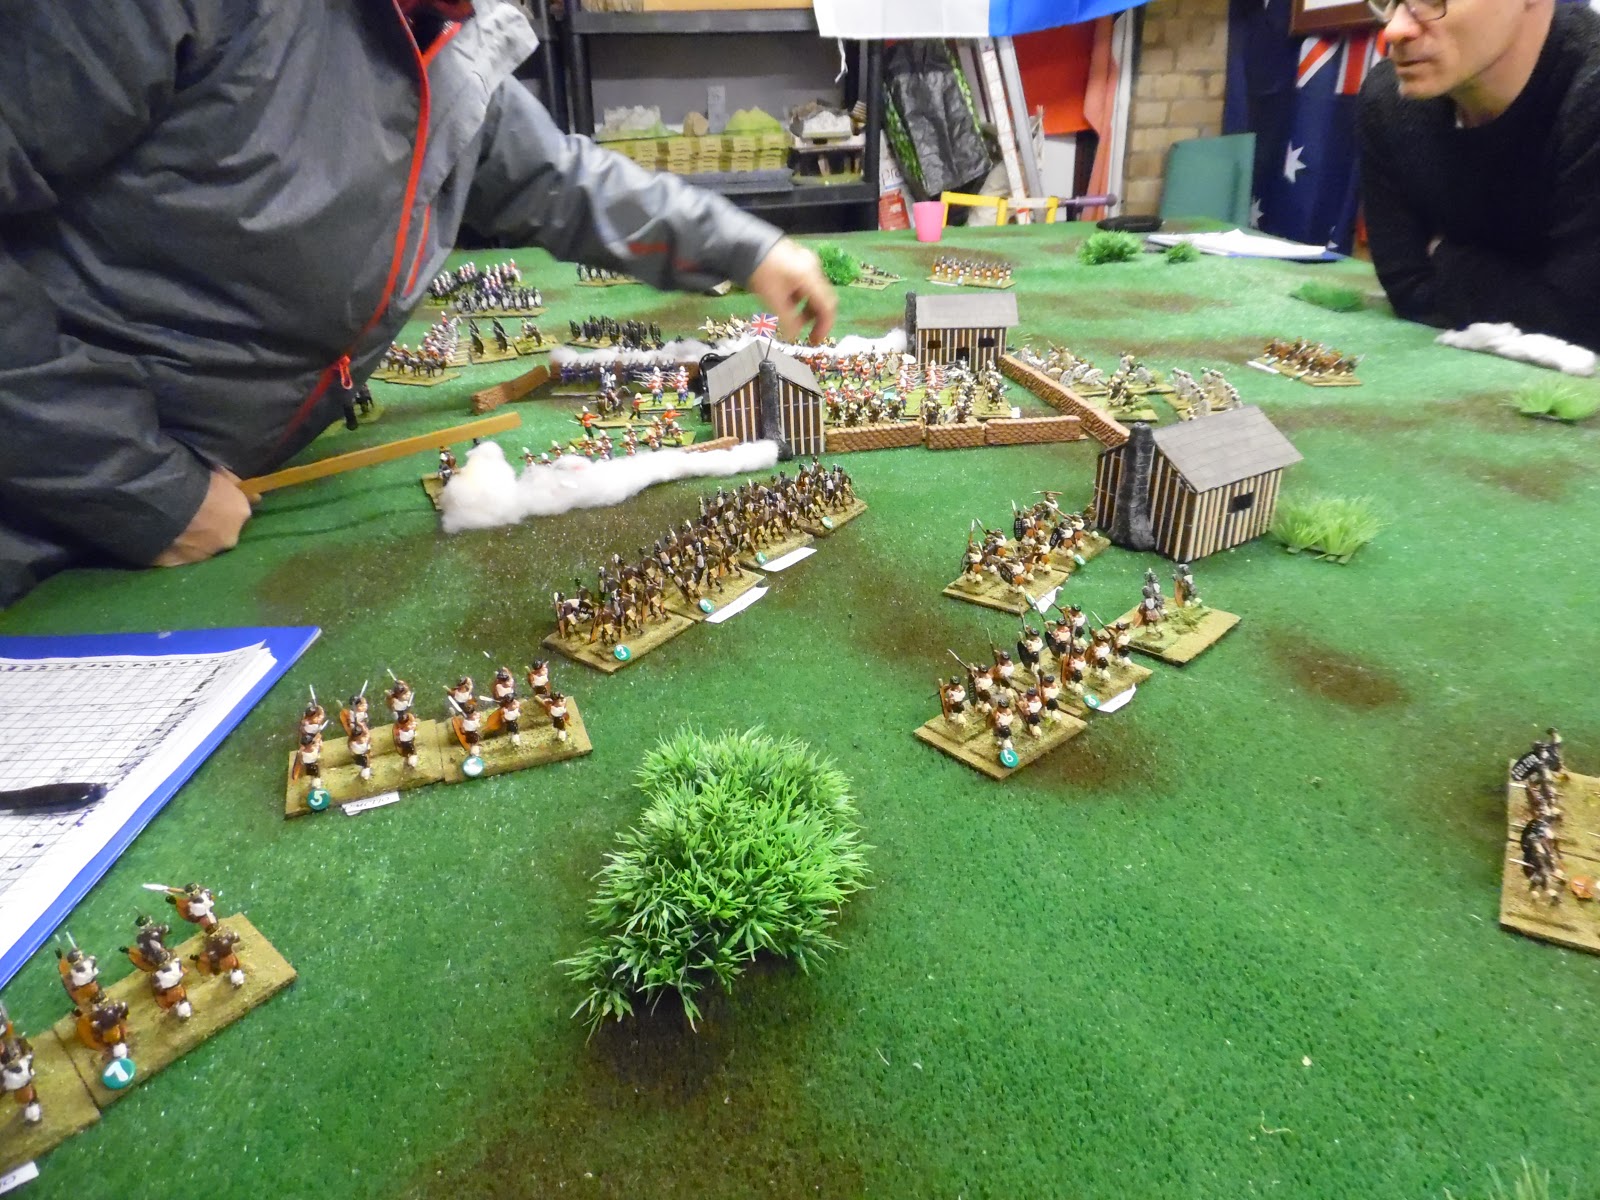
Top photo shows the demise of the Boer farm,and now with both flanks secure,the Zulu centre sprang into action(bottom photo)-Paul responded magnificently,firing and retiring(it's good being retired!) bringing as many units as he could into the safety(??) of the town-now was the chance for the Zulu commanders to launch an all-out attack!!
The Zulu centre attacking the mealie bag wall,whilst both "horns" are now starting to attack!
Top photo shows Brian's left horn attack,bottom photo shows Dave's right horn attack-all is lost for the British,time for Lord Chelmsford to draft his memo to "Vicky" telling her that he has lost the army,battles and lands( a minor set-back,I'm sure she'll forgive him!!)
One last shot that Paul probably won't want to see!!!
This was a great game,played in great spirit-long may it continue,so roll on next Sunday when we will be running through the game we are putting on at Stockton.
Last night we fought a "what if?" scenario,featuring the initial invasion of Zululand via the crossing at Rorke's Drift,and what another grand game it turned out to be!
Top photo is the scenario,bottom is the map taken from Ian Knight's Rorke's Drift book.
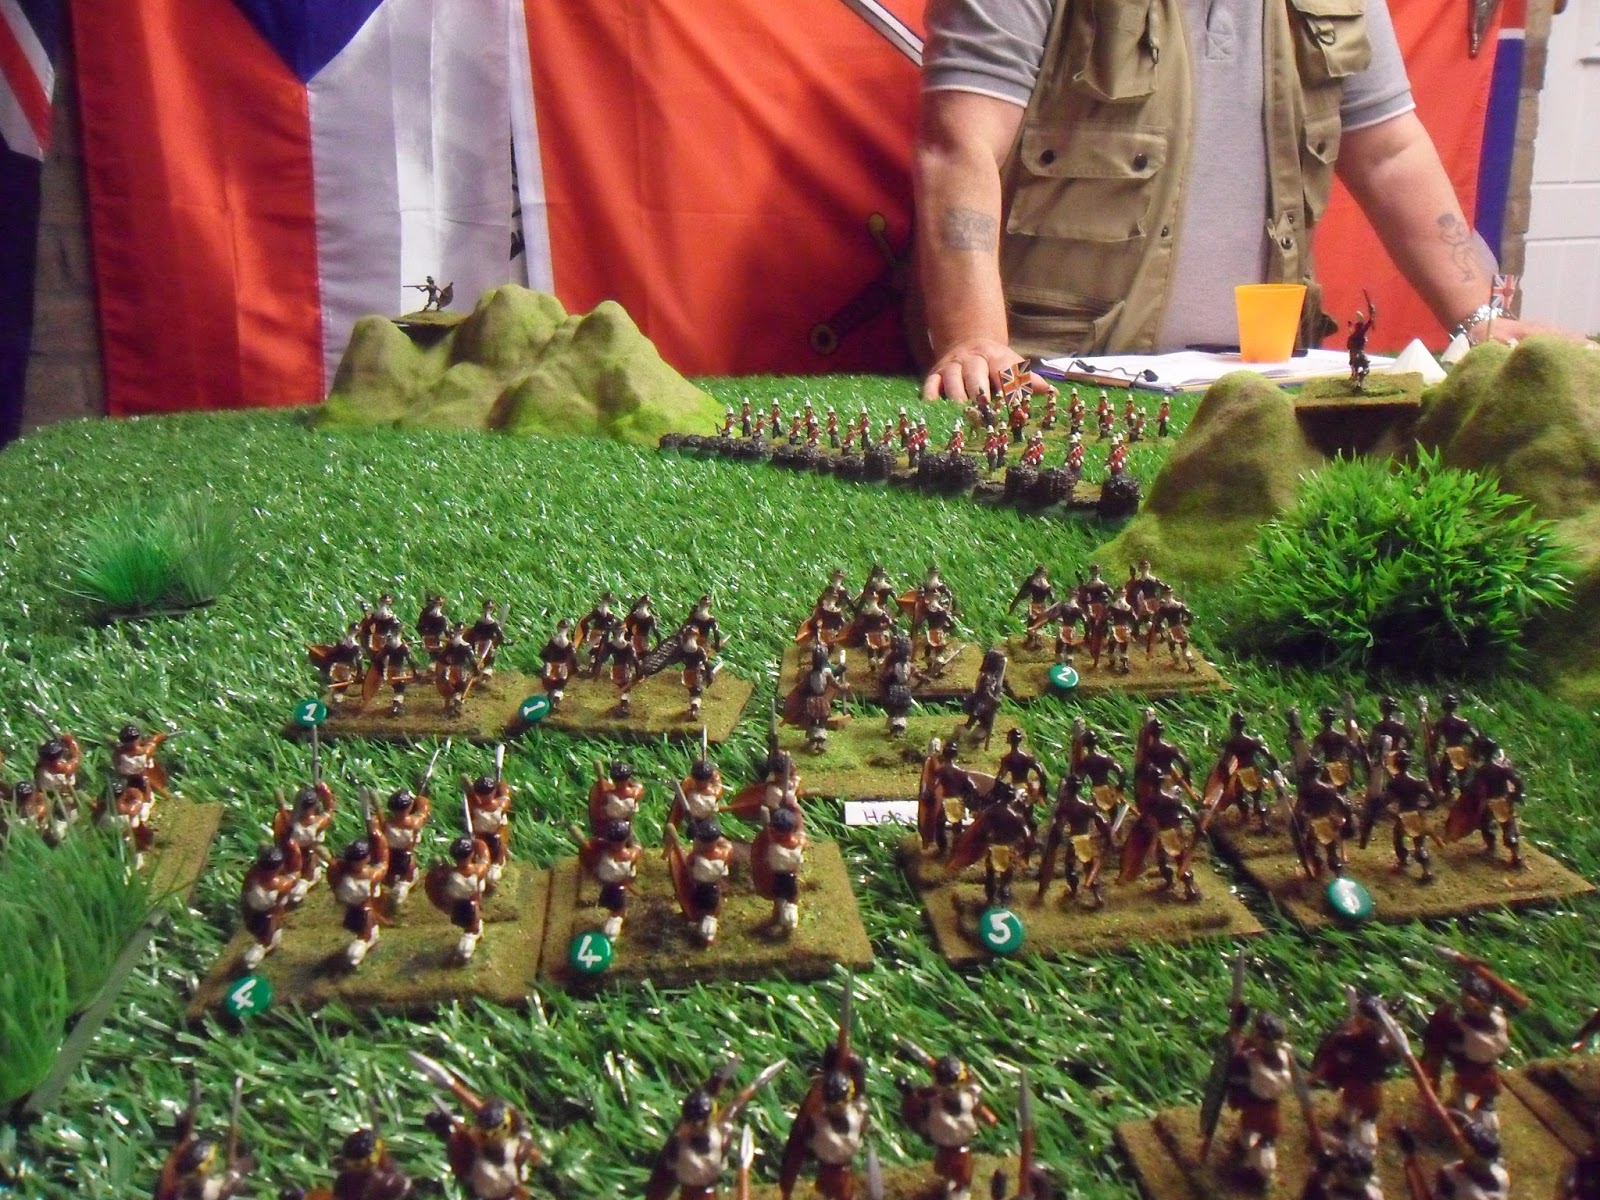
Dave,Brian and I were the Zulu commanders,whilst Paul and Graham were in charge of the British and allies.
This shows the table(minus the Zulu army!) with the NNC and allied horse crossing on both flanks,the British camp is in the process of being established in the centre-what a peaceful scene!
OMG!! where did they come from?? As Dave,commanding the right horn,and Brian,commanding the left horn,advance ,my centre regiments come onto the board-29 regiments so far,with a further 8 regiments in reserve,if we need them-things are looking black(no pun intended!) for the British.Both Graham and Paul needed to consolidate their positions-and quickly!!
My attack on the camp develops nicely,but a couple of well-aimed artillery shots,from Graham's batteries,stopped one of my front line regiments,that,combined with Paul's volley fire,almost stopped the whole attack!!!But what of the horn attacks?????
Top photo shows Dave's regiments moving towards the river bank,but he encountered a bit of resistance from Paul's NNC,which held him up a bit-bottom photo shows Brian's regiments forming up to charge Graham's British-he also set his NNC on the Zulu,which also held Brian up for a while too!!
The camp is well and truly under pressure now! and both flanks are also under so much pressure,that,if they were a bunch of grapes,they would have been wine by now!!!
Without drink even being involved,Paul for some inexplicable reason sent two companies of the 24th into an abandoned kraal,and was assailed by 4 of my regiments!!-what followed was the stuff of legends and "last stands",but eventually both companies were wiped out!!!!-in the background you can see Dave's regiments have crossed the river and are attacking the troops on the hill.
Brian has pushed Graham's troops back into the river,and,despite an heroic effort,the flank was lost-hurrah!!
Dave is "washing " his spears in British blood! and Paul's command has collapsed-another hurrah!!
One last shot-the flanks have gone and the camp is in Zulu hands-all is lost,and with cries of "back to the mission station boys!" the British have lost-back to the "drawing board" should really be the cry!!
Another exciting game,full of tension,colour and jolly banter-roll on next week,we haven't had a Horse and Musket game for a while,so you never know!!
Last night Brian,Graham and I travelled all the way to Africa to have another exciting and fast flowing Zulu game.
With apologies to our American "cousins",this is the scenario-Brian drew the short straw,and commanded the British,whilst Graham and I took command of the Zulus.
Graham opened proceedings by getting his Centre Regiments shot to bits!!!-meanwhile the two "horns" advanced to take on the British and NNC regiments.
My left horn advancing towards the well-positioned British-I,like Graham's centre regiments,was shot to bits,but supporting regiments would,somehow,get to grips with the determined defenders.
Graham's right horn advancing against a company of British supported by three companies of NNC-this was the only "open" part of the table,and saw furious action!!!
At close range,a combination of rifle,gatling and artillery fire decimated Graham's regiments,but my reserve regiments are moving to support him and take over the fighting against the "Wall".
The top photo shows my futile attempts to get into the British,but Brian was having none of it!!,and the bottom photo shows Graham's regiments fighting against a very determined NNC!
Despite heavy casualties,Graham has managed to get a couple of regiments into the defences,and my reserve regiments are moving swiftly to support the breaches-hurrah!!
My left horn still can't make any headway,and casualties are mounting!!! Meanwhile on the other flank..........................
Despite strong resistance,Graham is winning(mainly due to numbers!!)-look at Brian's body language!!!
The reserve regiments,plus a couple of centre regiments are over the "wall" and the British are on the "back foot"-time for one "Last Stand" moment??????
Yes,of course there is-come on boys,"die like British soldiers do"-and so they did!!
Well done to Graham and Brian-good game.
Roll on Thursday-don't know what we'll be playing though!