
It’s always exciting to get figures on the table for the first time. And it’s often a long time in coming!
The Battle of Axminster, 15 June 1685

I chose one of the small skirmishes that has tabletop potential.
It is only 4 days after the Duke of Monmouth stepped onto the beach at Lyme. The Somerset and Devonshire militia have arranged to join forces, rendezvousing at Axminster. Together they will keep Monmouth bottled up at Lyme until regular forces arrive.
Monmouth got word of this! Determined to thwart this, Monmouth rushed his fledgling army to Axminster. It had become a race!
Monmouth won the race. Well to be fair, the militia didn’t know it even was a race! The Somerset militia were surprised to find the rebels in possession of Axminster as they approached. The Devonshire militia, under the Duke of Albemarle, were supposed to have arrived the day before. The Somerset militia believed themselves betrayed! Albemarle had been seen raising a glass with Monmouth and the Devonshire militia had gone over to the rebels. It’s a trap! Panic spread and the Somerset militia broke and fled!
No sooner had they run off, than Monmouth got word that the Devonshire militia were approaching. Quickly his army deployed to face them with Monmouth’s own Red Regiment, under Major Nathaniel Wade, and a light gun in an ambush position.
Stephen Carter has it that the Devonshire militia broke after receiving three volleys. Wade’s own account mentions no firing; the militia cavalry spotted the rebel musketmen lining the hedges when about 200 yards away. The whole lot turned tail and ran! Monmouth stopped his army pursuing the broken militiamen, saying that his fight wasn’t with them.
Not much of a battle! No, indeed. It does make for an interesting tabletop teaser though. The militia need to weather the storm of lead from the ambush and form from column into line. Monmouth’s army is smaller and divided.
As it’s a small game, it’s good for introducing the players to and testing the Black Powder Pike and Shotte rules. And my additions/amendments.
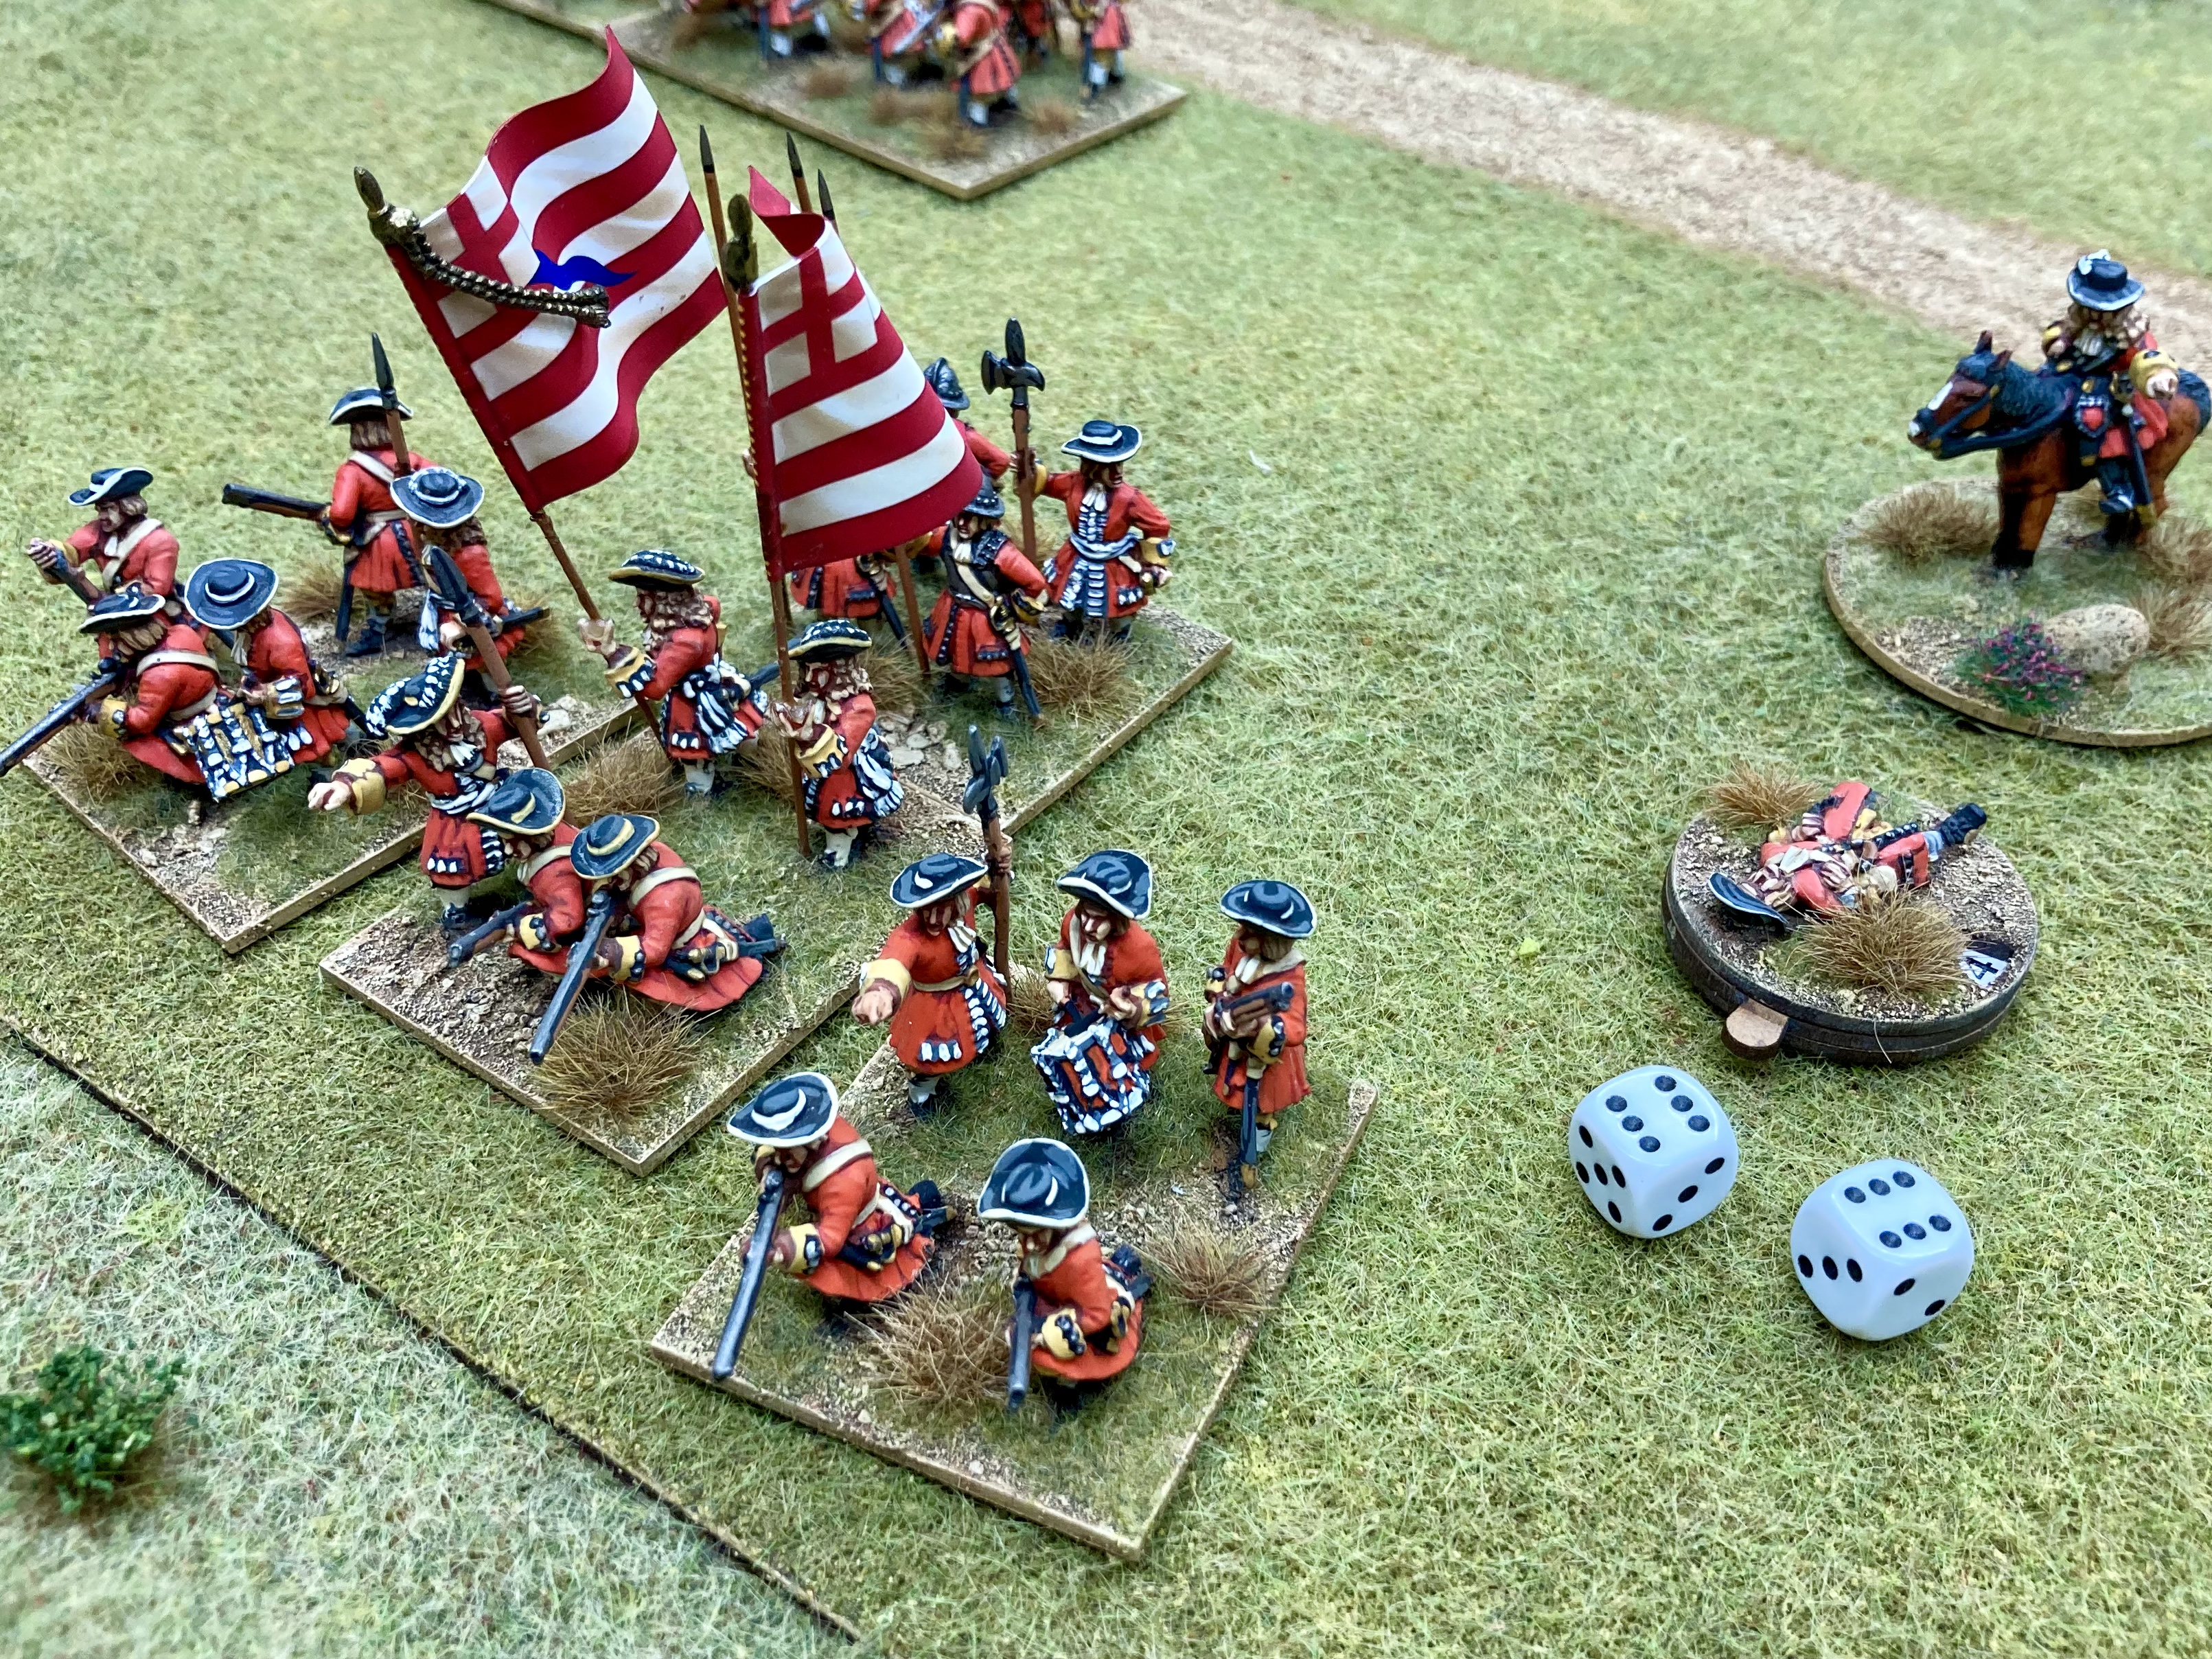
The photo above shows the starting deployments. The Devonshire militia are in column on the road, they’ve just come within range of the muskets of the ambushing force, and the rest of Monmouth’s army is deployed on the other side of the River Axe.


Fire! The rebels get to go first to allow for the ambush. The squadron of militia cavalry are disordered by the rebel fire. Disorder is an important element in all the Black Powder family of rules. Units can’t be ordered to move whilst they’re disordered.

Whilst the cavalry continues to be disordered and take casualties, I make hard work of deploying the infantry from column into line in order to engage the pesky enemy behind the hedge. Chris F marches his regiments off the road to deploy against Monmouth’s main force. Some prestigious regiments are filling in as militia for this game; Kirke’s Lambs, 1st Foot Guards… but all of the foot on the table have been given a special rule I’ve devised; raw recruits. This rule puts a slight restriction on their manoeuvrability. If they wheel or use 2 or 3 orders to move, there’s a chance they’ll become disordered. The intention is to represent the greater need to halt and dress the ranks for newly raised infantry.
Monmouth’s infantry are exactly that, but the militia will have only trained occasionally. Maybe once or twice a year? So they have the same special rule.


Roger shuffles his foot forward to the riverbank, but fails time and time again to get them to cross. They just don’t want to get their feet wet!
The cavalry are also reluctant to cross, but eventually do get their hooves wet yay! Roger is hoping to catch Chris F’s infantry whilst they’re still in column…

But Chris F doesn’t seem to have read the script and manoeuvres his militia like guardsmen!


He’s thrilled! Seemed prudent to me.

I’ve managed to engage the Red Regiment and gun with 2 of my militia regiments and I’m still moving the third one up. The poor militia cavalry never moved until they broke. They got shot and disordered until they could take no more.


Steve’s little force starts taking casualties and suffering disorder. That’ll teach ‘em!
My first of a string of break tests that keeps figures on the table and causes exclamations around the table!

They do break eventually though. I can’t roll double 6 every time! Steve’s Red Regiment has also broken and run away though, leaving the gun on its lonesome.
Meanwhile, having run away, Roger’s cavalry has looped round the rear of his infantry and crossed the river on the other side of the bridge. They’re on my flank for pity’s sake!
We consider my options. Hmmm the only way out seems to be to take the gun. I charge the Yellow militia regiment at the gun. Closing fire is ineffective. The gun crew cause a casualty on my infantry and I fail to save it darn them. I cause three casualties back on them though ha! Steve saves them all! Whaaaaat?! My infantry are thrown back in disorder. Back into the path of Roger’s keen horsemen.
Chris F does some more able manoeuvring and fires a long range shot which disorders the enemy cavalry. They can’t charge disordered. Phew a temporary reprieve.

Not an enviable position: milling cavalry on my flank and a mocking gun crew to my front.


With some difficulty (a direct order from Monmouth is required), Roger gets his second squadron to charge the flank of my disordered militiamen. Miraculously they manage to stand their ground…
For a while anyway.

Pushed back eventually, I roll a double 1 for their break test. Utterly broken! Having lost more than half of the battalia I need to take a brigade break test. And fail. Monmouth’s rebels have been victorious after an interesting little game with plenty drama and laughs.
The game helped me iron out a few wrinkles with my additions and amendments to the rules. I think that it worked rather well. Most of my changes were to do with movement, but importantly I’ve included a -1 firing modifier for musketry over half range. The next game will be a large multiplayer Tangier game, again using Pike and Shotte, pitting my late 17thc collection against mate Jerry Miller’s Moors (from his El Cid collection).
I really enjoyed the first outing for my collection. And I hope that my enthusiasm comes through lol.
Until the next time!
Cheers
Chris
Beautiful.....And using commercial rules? Howay man.
ReplyDeleteWith a good smattering of house rules. I’m sure John would approve ;-)
DeleteNice to see fringe periods being gamed! Don't worry, Judge Jeffreys awaits!
ReplyDeleteThanks Herkybird. This is one of many fringe periods I have. Why have Brits and Sudanese when you can have Italians and Abyssinians??? And yes tough justice often dished out to defeated rebels
ReplyDeleteYou've been a busy bee that's for sure and someone throwing high die consistently
ReplyDeleteWell done that man!