Penninsular Poser
Hi , Dave and I have decided to make a conscious effort to post more games reviews and painting items. Given that my painting is abysmal and positively geological in the time it takes in getting finished I had better type some of the games up!
John and I came up with the terrain one night and we thought it offered potential for a multitude of differing period scenarios. (I actually mainly lumped the terrain about as John used his knack for creating a testing and interesting combination of valleys, stream/river crossing points to ensure opponents have challenges rather than just wading into each other.)
The scenario was that the French were tasked with marching along the main road (lower left) and had to exit the battlefield via the far road route beyond the old hill fort (top right of pic). The river had a bridge, ford and was crossable either side of the bridge, but with a movement restriction on the ford side and without any movement restriction towards the source (lower right in the pic).
I was in command of two brigades of infantry with accompanying cavalry, foot and horse batteries.
Graham commanded the second column with the 3rd Inf brigade and 2 battalions of Guard with Napoleon himself no less!
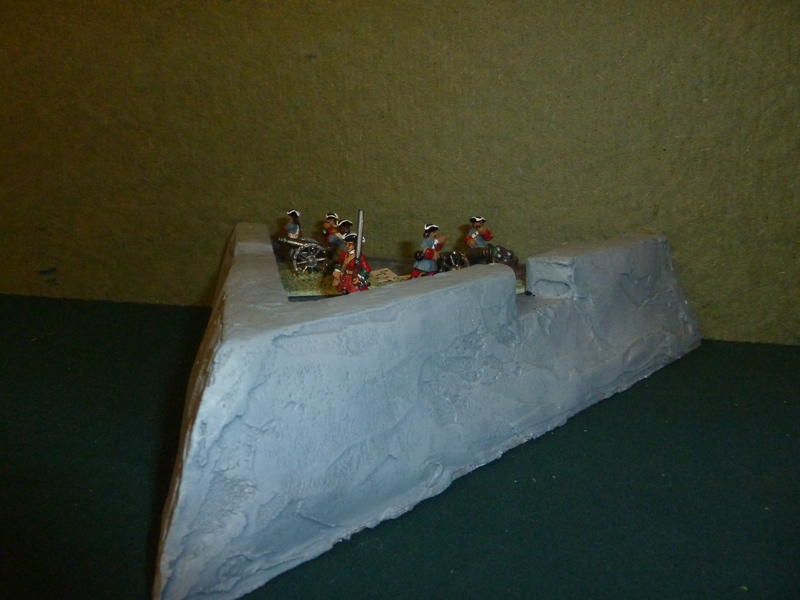
I was faced by the wooded hill with battery and a British battalion. Lt cav guarded the valley. The old fort had been repaired a gun protruded from the ramparts infantry was observed on the far wooded hill.

My 1st were shaken out into mixed order and art /cav covered both flanks as the assault began.
My 2nd formed column on the right & marched into the right hand valley, cleared the far right hill. Combined horse art and light cavalry brushed aside the protecting British cavalry.
John, commanding the defending British battery had two further battalions emerge from the woods and they fired a tremendous volley into my 1st Brigade.
The rebuff of two battalions of this brigade was not a major setback as guns & the threat of the French 2nd Brg had John retiring onto his supporting Scots lining the river.
The first hill was secure!
Meanwhile, Graham's long column was
held up over the ford by his dragoons encountering
British Lt cav and horse art with an Inf Brg on the hill over the river.
It took the Cuirassiers to help out but the action grew hotter with a hard fire fight to control the heights.
His 3rd Inf formed for assault and the Guards marched around the rear of them to outflank and race for the exit.

The game ended with my 1st & 2nd Brgs redeployment from right to centre where they controlled the bridge
area & pinned John's reserves as the Guards hooked far left to overpower
John's heavy cav/horse artillery.
A brilliant defense by John had thrown us off balance a few times and slowed the progress of the columns.
The next game will again feature the same terrain with differing problems posed. Hopefully it will not be as long to publish.

 Looking around for suitable 28mm figures I came across the range by Redoubt Enterprises. They are, in my mind, lovely figures, nicely sculpted and full of character. I have posted a few photos to show my efforts so far. My painting doesnt do them justice but I have yet to see any other painted examples anywhere. On top of this the Redoubt website only has line drawings of a few of the figures, so it wass a leap of faith when I made my initial purchase (would I like them or not?). Well I do like them, very very much!
 The first photos show some of the sepoys I have painted. These have green or orange facings and will be expanded into units of 24 figures. I hope to base my initial forces on the order of battle of Assaye.
 To this I will add other troops and types to give my British some variety (and to stop me getting bored!).
 Initially I will be raising Mahratta forces but I intend to use them as Mysore troops also, with a few variations. I have opted to keep it simple in terms of painting and organisation. All regular Mahratta battalions will be in white with Turban and sash in a uniform colour. This will give ease of identification on the table and also will look quite appealing.
 As you can see by the photos I have based the figures painted so far but have not flocked the bases. I am still undecided on the final finish of these.
 I have completed one artillery crew so far. The Mahrattas had a lot of artillery attached to their regular battalions and I will have one gun model per unit. The good news is that I will not have to paint any guns for them as I intend to use my French Napoleonic cannon.
 There will be lots of cavalry to paint and I have the first unit sitting in the box waiting to get started, they are beautiful figures. Also I intend to add a couple of irregular match-lock battalions.
 Well thats how far I have got so far. I will update as I progress. Thanks for looking!


 A view from the attackers perspective (Paul getting creative).


