

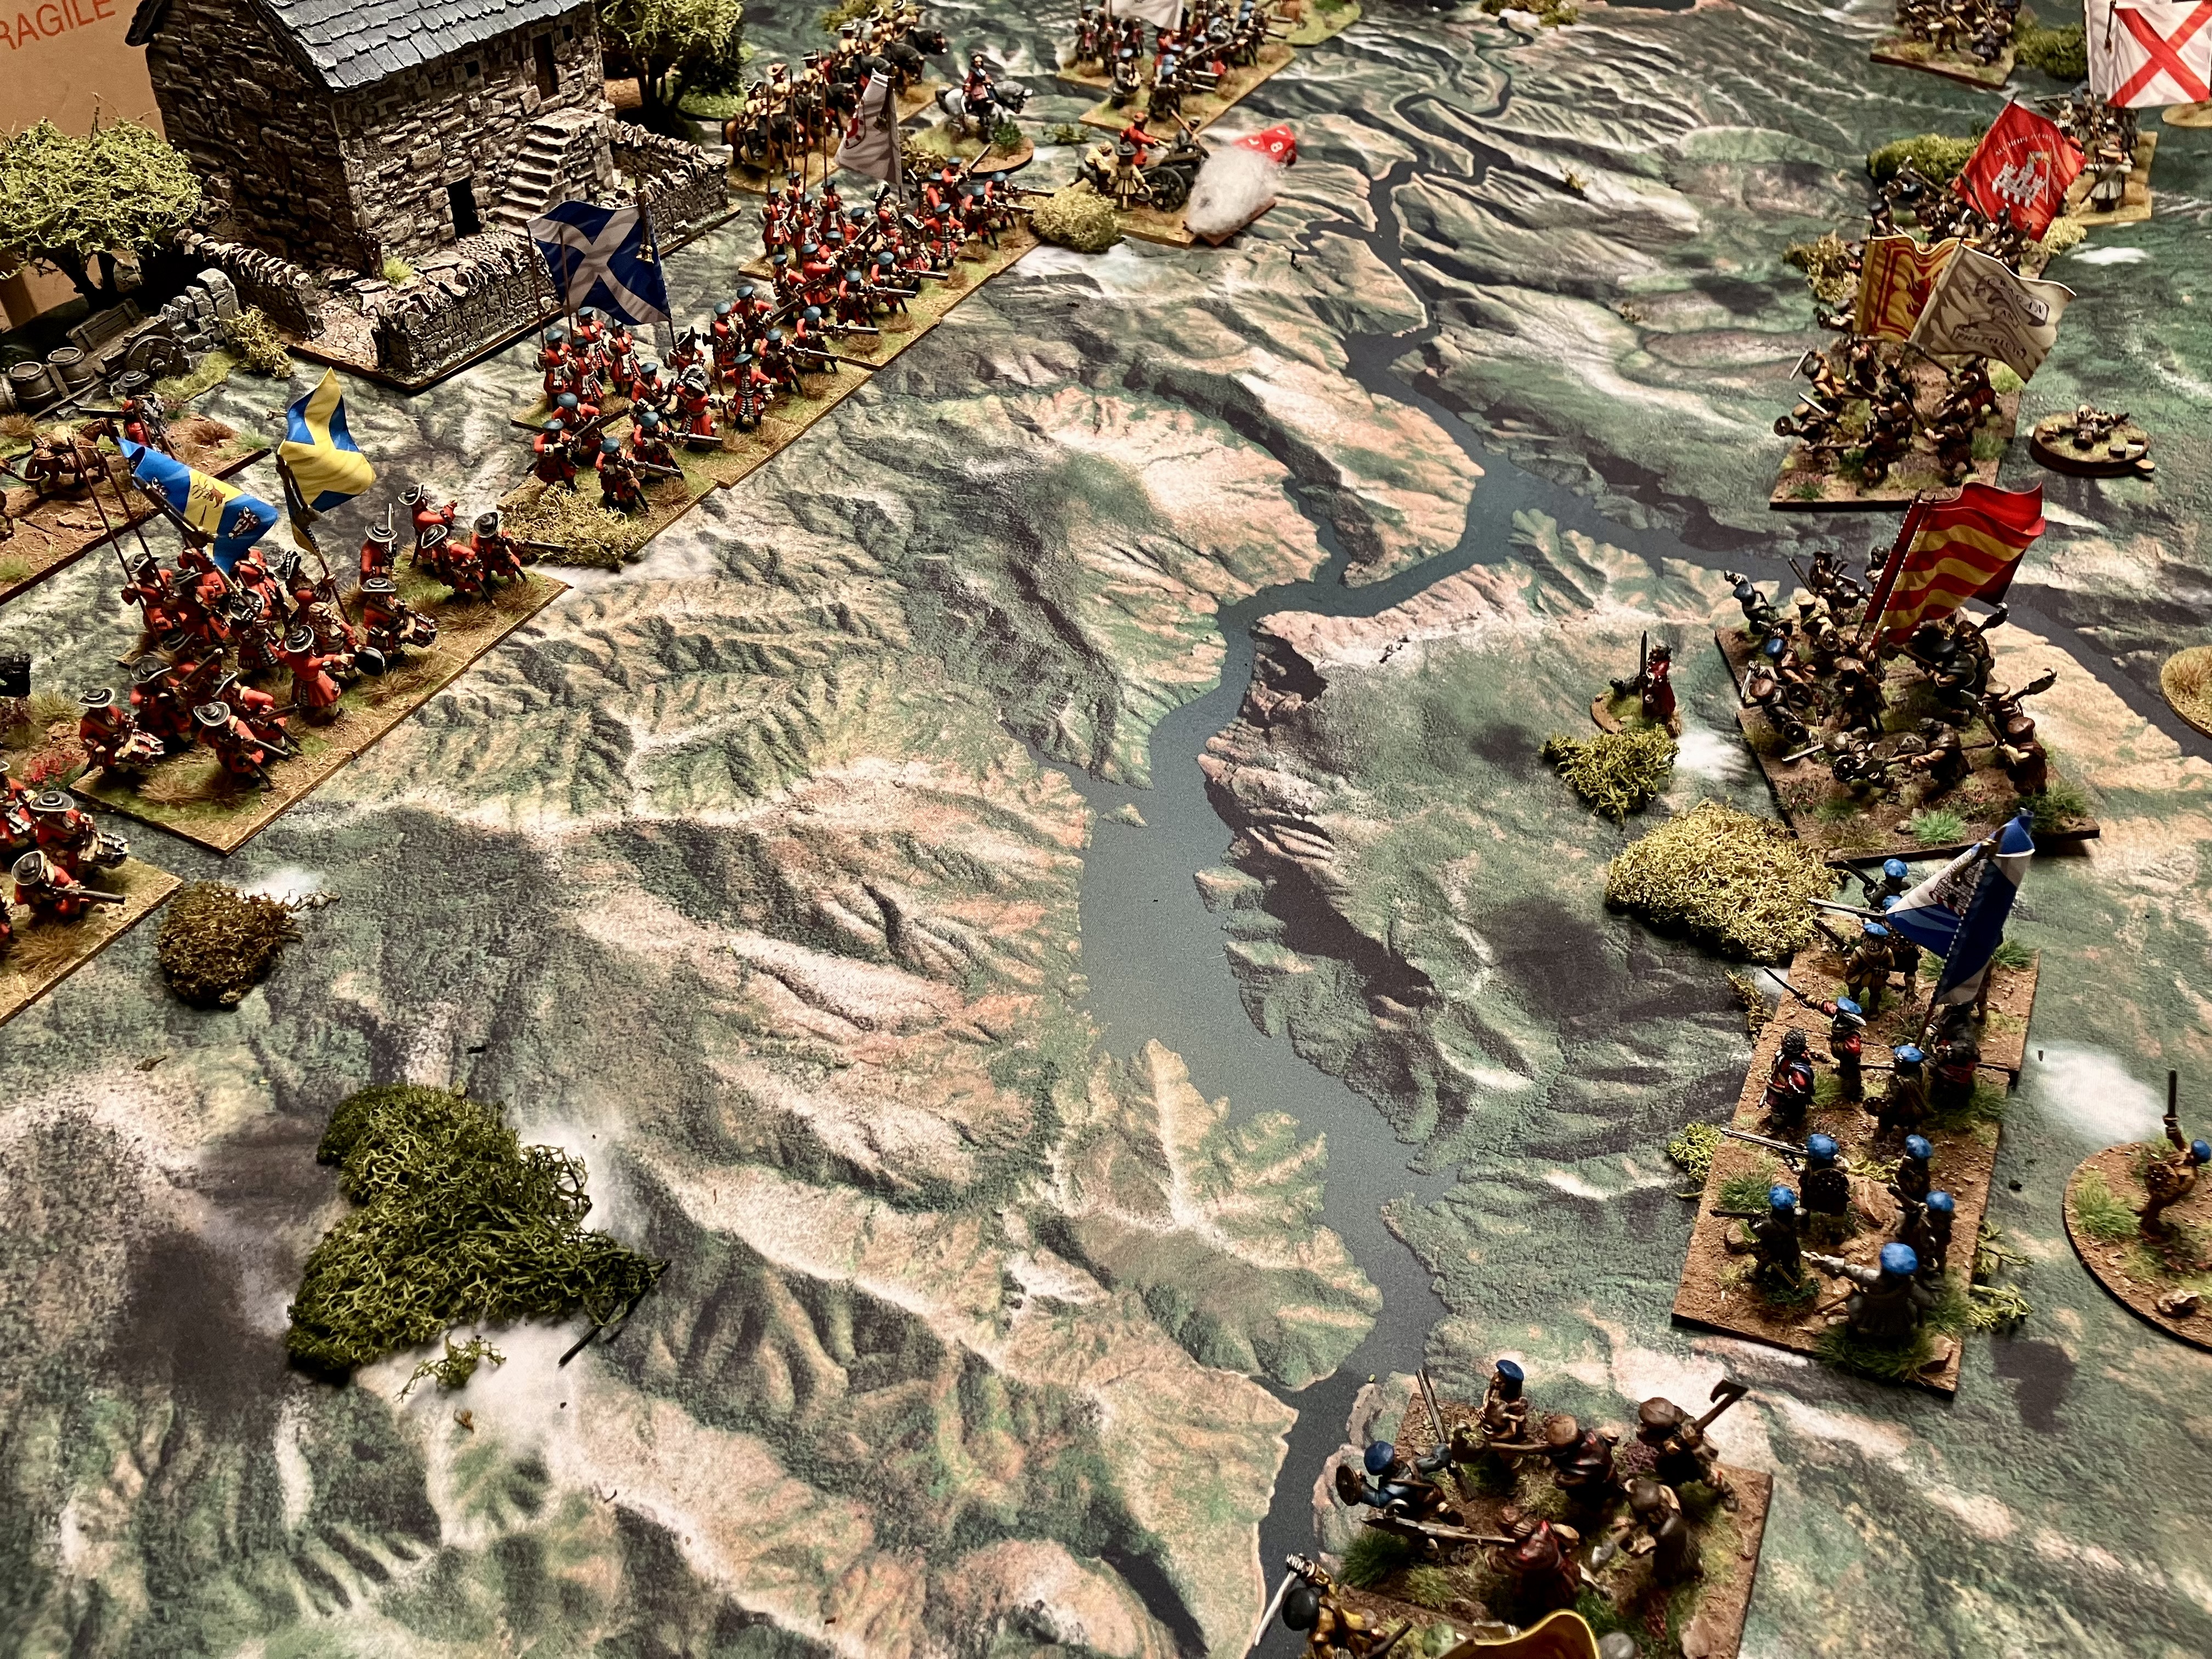
Ready to do battle, Jacobites deployed on the lower slopes of the mountain Creag Eallaich on the left with the Williamites deployed on a low plateau north of the River Garry (off table) on the right.
Sorry, the cloth I chose is very busy.
My collection was initially built around the Sedgemoor campaign. I’ve played a couple of games based on Monmouth’s rebellion, but continue to skirt refighting Sedgemoor as it’s a tricky one.
The collection grew to encompass figures for the battle of Killiecrankie, 27 July 1689. This is another battle with potential difficulties recreating on the tabletop.

I have some great reference sources. Despite much contemporary information existing on the battle, there’s still uncertainty and different modern takes on what happened. It often helps to read as many accounts as you can find.
The basic facts of the battle are clear. Major-General Hugh Mackay of Scourie, a highland gentleman, marched a Williamite government army into the Pass of Killiecrankie. They had been heading for Blair Atholl. The Jacobite army under John Graham of Claverhouse, Viscount Dundee had arrived there before them and moved to meet the government army.
The smaller, mostly clan army of the Jacobites deployed on high ground above the government army and when the sun set the Jacobites charged down the slopes and swept the enemy away. Claverhouse is killed in his moment of triumph… That’s it in a nutshell. The books by Oates and Reid will give you the full drama of this story.

With my current enthusiasm for Beneath the Lily Banners, the sensible basis for my game would be the scenario in A Taste of Victory, the BLB scenario book.

I needed to make some changes. Personal preferences.
The Williamite army.
I added Weem’s highland company. No information suggests that they played any great part in the battle, but hey ho they were there and I’ve painted a base to represent them.
Barry has given the Williamite army three guns in his scenario. In BLB one model represents three actual pieces, so as the Williamite army fielded three antiquated leather guns, then I reckon that one model is all that’s needed.
I made Lord Leven’s foot double strength rather than just an extra base. That’s how I’ve got the unit and it’s neater.
Barry has each of the Dutch Brigade battalions as “Regulation” meaning that they’ve a small proportion of pikes to muskets. I expect they had flintlocks. And I do believe that the detachment of the grenadiers to the left flank and further detachments to bolster Hastings’ foot on the right flank probably reduced the ratio to “Pike and Shot”, something akin to 1 pike to 2 muskets organisation of 40 years previous. So I thought to give these units the Flintlock upgrade and the Pike and Shot downgrade, but they cancel each other out in shooting. And the Pike and Shot downgrade actually makes them better in close combat which doesn’t feel right. So in the end I stuck with how Barry has them, Regulation formation with the default matchlocks.

Having read different accounts, I had initially gone with Hastings’ foot as a double strength unit and that’s why I have the 8 bases shown above for this unit in my collection. In preparation for the game, my rereading of the accounts leads me to believe that it was actually understrength. It had been assigned to guard the baggage and Mackay only brought it into the line to prevent the Jacobites outflanking him. Concerned at the weakness of the battalion, he then reinforced Hastings’ with detachments which were probably drawn from the Dutch Brigade battalions.
Hastings’ was the only English unit at the battle.
The Jacobite army.


I’ve gone with all of the Williamite battalions deploying in three ranks apart from Kenmure’s who seem to have been permitted to remain in six ranks due to their inexperience or being unable to increase their frontage due to some boggy ground.
It’s possible that plug bayonets had a role in the calamitous defeat. So it’s nice to have player choices involving them.
I also added that the clansmen make a single point blank shot as they charge home.


Claverhouse discusses dispositions with Wallace.

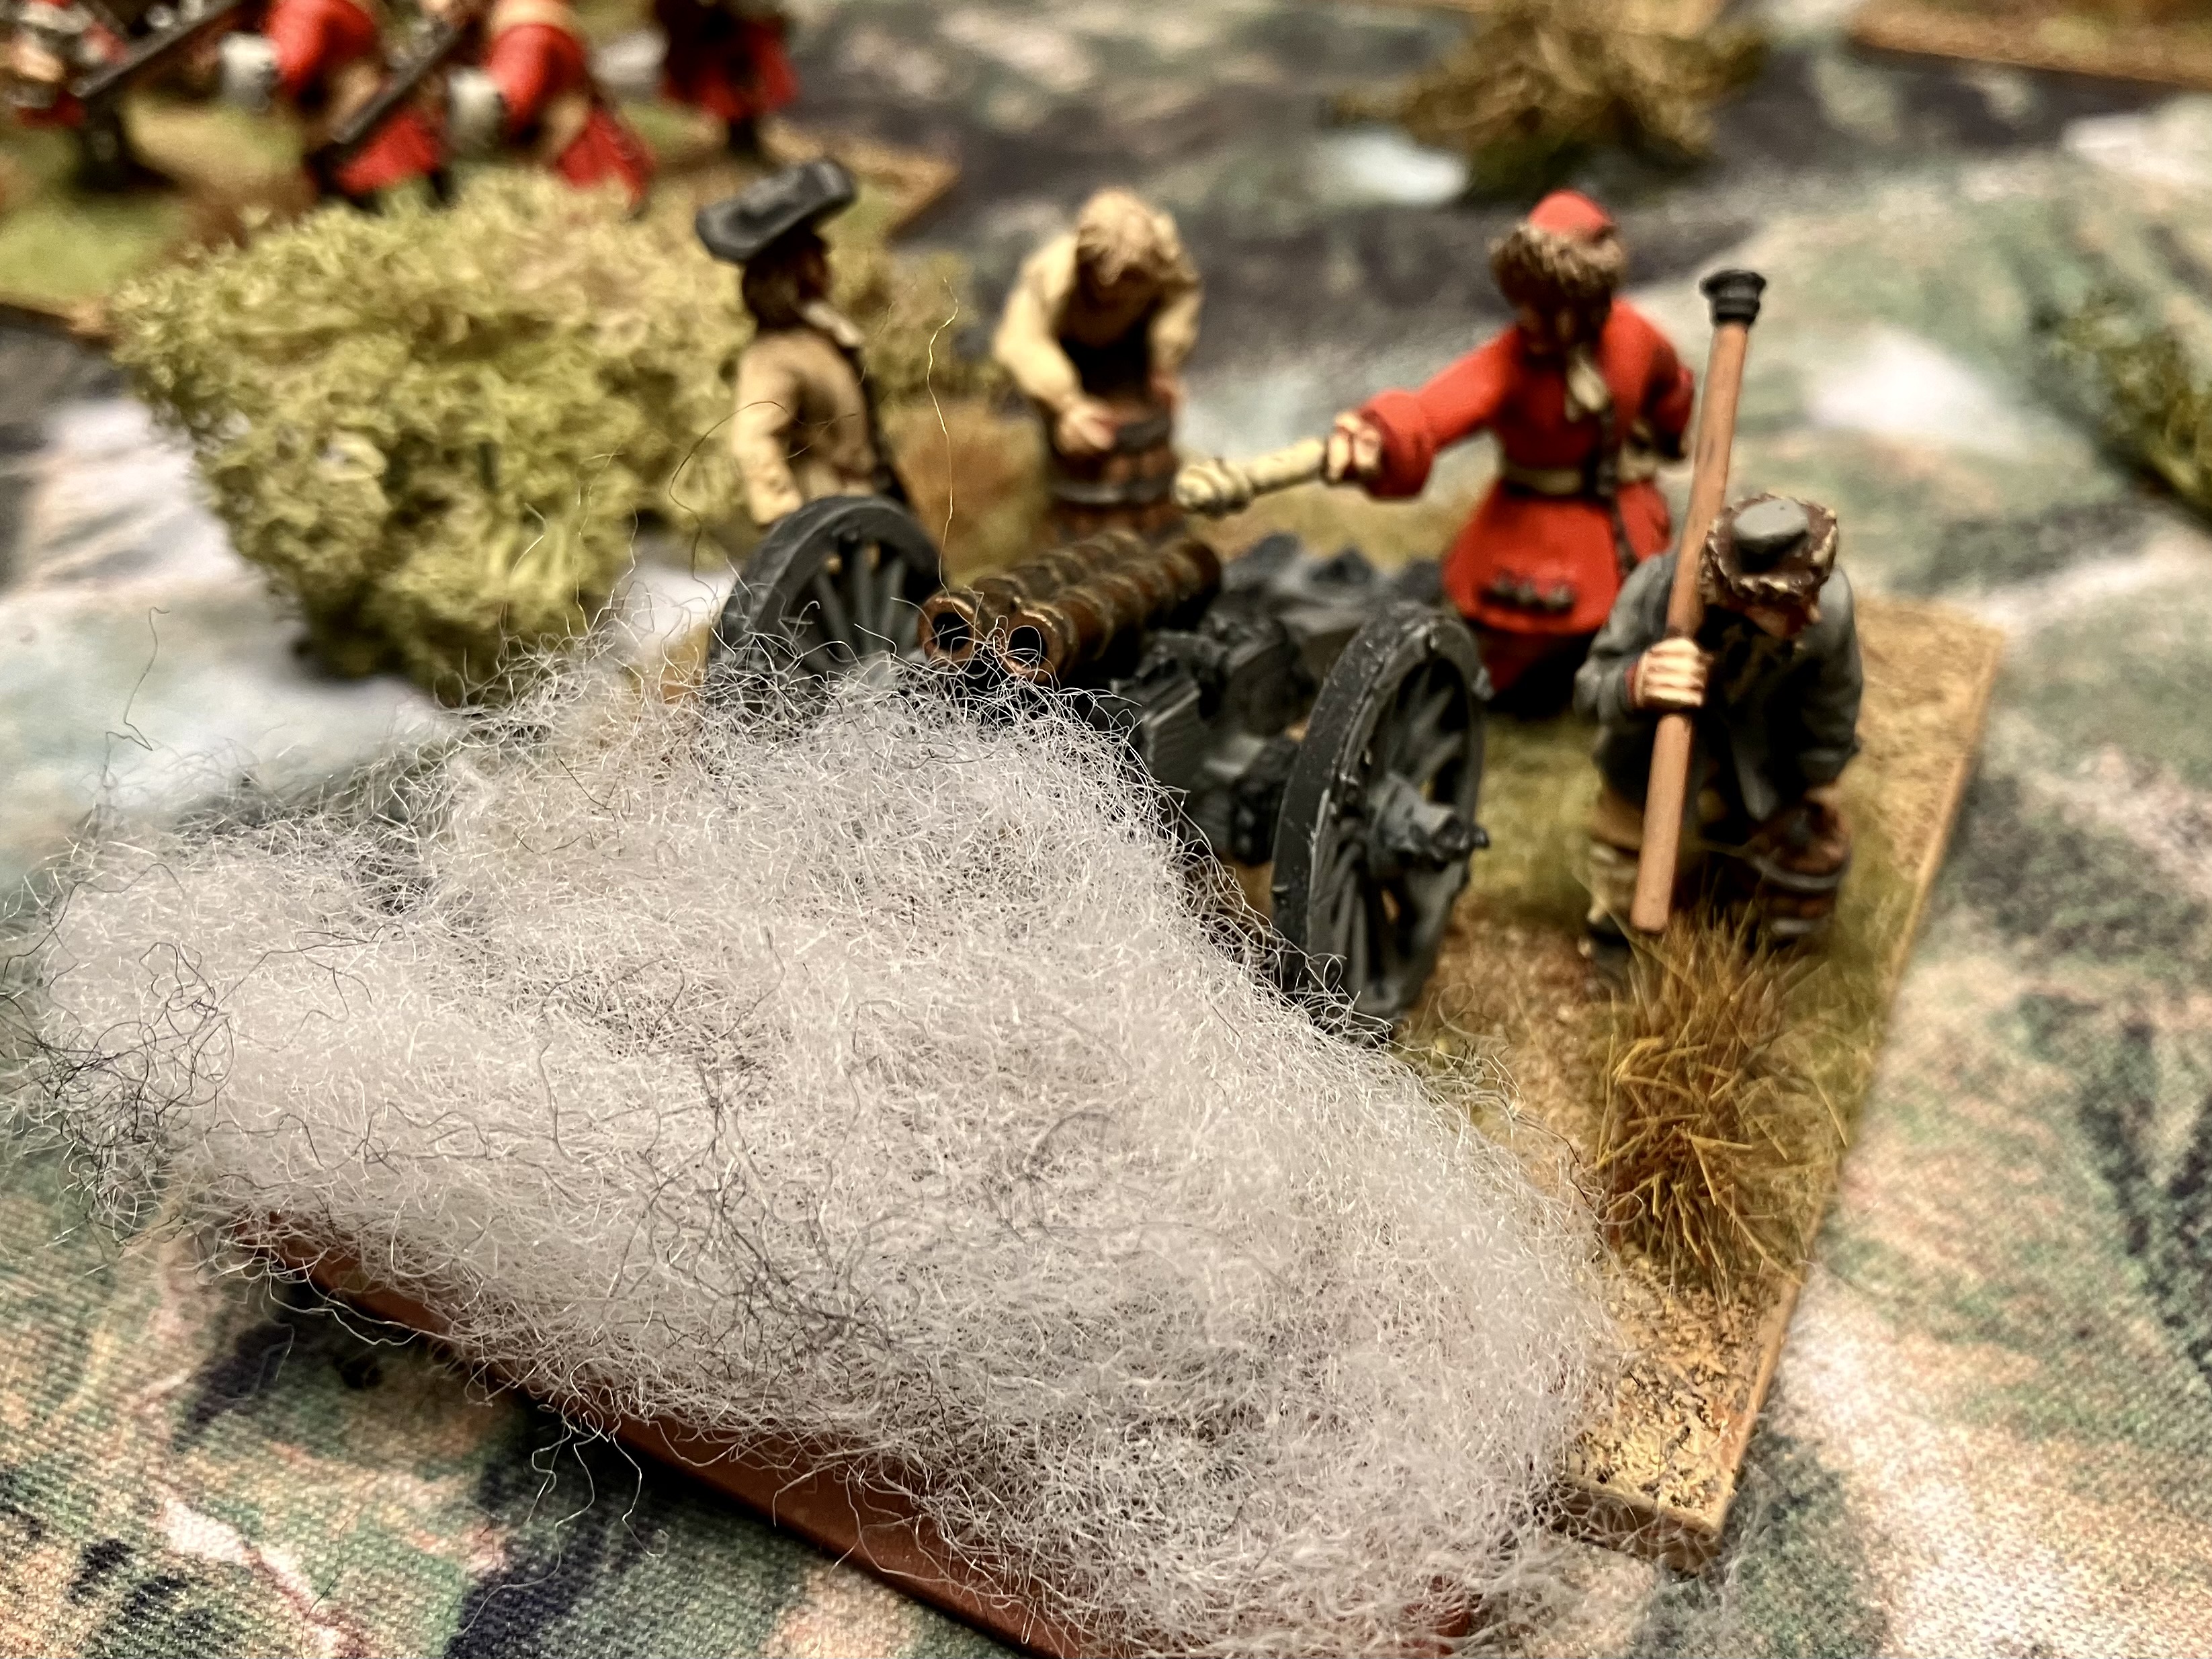
The artillery causes a single casualty firing at extreme range, but in the process rolls a 1. So the antiquated artillery has suffered some sort of mishap. Can they fix it?
The Jacobites advance! The Jacobites get full order allocation whereas the Williamites get none.
Claverhouse allocated an enemy battalion as a target for each of his units. It’s easy to see how he could do that. However, Lochiel seemed hellbent on attacking Mackay’s own battalion rather than Leven’s, which was probably the unit they’d been ordered to attack. So that’s how I’m playing the Jacobite attack.


On the second turn the Jacobites get full order allocation again. And the Williamites get none again. You can’t suffer two consecutive moves with no orders so it becomes a quarter allocation. As they’re not going anywhere I issue Defend orders to the newly raised raw battalions. The gun crew successfully fix the artillery.

The Jacobites are coming down the mountainside at speed. My impression is that Mackay’s orders equate to the battalions opening fire at effective range in terms of the rules.


Balfour’s, Kenmure’s and Hastings’ have their first fire. The three-rank volley from Balfour’s causes a massive 4 casualties.

Generous order allocations for both sides in turn 3. Most of the Jacobite army has closed with the enemy. Only the regulars are tardy.

Weem’s highland company attempt to charge the Sleat clansmen, but are cowed by the angry Jacobites.

Hastings’ fail to fix their plug bayonets and suffer in the subsequent close combat. They rout!
Next to that, Mackay’s and Leven’s pour a devastating amount of fire into the Camerons of Lochiel.


With 7 casualties out of 10 figures, they’re spent as a fighting unit. They retreat.


On the Williamite left, Balfour’s men also attempt and fail to fix their plug bayonets. Both Balfour’s and Kenmure’s are routed!

So at the end of turn 3 it’s looking bad for the Williamite army.
The Jacobites have suffered one failed morale, but in winning the close combats the casualties have been significant.
Turn 4 sees yet another low order allocation for the Williamites whilst the Jacobites get full allocation. Having seen the friendly units routed on either side of them, Ramsay’s battalion retreats. No other units are overly troubled by routing friends.

Lauder’s detached grenadiers turn to face and volley the Macleans who are reforming after routing Balfour’s. The volley wipes them out!

Leven’s volley the Glengarry clansmen…

Who need to test morale as they also suffer 1 casualty from the artillery. They roll a 1 for their morale and the regiment disintegrates!

What a difference a turn makes…

Balfour rallies Ramsay’s battalion as his own and Kenmure's battalions flee. The Jacobite Irish regulars are coming on steadily whilst the Clanranald MacDonalds reform to attack the Williamite cavalry.

Meanwhile the MacDonalds of Sleat reform to attack Mackay’s as Hastings’ run off.

You can see that, like the Irish, Alexander Maclean’s regulars are arriving late to the party. They’re just coming up to the remains of Lochiel.
On to turn 5 and both sides receive low order allocations.


And with bayonets in place, his own battalion does murderous damage to the attacking men of Sleat. The opposing brigadiers, Ramsey and Maclean join the close combat since it was looking like a now or never, do or die situation.

Ramsey is lucky to escape death. The risk to officers rules allow the unit he’s with to go up a quality level having witnessed such a divine intervention.

The Sleat regiment is wiped out in the combat.
Next move, its average order allocations. That’s pretty incidental as not many are needed. The Williamite horse are beating the clansmen.

So Claverhouse leads his small cavalry troop into the combat.

I split the combat for my convenience. You can do things like that when you’re playing solo.

Elsewhere there’s a bit of musketry.

The Irish will struggle in this situation.

Mackay’s have fixed their plug bayonets so Alexander Maclean’s can fire away without reprisal. It won’t take much for Leven’s to move against them or Mackay’s to use their already bloody bayonets.

The Clanranald regiment and all the horsemen have fought to mutual destruction…
