


A group of us tried and laid aside these rules years ago… but they read well! Rather than trouble my gaming buddies I decided to have a solo game to refresh my memory and re-understand the rules. I’m not unhappy with Black Powder Pike & Shotte, with my own stamp on them. With BLB we have another very period-specific set of rules; let’s see what I make of them!
For the orders of battle I used the example pick-up game forces Barry gives us in the rulebook.


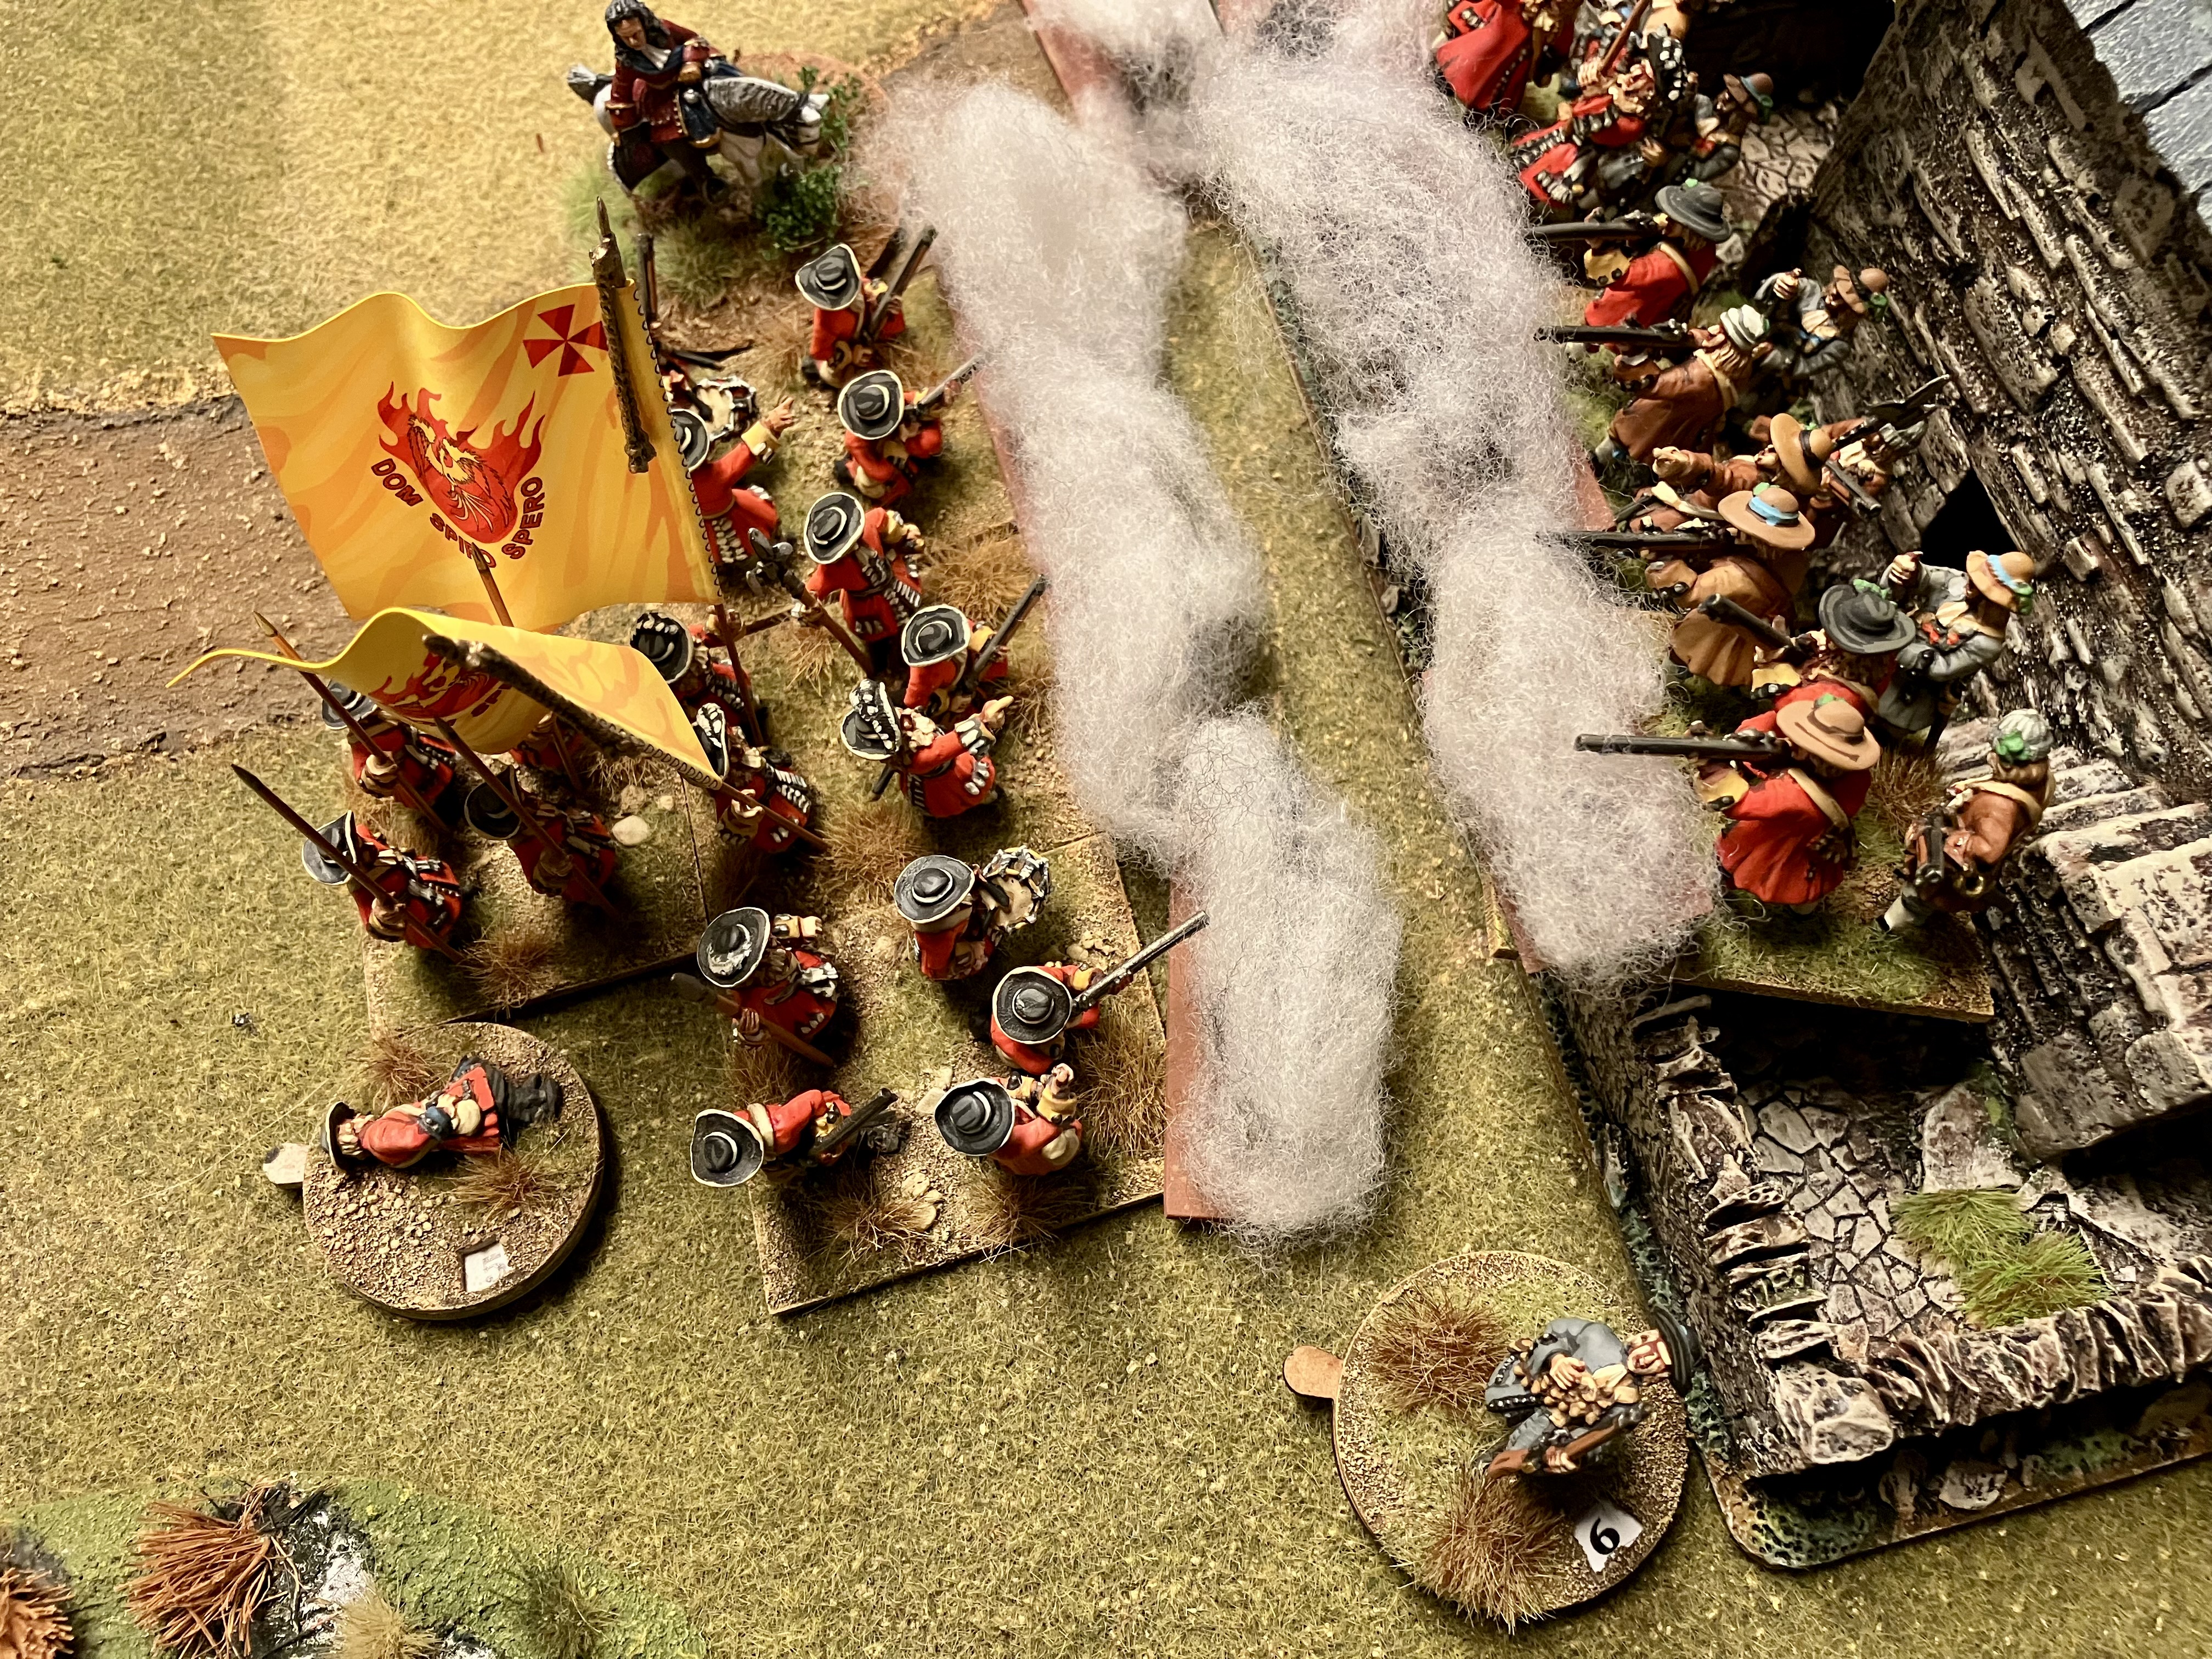
Deployment should be outside of 18” of the table centre line. I allowed that the Williamite light gun be a little forward, on the extreme left flank. I also allowed one battalion of Jacobite foot to line the walls of the bastle yard. This position would really anchor the Jacobite line.
You need a battle plan! The Jacobite plan would be for the cavalry brigade to sweep away the enemy cavalry and artillery whilst the infantry would form a defensive line with the bastle forming the extreme left of the position. The Williamite plan would be for the cavalry, supported by the artillery, to engage the enemy cavalry and the veteran infantry battalion to attack the bastle with the two drilled battalions supporting as best they can (a plodge through a marsh and a climb up a hill between them and the enemy!).

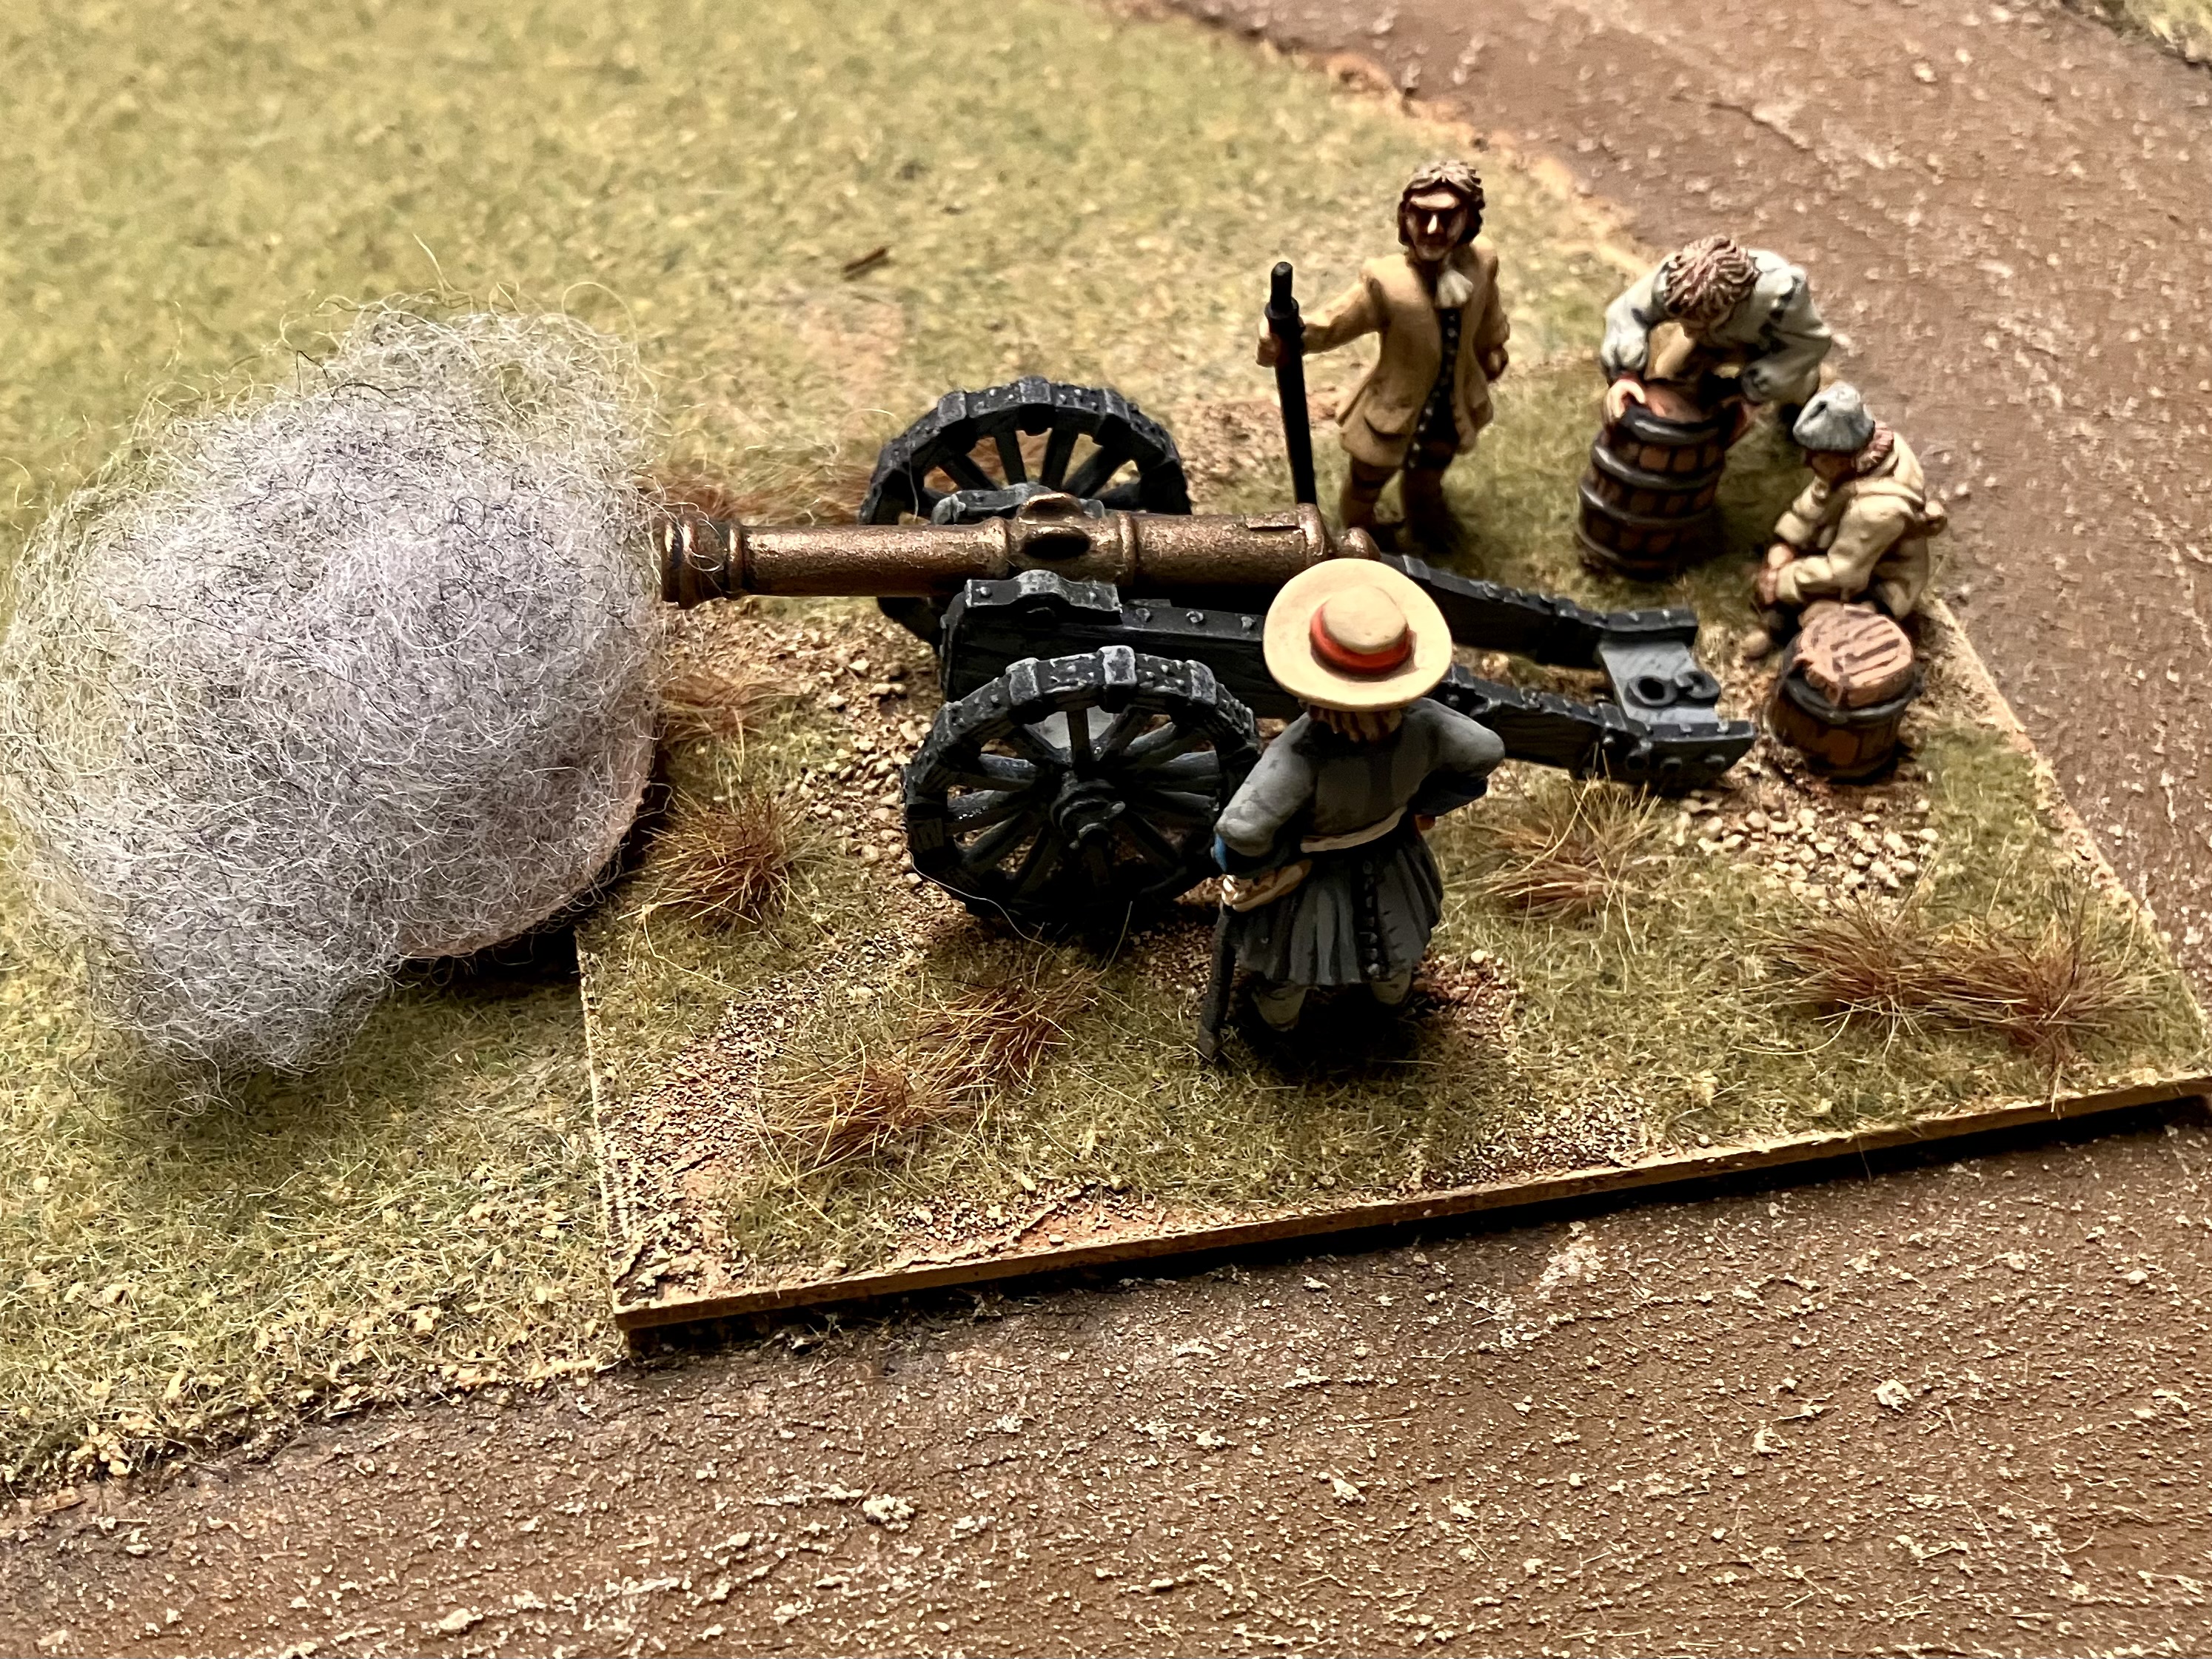


We’re off to a slow start due to the dice rolled for the order allocations. With move 2 everything has actually moved and the Williamite gun draws first blood with an extreme range shot causing a casualty on the veteran elite cavalry squadron coming towards it.


Sometimes you have to concentrate on parts of the battle and neglect others when you can’t do everything. As the situation is developing quickly with the cavalry, this is where orders are allocated as a priority. A squadron from both sides charge each other.


You fight a close combat through to a conclusion within the turn. The Jacobites get the best of the first bound, but the Williamite morale holds. Both sides successfully reinforce and the Williamite brigadier joins in to try and bolster his troopers. It becomes a bit of a slow grind with draws and casualties only mounting slowly for both sides. The Jacobite brigadier joins the fight. With the primary Jacobite squadron virtually on its knees, and their brigadier cut down, the opposing Williamite squadron is destroyed (6 casualties accounting for all the figures in the unit). The reinforcing squadron of Williamites gets a retreat outcome when it tests morale.
I’m on to turn 6. Having been forced to retreat, the veteran elite Jacobite squadron is once again advancing on the enemy gun. The Williamite squadron which had previously retreated has formed up and charged the idle Jacobite cavalry… but fails to get the charge distance, and fails to stop the charge, so ends up disordered 3” away from the enemy!

Over on the other side of the battlefield the Williamite infantry are slowly closing on the Jacobites who are slowly taking up defensive positions.

I’m concentrating on getting the veteran infantry battalion forward, so the Williamite infantry brigade is unintentionally in echelon now. Still outside musketry range.


Wham! The cavalry charge the gun. It gives ineffective closing fire and the gunners are cut down automatically.
Having failed to contact previously, the disordered Williamite squadron goes in disordered against the depleted Jacobite squadron from the first close combat. And routs them. The pursuit takes them into the Jacobite squadron behind who become disordered.
And there’s a ripple of musketry! Two of the raw Jacobite battalions commence firing at extreme range. The veteran Williamites weather it. They’re determined to deliver their first (and understandably that’s your best) volley at short range.
Turn 8. With a good sprinkling of orders, the Jacobite horse forms up whilst the Williamites turn to face this threat.


Turn 9. The Williamites pursue the fleeing enemy off the table!


But there is to be no turn 12. With the depleted Jacobite horse likely to lose whether I get the rules right or not…


I do like these rules. They have a lot of good mechanics; the signature dice differentiating troop quality, using d6s, d8s or d10s, the simple ways to represent unit organisation or tactics, and well the simple tables for everything you can think of.
I actually don’t mind the movement rates (eg 4” for infantry in line) as it’s a decent representation of how slow it was. You couldn’t rush around if you wanted to maintain any sort of order.
However the movement rates in combination with the rules for order allocation, mean the gameplay can become slow. There are times when nothing happens. Battles have lulls, yes, but I need to have multiplayer games in mind and you don’t want folk idle for too long.
How to remedy this? Cos I do like the rules and want to use them. They have a great period feel. I reckon that if a brigade hasn’t been engaged, it can be ordered automatically. Once a brigade has been engaged, then the units are included in the order allocation roll. This represents troops moving freely whilst that is all that’s required of them, then it’s all a bit uncertain once they’re under fire. I’ll try that :-)
To a certain extent that’ll help brigades maintain lines. At least until the chaos of battle determines otherwise! It felt wrong that the Williamite foot weren’t in a nice line. If I wanted to maintain the line, I would only have moved the three battalions when I could afford to allocate an order to each one. Or I’d have had to reform the line by prioritising moving the unit furthest back. The veteran battalion wouldn’t have got to the bastle wall any time soon!
Planning on having another game using BLB soon!
All the best
Chris
WWG in exile
Nice report Chris. I am not precious about my rules so, change whatever you like!
ReplyDeleteHi Barry. I need to be mindful of the potential audience. If there are 8 or more around the table, I know that half of them will feel less than entertained if their brigades aren’t engaged. And I’ll know about it! I know them and I know what some of them are like when they’re failing to get the orders they want in Hail Caesar. Having another go with BLB soon with an opponent. Fancy trying some of the 4play scenarios I’ve got solo as well. Help me better understand the rules. Cheers, Chris
Delete