Last night we had a real change in our game,we used my 15mm A.C.W. figures!
I had picked sides earlier,and Paul and Brian were the Union commanders whilst I was in charge of the Confederates.We used our all-encompassing rules which,we found,adapted very well.
Above is the scenario and map showing start positions,we agreed that I couldn't react to Brian's move towards the ford,until he had actually crossed the river,however I did have a handy reserve placed behind my main hill.
This is the overall view of the table,with the Union troops of Paul on the right,and Brians outflanking column in the background,"snaking" towards my left flank.
This is a shot of Brian's column made up of cavalry,guns and infantry,the ruined bridge is in the foreground.
My initial advance towards Paul's position on his hill,is shown here,although I had a great advantage of numbers,I was continually aware that I would need troops to combat Brian's push on the flank.
Brian's troops are crossing the river in numbers now,he made a dash for my reserve cavalry,and set up a gun battery too close to my position,just out of shot on his left flank,and he was to suffer a couple of cannister shots before he was able to take the position.
This shot is of the centre,where Paul and I were still slogging it out,he managed to get more units into his firing line than I did,and inflicted enough casualties to force me to take morale. A couple of my units broke,and I decided to pull my whole line back to their original positions.
Brian's cavalry hitting my,dismounted, cavalry,I managed to get a shot at him before he made contact,which proved to be important later on,I also had a brigade of Zouaves on his flank,which I had to put into the melee once it was "static".
This shot shows my position,on Brian's left flank,defended by dismounted cav. and a battery of guns,and in the background some infantry which I had to withdraw to try and support my position,from a tremendous attack from Brian.
Brian has broken into my position!! after morale was checked,most of my troops ran away,and left Brian in possesion of the position.
This is a shot showing my infantry defending the town, against a determined assault from Paul's troops,I managed,somehow, to hold on in the town,and with my infantry now back in their original starting position,Paul was in a precarious state,with his troops scattered around the centre.
This shows my cavalry capturing one of Brian's gun batteries,by a daring sweep around his flank,this move placed me behind his cav. and inf. although he had taken my defended position.Because of this set of circumstances,we decided that a draw was afair result.Paul being able to regroup in the centre,and possibly start a new offensive.This was another good game,everyone went away happy.what more could you ask for ?? A WIN !!!
roll on Sunday.
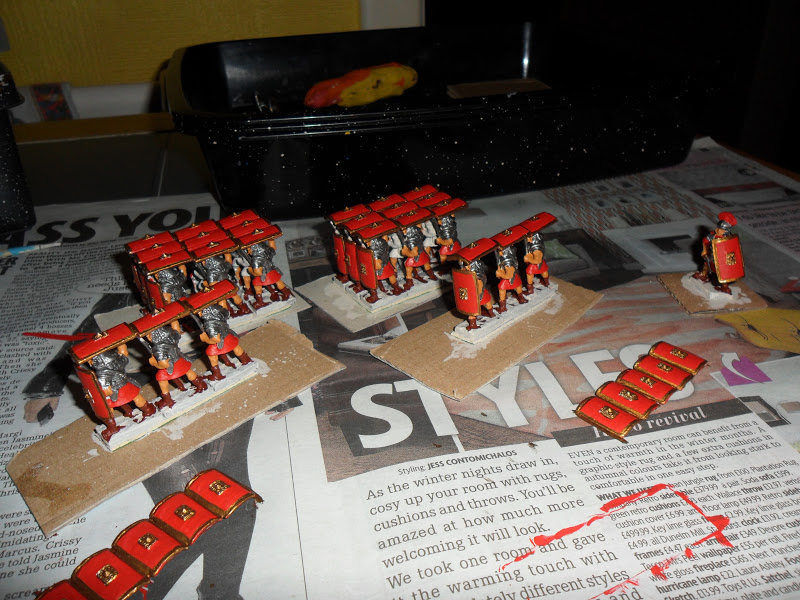
Final photo,completed Testudo,just one more to go!!


Excellent looking game and great report.
ReplyDeleteThanks Rodger,glad you're still reading our Blog,hopefully we'll be having a large 25mm ACW game soon.
Delete