
As there was only three of us,Paul and Brian elected to be the Saxons,under King Harold,and I was to be Duke William commanding the Normans.-what a game it turned out to be!!


A splendid line of Norman infantry await the order to advance,closely supported by Knights.

Another view of the Norman line.


The attack begins-I ordered the Bretons on my left flank and the "French" on my right to advance quickly,whilst the Normans in the centre were to advance at a much slower pace.
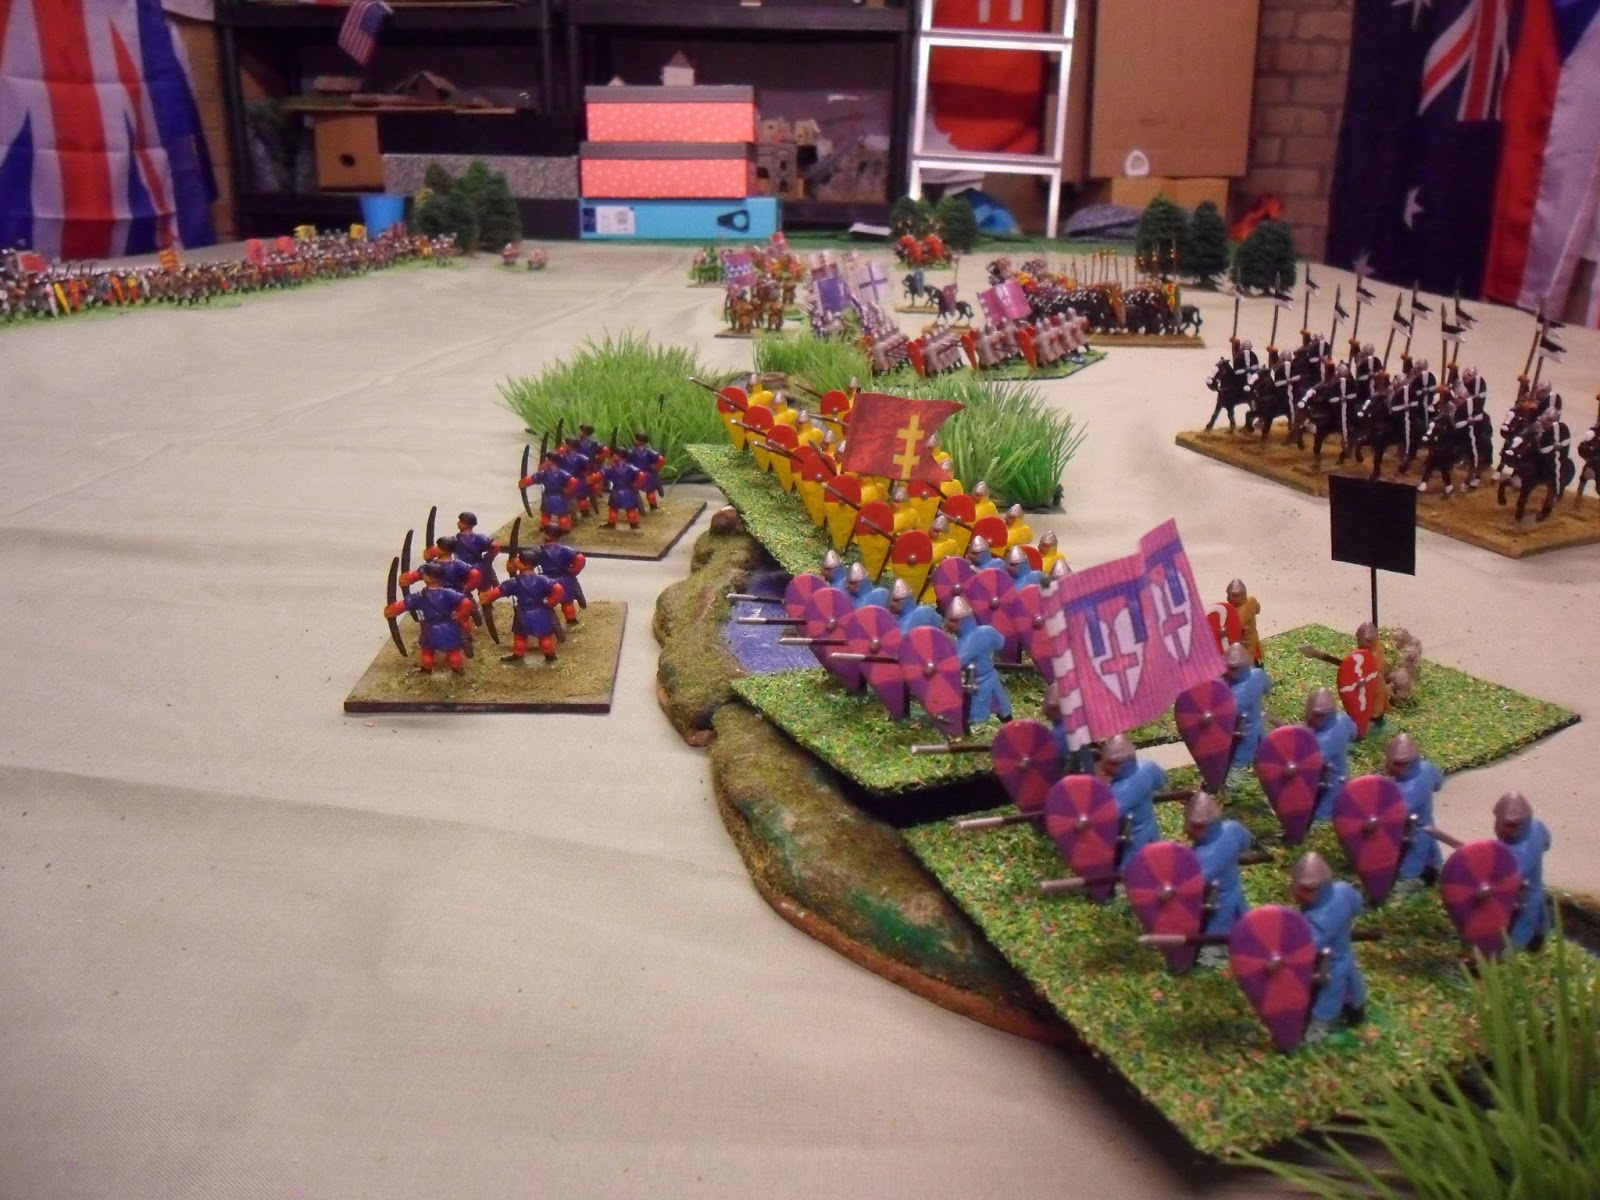
The Bretons cross the brook-I had deliberately made the fighting and morale points low for the flank troops,hoping to simulate them getting beaten in melee,and falling back,hopefully to be chased by the Saxon Fyrd(also stationed on each flank) as per the actual battle-and it worked!
My right flank "French" were first to make contact,cutting into the Fyrd like a knife through butter!!But then the Fyrd fought back and forced a morale test,which the "French" failed and retired(it's good being retired) chased hotly by the Saxons,down into the valley,where the Norman cavalry were waiting-hurrah!!!


The Fyrd have chased my "French" troops,and have,themselves,been caught!!-hurrah!!
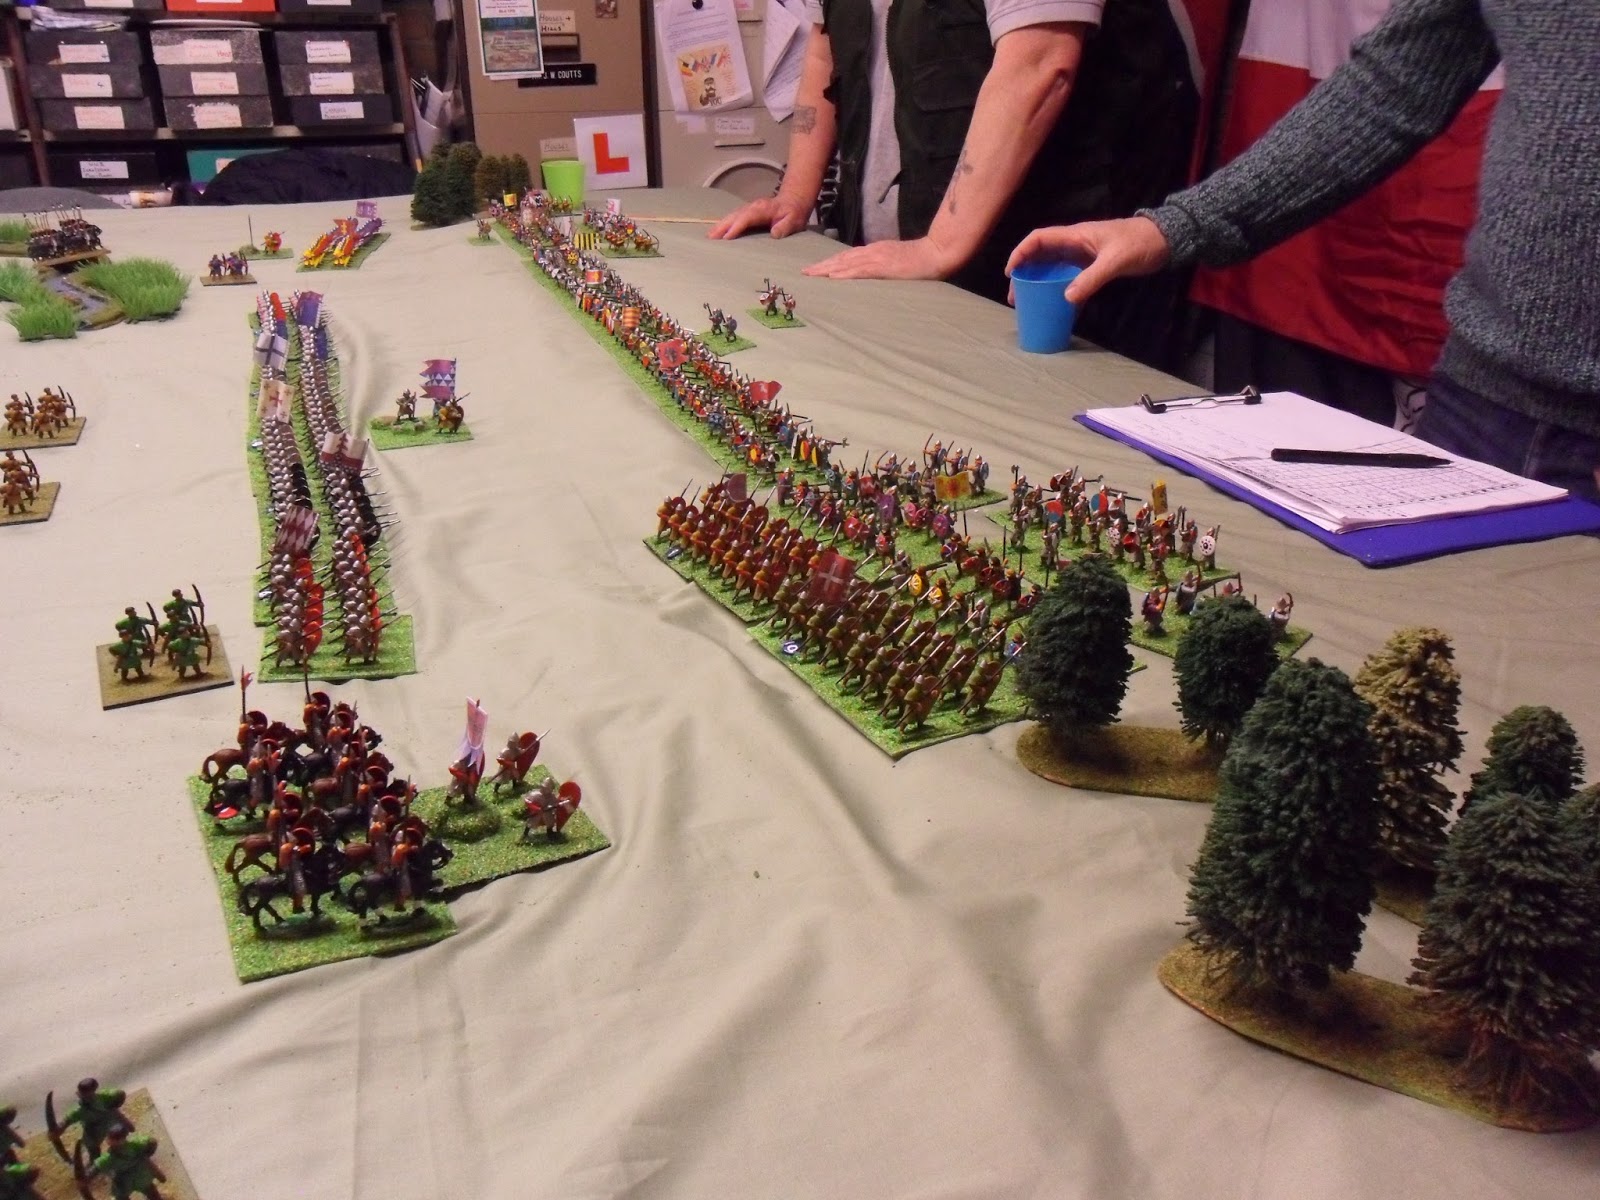
Meanwhile the central battle goes on,but previous casualties are now telling and the Saxon Huscarls are losing a couple of melees.

This shows my right flank,with my cavalry about to destroy the Fyrd.But what of the other flank?

With my Infantry in dis-array,I thought a quick cavalry charge would discomfort the Fyrd still on the hill-wrong!! they stood and drove the cavalry back-this isn't in the script!!!

My archers are now in place,I will order the infantry to retire(it's good being retired) and let the archers do their work,then charge home with the bulk of the cavalry-job's a good'un!!

My central infantry are retiring in this shot-the archers managed to just get enough casualties off the Huscarls to force them into testing morale,and the end two units failed-hurrah!!-time for a cavalry assault upon the hill.

This was a great game,full of excitement,colour and tension,and the gaming outcome mirrored the historical outcome,which was very gratifying.Well done to Paul and Brian,and roll on Sunday,probably an Ancients game,if I can come up with a scenario!
Great looking game John!
ReplyDeleteWhat a game. Looks fantastic, just the sort of display that would get people into wargaming. A famous battle, nice brightly coloured troops (which are affordable for the beginner if they ask about them) and good fun to boot.
ReplyDelete