Paul and I played a "gripping" ancients game last night,using the same terrain as the afternoon game with Brian,only the Greeks were on the hills and the Persians were attcking them.Paul had his Spartans on his right flank,with his centre covered by a multitude of Hoplites,supported by light inf. and skirmish troops,his left was held by heavy cavalry.
On my side of the board,my left consisted of Mercenary Hoplites and Immortals,with a couple of units of archers,meanwhile my centre was made up of "poor" axemen,and good spearmen,supported by skirmish troops,my right flank was made up of heavy cavalry.
The above photo shows the overall view ,with the Persians on the right, and the Greeks on the left,Spartans on the end of the table,facing mercenaries and Immortals.
This shows the Persian centre,axemen and spearmen,I advanced the axemen as quickly as possible and took on the opposing Hoplites,I was,of course,mauled badly!! however I inflicted casualties on the Hoplites which counted against them when I put my spearmen into the "fray" later on.
This is my left flank,Mercenary Hoplites and Immortals,I extended my line and hit the advancing Spartans in the flank,and after a tremendous struggle,eventually surrounded the Spartans and anhialated them!!
This is Paul's centre,Hoplites and light troops,cavalry reserve in background, he used these well and supported his left flank with them to outnumber me,this had mixed fortunes,as I won one cavalry battle and he won the other,and so it remained until the end of the game.
Look at those imposing Spartans! Paul decided to bring them off their hill and attack me whilst I was advancing,the ensuing melees lasted until the last move,and swung both ways,with some terrible dice throws from both of us,combined with some good throws,this was the stuff of real wargames!!
This shot shows my Axemen being severely "mauled" by Paul's Hoplites in the centre,but note the advancing Spearmen,who took on his Hoplites and after a struggle both side could make no headway,so that eventually led Paul to ask for a draw,which I was happy to accept.
This is the "titanic" struggle for the Persian left flank,with the Spartans clashing with my Mercenary Hoplites,and the Immortals moving onto the flanks.
Spartans about to be surrounded,the ignomy of it! With your shield or on it!!
This shows the Cavalry battle on the right flank of the Persians,this was agood "tussle" and Paul handled his forces well,managing to support both of his units with his reserve unit,it has to be said with mixed results,but very effective.
This is the battle in the centre which raged on until the end of the game,Paul's heavier Hoplites gave me a good "drubbing" but somehow I managed to hold on to most of my Spear units,although Paul did have the advantage at the end.
Bye,bye Spartans,surrounded at last,with no escape Paul capitulated on this flank,but gave me a bloody nose on the other flank,so a draw was a fair result.
This is the final shot,Paul's Hoplites pushing my Spearmen back,with my reserve cavalry just holding some troops on the flank,although I knew I couldn't hold them much longer.
Roll on the next game.
Friday, 5 October 2012
Thursday, 4 October 2012
Jacobite Game vs Brian,4.10.12.
Brian and I played this game on Thursday,he was in charge of the "English" army and I was in charge(?) of the Scots.
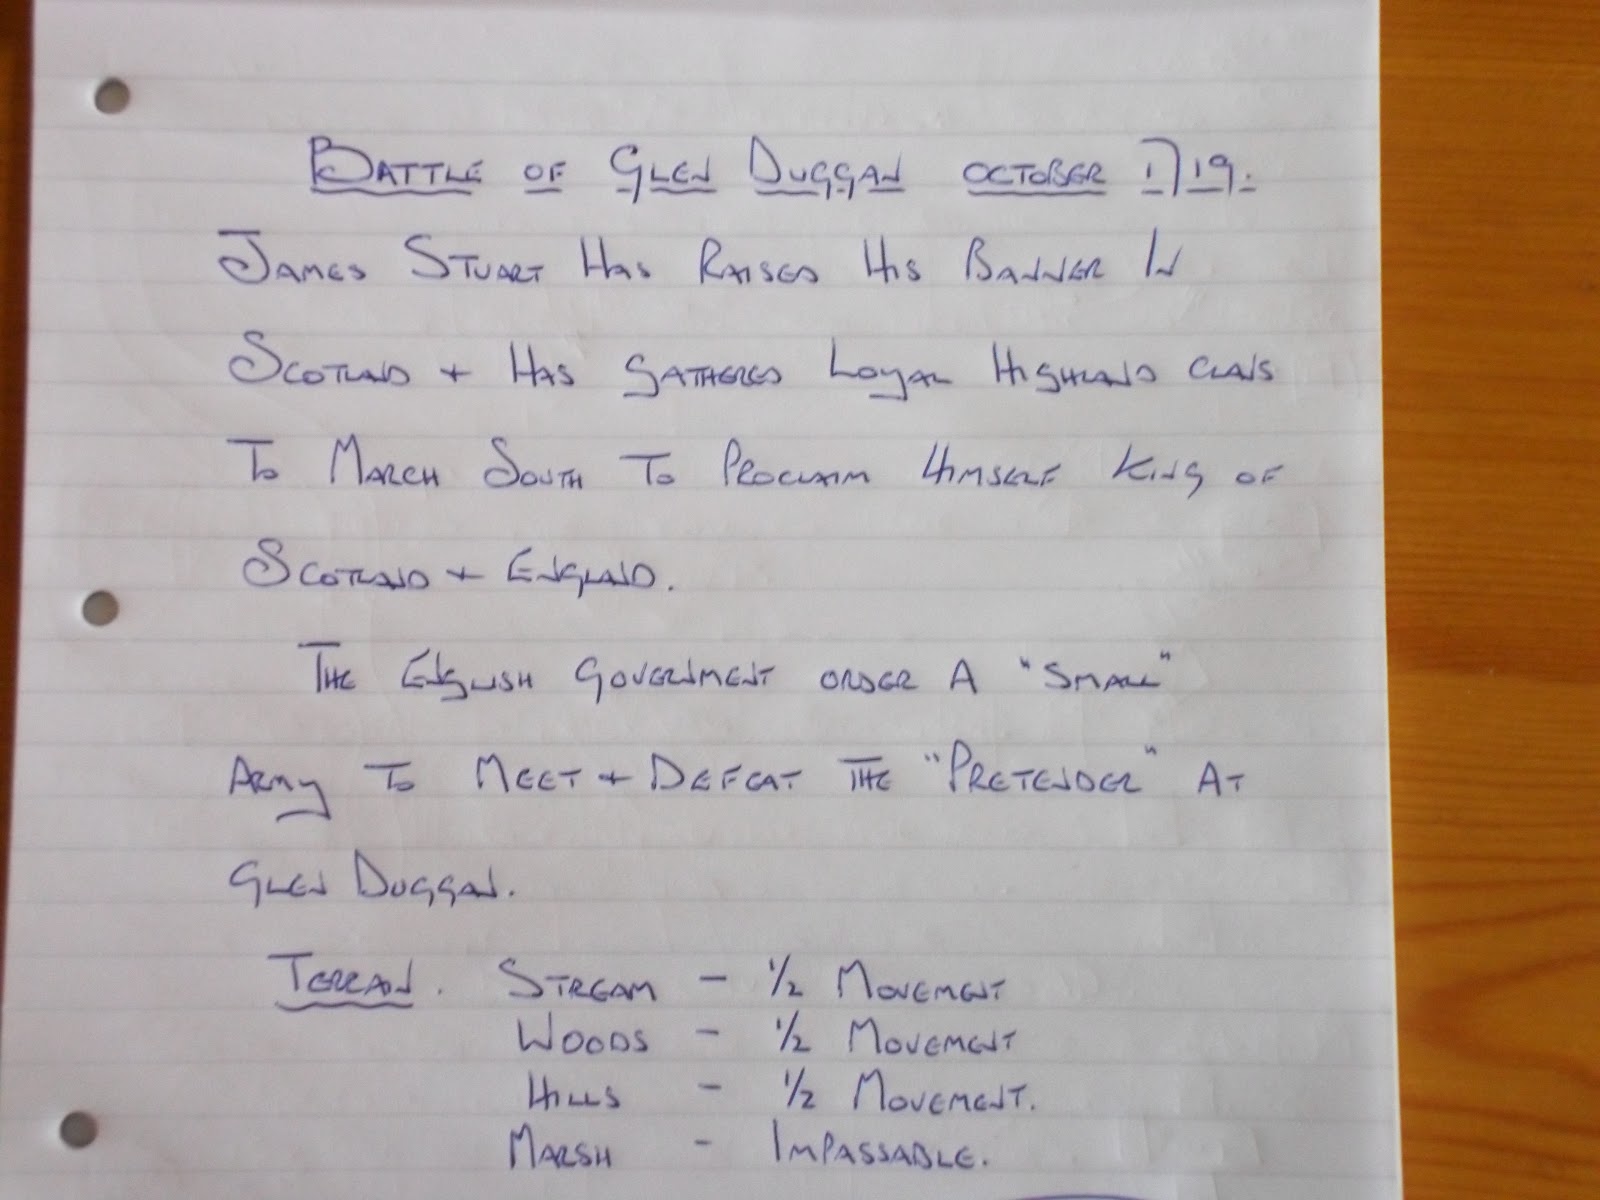
The battle map and scenario are in the first photo's below, and above.
The next photo shows the Scots centre,a formidable looking bunch!!
The view below is the overall view of the table with Scots on their hills,divided by a small stream,and the English on the plain,just waiting for the inevitable Scots charge.
The next two shots are of the commanders,General Irving and James.
I don't know what has happened to James! He's probably gone for a wee,wee!! (Scottish joke!)
This shows the "Dogs of War" from Warrior's Border Reiver range,in fact all of the Scots shown in these photo's are from Warrior.
The photo above is of "Freddie" the shepherd (only Geordies and Newcastle United fans will get that joke!!),he stayed on the table for the whole game as shot and shell fell all around him-please note, no sheep were hurt in the making of this game.
The photo below shows "bonnie wee lassies" cooking the Scot's porridge,before,during and after the battle.This is what most wargamers call battlefield "clutter",and I must admit I think it can look quite good,and sets the scene.
This shot shows the English left flank,solidly held by Hanoverian and English troops,supported by a gun and cavalry.
This is the Scot's right flank,led by James,beginning their fatal attack on the English left flank,a cobination of cannister and volley fire saw two out of the three clans swept from the board,before they could make contact!!
"GOTCHA!!,Brians only mistake of this game,his cavalry charged into the flank of an advancing clan,only to be charged in turn by another clan,the result was what you would expect-total defeat!!
The photo above shows the "inevitable" retreat of the Scots,Brian played very well,by holding his positions.We had decided that the Scots should throw random movement dice,and this was my downfall,I couldn't co-ordinate my attacks,however I think it was fairly realistic, and have no complaints about my defeat.
This was avery good game,and threw up problems for both sides.
I've said it before and I'll say it again,"retirement is great",which means that I'll be playing Paul tonight (two games in one day!!) we'll be playing over the same terrain as this morning,but the sides will be Greek Hoplites against Persians,and then there will be Sunday's game to look forward to.
The battle map and scenario are in the first photo's below, and above.
The next photo shows the Scots centre,a formidable looking bunch!!
The view below is the overall view of the table with Scots on their hills,divided by a small stream,and the English on the plain,just waiting for the inevitable Scots charge.
The next two shots are of the commanders,General Irving and James.
I don't know what has happened to James! He's probably gone for a wee,wee!! (Scottish joke!)
This shows the "Dogs of War" from Warrior's Border Reiver range,in fact all of the Scots shown in these photo's are from Warrior.
The photo above is of "Freddie" the shepherd (only Geordies and Newcastle United fans will get that joke!!),he stayed on the table for the whole game as shot and shell fell all around him-please note, no sheep were hurt in the making of this game.
The photo below shows "bonnie wee lassies" cooking the Scot's porridge,before,during and after the battle.This is what most wargamers call battlefield "clutter",and I must admit I think it can look quite good,and sets the scene.
This shot shows the English left flank,solidly held by Hanoverian and English troops,supported by a gun and cavalry.
The photo below shows the Scots putting the English under real pressure,however Brian held a good position and managed to beat off all attacks.
This was avery good game,and threw up problems for both sides.
I've said it before and I'll say it again,"retirement is great",which means that I'll be playing Paul tonight (two games in one day!!) we'll be playing over the same terrain as this morning,but the sides will be Greek Hoplites against Persians,and then there will be Sunday's game to look forward to.
ssies,just how much porridge can one army eat??
Monday, 1 October 2012
Marlburian game 31.9.12.
Paul put on a "cracking" game last night,consisting of French and Allies against British and Allies.The game itself was a "take" on the Seven Years War battle of Kolin,transposed to Marlburian times.
The French under Dave,Graham and Brian,were making a long outflanking move against a well prepared and situated British force under Paul and John.The French had the usual 1/3rd more troops than the British and as it turned out they needed them!!
This is a shot of the defnded farmhouse,before the battle started,the British Grenadiers stoutly defended the position until overun by weight of numbers,you can see in the background the British central position,but what you can not see is the hidden gun battery and cavalry,in the woods!!
This photo shows the massive French column,starting on its outflanking march,there was still 7 infantry regiments and a gun battery to come onto the board!!
In this shot the French are just beginning to bombard the village,after an initial bombardment the French advanced to fire-fight and then charged into melee,the fight swung both ways but eventually the brave British infantry were forced to retire.
Once the French column swung into line,Paul found himself faced by 6 infantry regiments and 4 cavalry regiments,this shot shows the "over eager" French guard being shot at by Paul's infantry and the ,now exposed,gun battery,whilst his cavalry head for the flank.
This shows a Bavarian force attacking my flank,they had to cross a stream under fire from a combination of British and Dutch infantry,and suffered heavy casualties,however they persevered and put me under considerable pressure for a while.
This shot shows the French infantry advancing and their cavalry being beaten in the first of many melees on top of the hill,some good and some bad dice were thrown by both sides,and eventually an impasse was reached with neither side having an advantage,this was to lead to the offer of an honourable "draw" to the British, which was accepted.
This is the final photo,and shows the French still trying to capture the village,being held by the Dutch Guards this time!
this was a fantastic game by any standards,and well done to Paul for putting it on,now come on the rest of the group,thinking caps on and come up with a game ,or it's Ancients for the rest of our wargaming lives!!
Roll on Thursday.
The French under Dave,Graham and Brian,were making a long outflanking move against a well prepared and situated British force under Paul and John.The French had the usual 1/3rd more troops than the British and as it turned out they needed them!!
This is a shot of the defnded farmhouse,before the battle started,the British Grenadiers stoutly defended the position until overun by weight of numbers,you can see in the background the British central position,but what you can not see is the hidden gun battery and cavalry,in the woods!!
This photo shows the massive French column,starting on its outflanking march,there was still 7 infantry regiments and a gun battery to come onto the board!!
In this shot the French are just beginning to bombard the village,after an initial bombardment the French advanced to fire-fight and then charged into melee,the fight swung both ways but eventually the brave British infantry were forced to retire.
Once the French column swung into line,Paul found himself faced by 6 infantry regiments and 4 cavalry regiments,this shot shows the "over eager" French guard being shot at by Paul's infantry and the ,now exposed,gun battery,whilst his cavalry head for the flank.
This shows a Bavarian force attacking my flank,they had to cross a stream under fire from a combination of British and Dutch infantry,and suffered heavy casualties,however they persevered and put me under considerable pressure for a while.
This shot shows the French infantry advancing and their cavalry being beaten in the first of many melees on top of the hill,some good and some bad dice were thrown by both sides,and eventually an impasse was reached with neither side having an advantage,this was to lead to the offer of an honourable "draw" to the British, which was accepted.
This is the final photo,and shows the French still trying to capture the village,being held by the Dutch Guards this time!
this was a fantastic game by any standards,and well done to Paul for putting it on,now come on the rest of the group,thinking caps on and come up with a game ,or it's Ancients for the rest of our wargaming lives!!
Roll on Thursday.
Thursday, 27 September 2012
Zulu Game 27.9.12.
Paul,Brian and myself had a very exciting Zulu game this morning,Brian was in charge of the British contingent,and Paul and I commanded the Zulus.
Brian had to defend a camp and stores area,he had patrols out in all directions, and information was continually being pased to him via the different patrols,he had to make decisions based on the information and adjust his dispositions to suit.
Monday, 24 September 2012
Ancients game,Macedonians vs Indians 22.9.12.
I seem to have "lost" the other photo's I inserted onto this wonderful blog interface,they're probably floating around in "cyberspace" somewhere!!
The outcome of the battle was somewhat confused,with Graham giving up when he had me beat,and Brian beating me on his flank,and suddenly I was announced the winner by Graham!!Brian was willing to fight on but as the alliance was shattered there was no point.
The highlight of the game was when Brian sent an elephant unit to Graham's assistance,this was consequently beaten in a melee and was forced to retire into Graham's infantry!! and caused alot of confusion and chaos,forcing Graham's infantry to also retire,maybe that's what made Graham think he couldn't win,never mind we'll be playing on Thursday.
Sunday, 23 September 2012
Marlburian game 20.9.12.Spanish vs Allies.
| This shows the Spanish troops preparing to defend the flank,at the end of the game. |
| This shot shows the final British/Austrian attacks on the defences. |
| Come back Spanish cavalry!! |
| Big gap in British main line. |
| Austrians being "ejaculated" from the village. |
| British troops crossing the stream,being met by "poor" Spanish cavalry. |
| Brian!! what are you doing,those are your best cavalry being shot at from the village. |
| Graham's guns have pounded a breach in the defences,however he didn't take advantage of the gap,who knows why not!! |
| This is the flank commanded by Paul,a good mix of infantry and cavalry supported by a gun battery. |
| This is the Spanish left flank commanded by myself,the Infantry was "steady" but the cavalry was "poor",the result when attacked was "predictable" |
| This shot shows part of Brian's defences,in front of the town,he did a brilliant job of holding them,against great odds. |
| This is a view from the Allies side of the board,showing the town and defences. |
Monday, 17 September 2012
Ancients game 16.9.12.Scots vs Romans.
We played an Ancients game last night,utilising the "winter terrain" from Thursday's game,however this time we were in Scotland pitching a Scots army gainst a Fort and a relieving column.Graham and I were Scots and Brian and Paul were the Romans.
The scenario is below,Brian was in charge of the fort and Paul was the relieving column,Graham was besieging the fort and blocking the gap,whilst I was attacking the relief force.
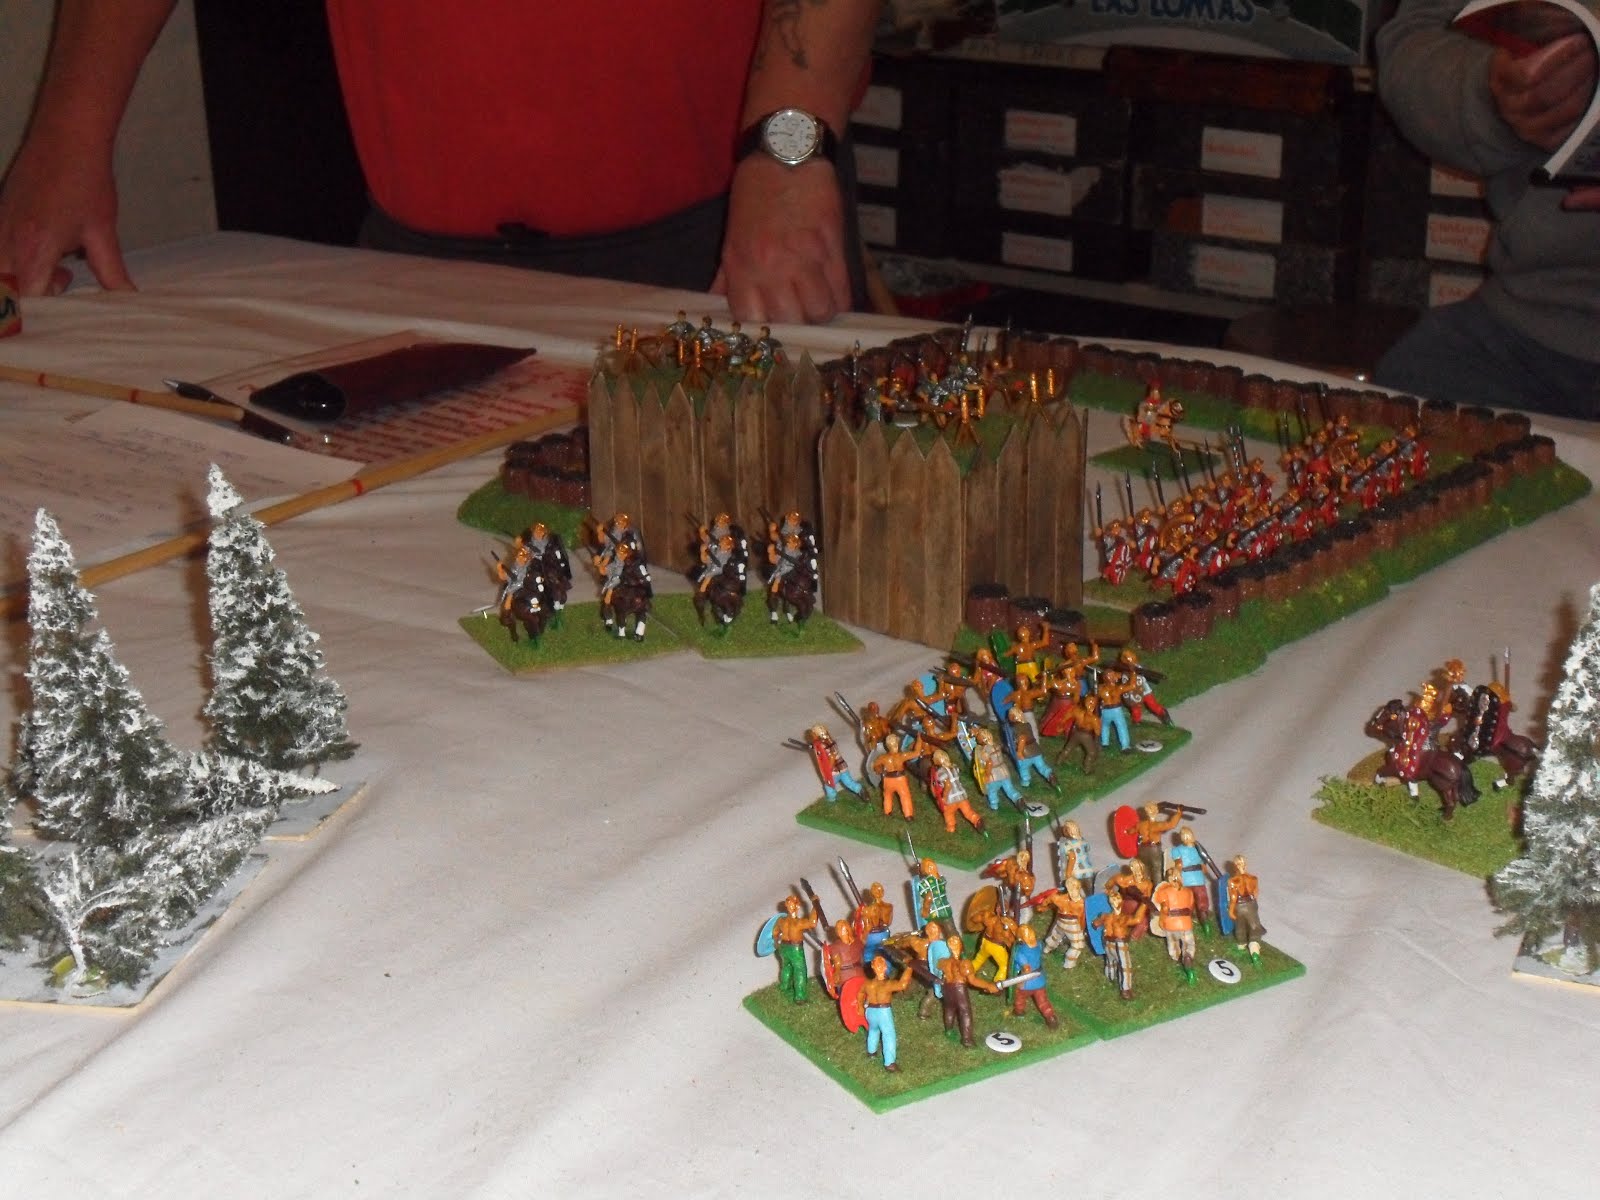
This is an overall shot of the board,in the distance the relief force is just coming onto the table,whilst in the foreground the fort looks to be in real trouble,with warbands approaching fast!
A closer shot of the fort and its gallant defenders.
This is Paul's force,marching in double column,with cavalry at front and back,a wise move.
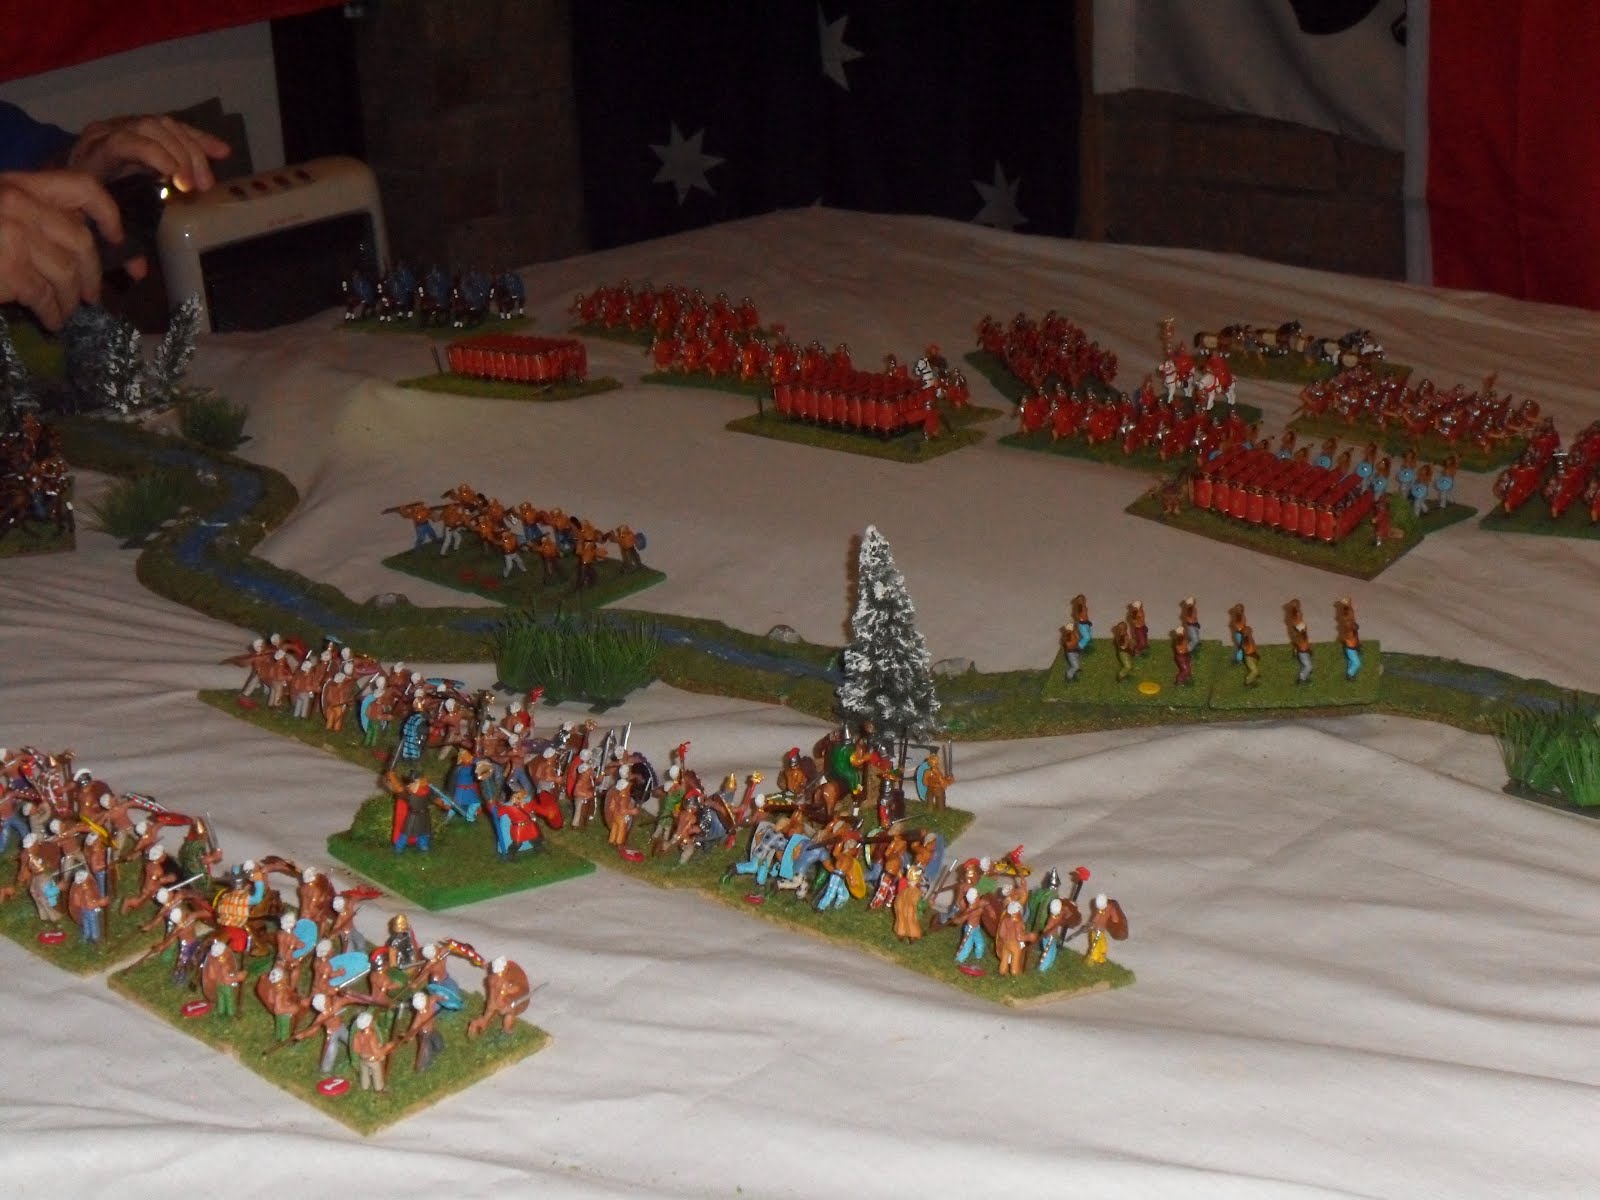
This is a shot of my warbands about to move across the stream and attack the Romans in the flank,Paul is too "wily" for that and formed his cohorts in a double line,chequer board formation,which stopped my warbands in their tracks for a while.
Paul's formation,including 3 TESTUDOS,first time on the table!!
This shot shows Graham's move towards the gap,after a while the law of diminishing returns started to apply,and a real bottle neck started,with neither Romans or Scots able to move!!
Graham is attacking the fort in this shot,Brian has launched his cavalry gainst a couple of warbands in an attempt to stop them surrounding the fort,this was quite successful.After a couple of melees against the walls,Graham actually got into the fort,but Brian reinforced his defenders and pushed him back out!!
This shot shows my centre advancing,I had held them back to see where Paul was positionong his cohorts,I saw an opportunity,and charged!Initially the Roman line held,but weight of number began to tell and eventually I managed to push a couple of cohorts back,and this started a "rot".
This is aphoto of the central battle,with the Romans fighting on their flanks and front,this was real wargames pressure!
The scenario is below,Brian was in charge of the fort and Paul was the relieving column,Graham was besieging the fort and blocking the gap,whilst I was attacking the relief force.
Subscribe to:
Posts (Atom)